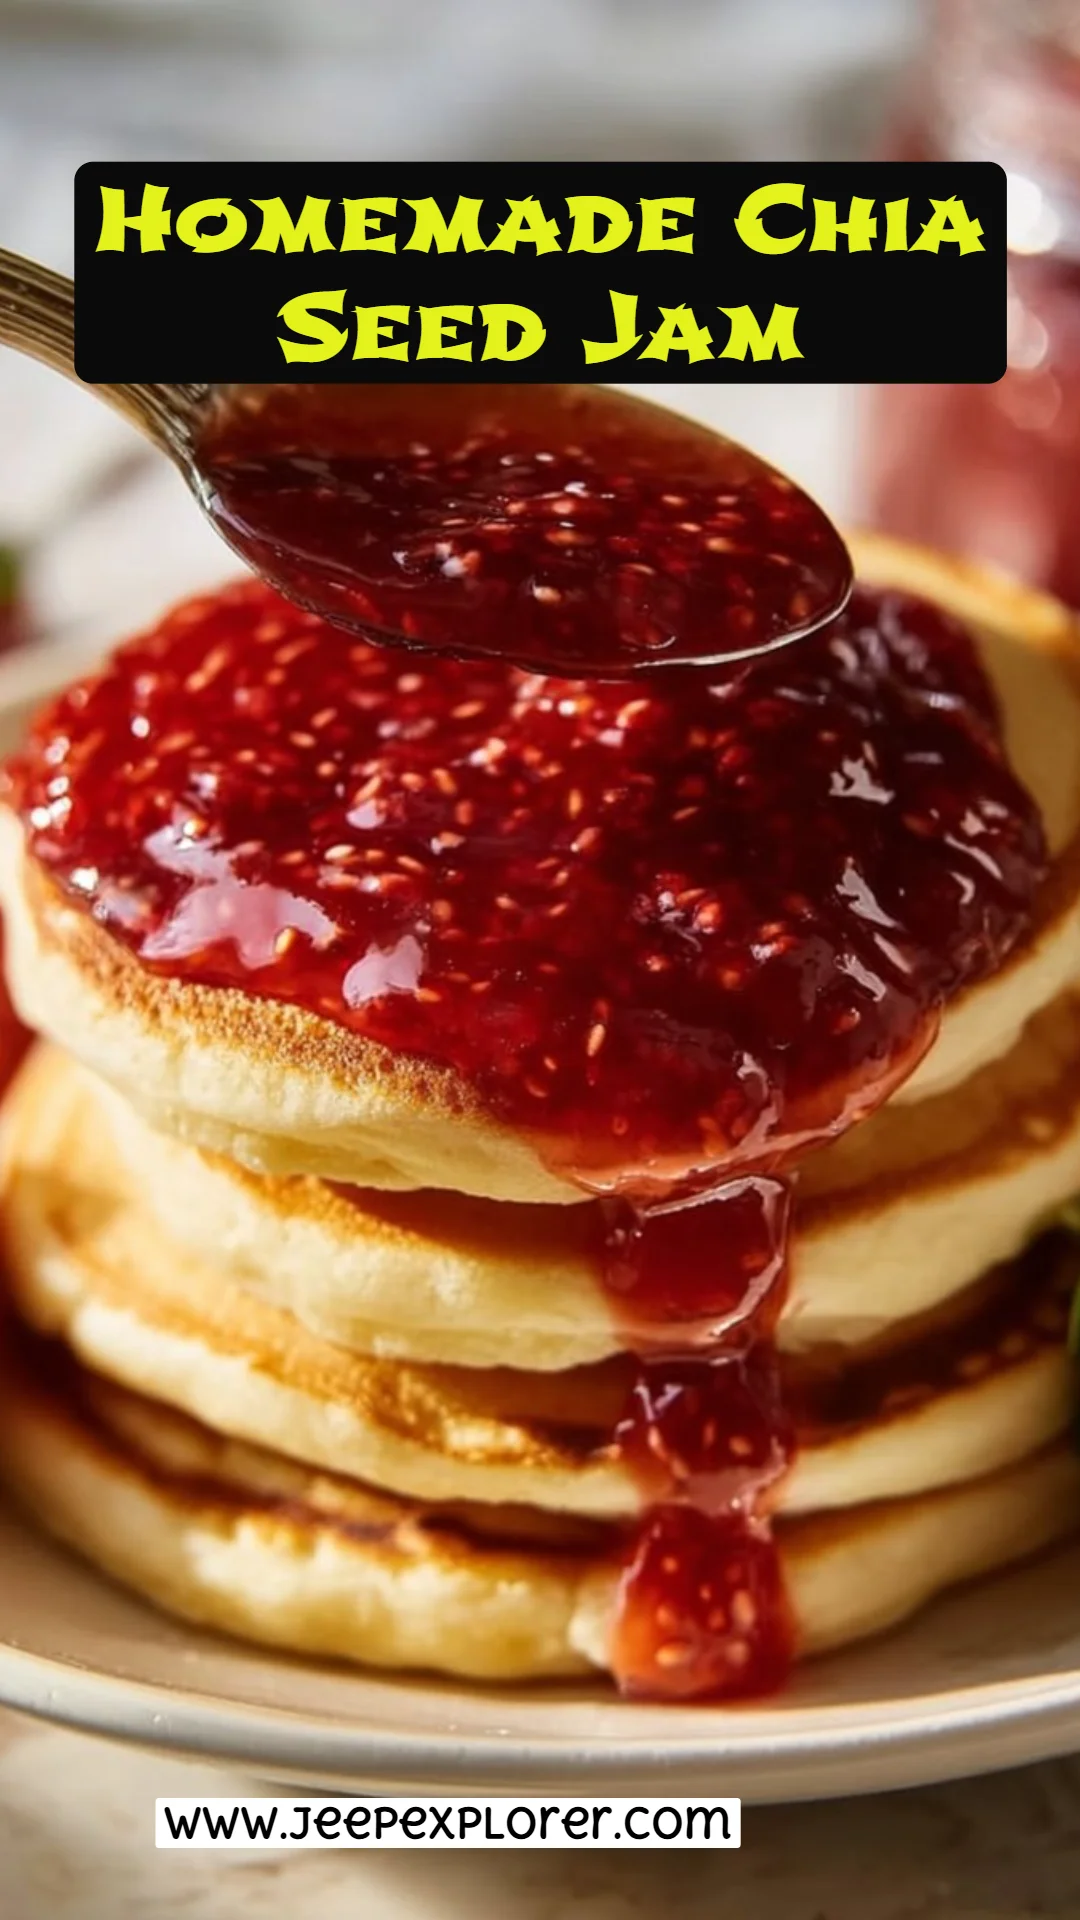
Ah, the memories of summer mornings spent in my grandma’s kitchen… The sun would spill through the window, casting golden rays over jars filled with the fruits of her labor. One of my favorite rituals was helping her make her famous Homemade Chia Seed Jam. I can still taste the sweet-and-sour explosion of fresh raspberries and strawberries mingling with maple syrup, spreading joy over warm toast. What makes this recipe special is not just the delicious flavor, but the simplicity and healthiness it brings to the table—perfect for those of us seeking wholesome, natural alternatives.
Unlike the overly sweet, preservative-laden options you find in stores, this easy homemade chia seed jam recipe allows you to control the sweetness while keeping it bursting with real fruit flavor. The tiny chia seeds give it a lovely texture without the need for pectin, and they’re packed with omega-3 fatty acids—it’s a win-win! By the end of this flavorful journey, you’ll know how to create your own delectable jam, perfect for breakfast spreads or a sweet treat. So grab a spoon, and let’s dive into this age-old tradition together!
WHAT ARE Homemade Chia Seed Jam?
Homemade Chia Seed Jam is a delightful blend of fresh or frozen fruits combined with chia seeds, which thicken the mixture naturally without the need for additional thickeners. It hails from the health-conscious world of easy recipes, showing us that preserving the sweetness of fruit can also be a wholesome endeavor. Think of it as the modern answer to traditional jams—where flavor meets nutrition.
The taste is a harmonious blend of your chosen fruits, highlighting their natural sweetness paired with a subtle nuttiness from the chia seeds. The texture? A spoonable delight that’s not overly sticky; it has just the right amount of juiciness to elevate your breakfast. This is the jam to reach for when…
- You’re out of store-bought options.
- You want to impress guests with homemade goodness.
- You simply crave a bit of fruit magic on your morning toast!
WHY YOU’LL LOVE THIS RECIPE
Here are five compelling reasons why making your own Homemade Chia Seed Jam will steal your heart and make your taste buds dance:
Freshness Guaranteed: When you make your own jam, you’re in control of quality. Unlike store-bought options that may have sat on the shelf for months, you’re working with fresh fruits. The flavor is unparalleled!
Wholesome and Natural: This recipe uses simple ingredients like fresh or frozen raspberries and strawberries, with no nasty preservatives—just fruit, chia seeds, and a touch of sweetness. This makes it a guilt-free indulgence you can feel good about!
Cost-Effective: Store-bought jams can be pricey, often costing over $5 for a tiny jar. Meanwhile, the ingredients for this recipe cost a fraction of that, and you’ll end up with a generous amount to enjoy.
Customization: Do you love experimenting in the kitchen? This jam is the perfect canvas! Add in spices like cinnamon or cardamom, or switch up the fruits based on what’s in season—it’s a jam fit for every palate!
Simple and Fast: Such a delicious jam doesn’t need a whole day to prep. With just a quick 15-minute cook time, you’ll have homemade goodness ready to enjoy. It’s an easy way to elevate your breakfast game!
INGREDIENTS SECTION
Here’s what you’ll need to whip up your delicious Homemade Chia Seed Jam:
- 2 cups fresh or frozen raspberries: Look for ripe, juicy ones. If you’re using frozen, there’s no need to thaw them first; they’ll break down easier in the pot.
- 2 cups fresh or frozen strawberries, hulled and chopped: Choose vibrant, sweet strawberries for the best flavor.
- 1 to 2 tablespoons maple syrup or honey: Adjust this depending on your sweetness preference. I personally love the rich flavor of maple syrup.
- 2 tablespoons chia seeds: These little seeds pack a nutritional punch and help to thicken the jam. Try organic; they tend to have a fresher taste.
- 1/2 teaspoon vanilla extract (optional): For a lovely warm note.
- 1 teaspoon lemon juice (optional): This brightens the flavor and balances the sweetness.
Prep Notes:
- Ensure that your berries are washed and prepared, with larger strawberries hulled and chopped.
- If you prefer a sweeter jam, taste as you go when adding the maple syrup or honey.
STEP-BY-STEP INSTRUCTIONS
Cook the Berries: Place the berries in a small saucepan over medium heat. Stir occasionally and cook until the fruit breaks down and becomes syrupy, about 5 to 7 minutes. The strawberries may need a little more mashing if you prefer chunky bits—grab a fork or potato masher and go for it!
Sweeten the Deal: Remove the pan from heat. Stir in the maple syrup or honey to taste, then add the chia seeds. This is when the magic starts to happen; your mixture will start thickening beautifully!
Thicken and Cool: Mix in the vanilla extract and lemon juice if you’re using them. Allow the mixture to sit for about 10 to 15 minutes. The chia seeds will absorb the liquid and transform your mixture into a spoonable jam consistency.
Adjust and Blend: Taste the jam and adjust the sweetness or acidity as needed. If you prefer a smoother texture, blend the jam briefly with an immersion blender or small food processor—this adds a gourmet touch!
Storage Time: Transfer the jam to a clean jar or airtight container. Refrigerate for up to 1 week. Keep in mind the jam will continue to thicken as it cools!
Chef’s Tips: To infuse additional flavor, consider adding a pinch of cinnamon to the pot while cooking the berries!
EXPERT TIPS & TRICKS
Storage: For the best flavor, consume your homemade jam within a week. It’s best kept in the fridge in an airtight container.
Make-Ahead Instructions: Feel free to double this recipe and store half in the freezer! Just thaw overnight in the fridge when you’re ready to enjoy.
Troubleshooting: If your jam isn’t thickening as you wish, give it a little more time to rest. The chia seeds need time to hydrate.
Flavor Infusions: Other herbs or spices can be added for personalization—think fresh mint or basil for a refreshing twist.
Consistency: If your jam is too thick post-cooling, consider adding a splash of water to reach your desired consistency.
SERVING SUGGESTIONS
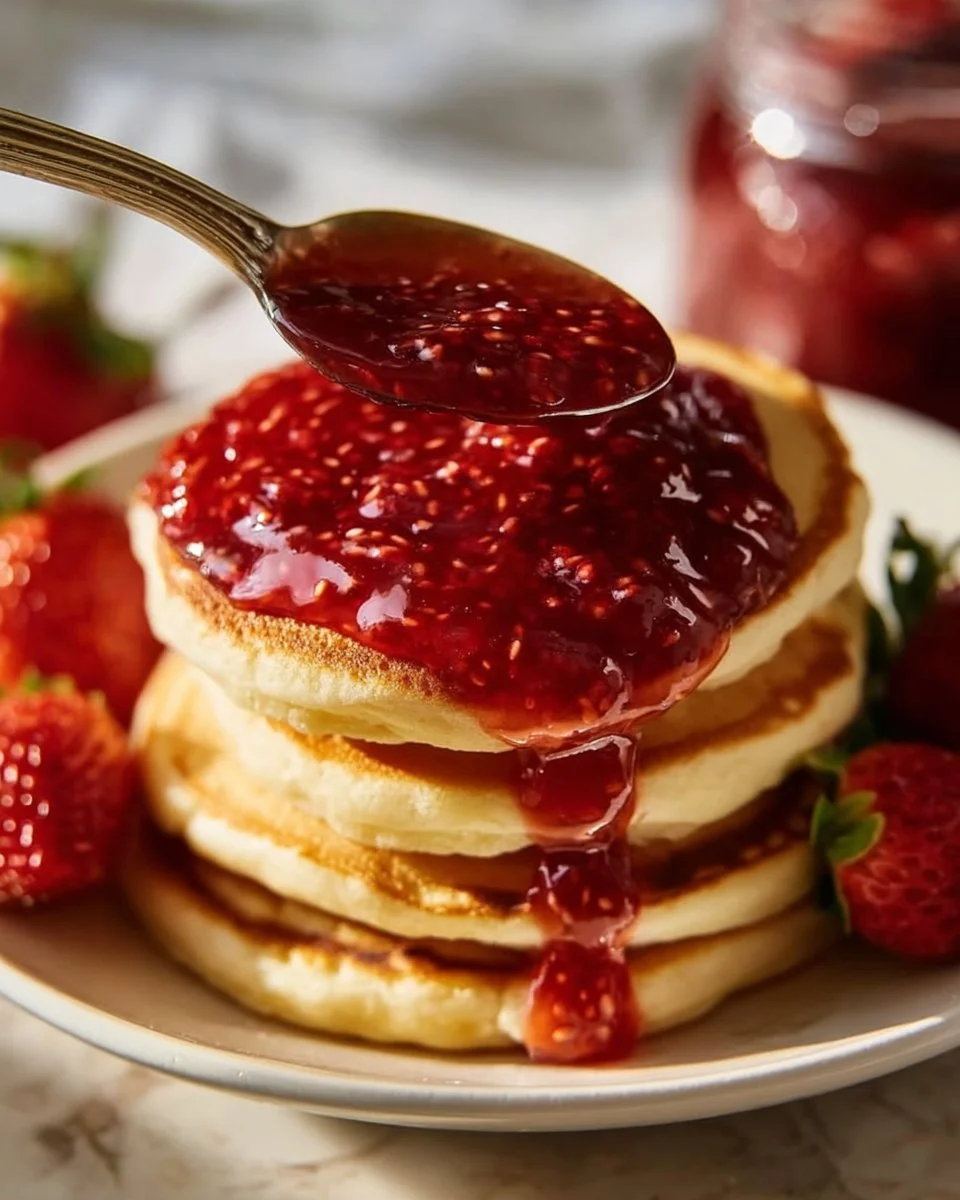
Your Homemade Chia Seed Jam is incredibly versatile. Spread it generously on warm toast, dollop it over yogurt, or swirl it into oatmeal for a delightful breakfast. For an elegant touch at brunch, serve it alongside a cheese board, featuring fresh baguette slices. It also creates a stunning addition to desserts—think cheesecake or as a topping for ice cream!
VARIATIONS & SUBSTITUTIONS
Different Flavor Combinations: Experiment! Peaches and ginger, blueberries with lemon, or blackberries with rosemary can be fun variations to try.
Dietary Restrictions: Substitute the maple syrup or honey for a sugar-free sweetener like stevia if you’re watching your sugar intake.
Seasonal Variations: Use apples and cinnamon in the fall, or pumpkin with spices for a unique twist during the holidays.
NUTRITION & STORAGE INFO
- Prep Time: 5 minutes
- Cook Time: 10-15 minutes
- Total Time: 20 minutes
- Yield: Approximately 2 cups (16 servings)
- Estimated Calories per Serving: Approximately 25 calories
- Storage Instructions: Store in an airtight container in the refrigerator for up to 1 week or in the freezer for up to 3 months.
FAQ SECTION
Can I use different fruits for this jam?
Absolutely! Feel free to swap raspberries and strawberries with blueberries or even cherries. Just adjust the sweetness accordingly.How do I know when my jam is done?
Your jam is ready when it has thickened to a spoonable consistency and the fruit has broken down significantly.Can I make this jam sugar-free?
Yes, use a sugar substitute like stevia or erythritol to reduce sweetness if desired.Do I need to sterilize my jars?
If you’re planning to store the jam for an extended period, sterilizing jars is recommended. For a week’s use, clean jars should suffice.What if my jam is too thick?
If it thickens too much, simply add a splash of water or fruit juice and stir to reach your preferred texture.Can I use frozen fruit instead?
Absolutely! Frozen fruit is a great option and often works just as well as fresh.How long will this jam last?
In the refrigerator, it will keep for up to a week. If you freeze it, it can last for around 3 months.What are chia seeds, and why are they used?
Chia seeds are nutrient-rich seeds that absorb liquid and swell, giving a gel-like consistency, which makes them perfect for jam making.Can I use pectin in this recipe?
This recipe is designed to be pectin-free, letting the chia seeds work their magic, but you could add pectin if desired.How do I adjust this recipe for smaller servings?
Feel free to halve or quarter the ingredient amounts to make smaller batches according to your preference.
CONCLUSION
Homemade Chia Seed Jam is not just a delicious addition to your breakfast table; it’s a sweet echo of cherished family memories and a healthy alternative to store-bought options. I invite you to give this easy recipe a try; I promise you’ll feel a wave of joy with every spoonful. I’d love to hear how yours turns out—leave a comment or share your own flavor combinations! And if you’re looking for more delightful recipe inspirations, don’t forget to check out the other treats on my blog. Happy jam-making!
Irresistible Chicken and Wild Rice Soup: A Cozy Meal for the Soul

Homemade Chia Seed Jam
Ingredients
Method
- Place the berries in a small saucepan over medium heat. Stir occasionally and cook until the fruit breaks down and becomes syrupy, about 5 to 7 minutes.
- Remove the pan from heat. Stir in the maple syrup or honey to taste, then add the chia seeds.
- Mix in the vanilla extract and lemon juice if you’re using them. Allow the mixture to sit for about 10 to 15 minutes.
- Taste the jam and adjust the sweetness or acidity as needed. If you prefer a smoother texture, blend briefly with an immersion blender or small food processor.
- Transfer the jam to a clean jar or airtight container. Refrigerate for up to 1 week.