As a child, I can vividly remember springs filled with the vibrant colors of Easter, my family bustling about the kitchen, all culminating in the sweet delight of homemade treats. Among the treasures that emerged from our oven, the Marshmallow Easter Eggs always held a special place in my heart. This recipe isn’t just about sweets; it’s about creating connections, sharing laughter, and making memories.
These Marshmallow Easter Eggs are unlike anything you’ll find in a store! With a chewy, fluffy texture that melts in your mouth and a dash of nostalgia in every bite, they’re not just treats; they’re tangible pieces of love and family history. I’ve tried countless versions, but this recipe combines simplicity, flavor, and an irresistible twist that takes them over the top. You’ll learn how to whip up these enchanting delights, ensuring that they become a cherished part of your Easter celebrations, just as they are for my family.
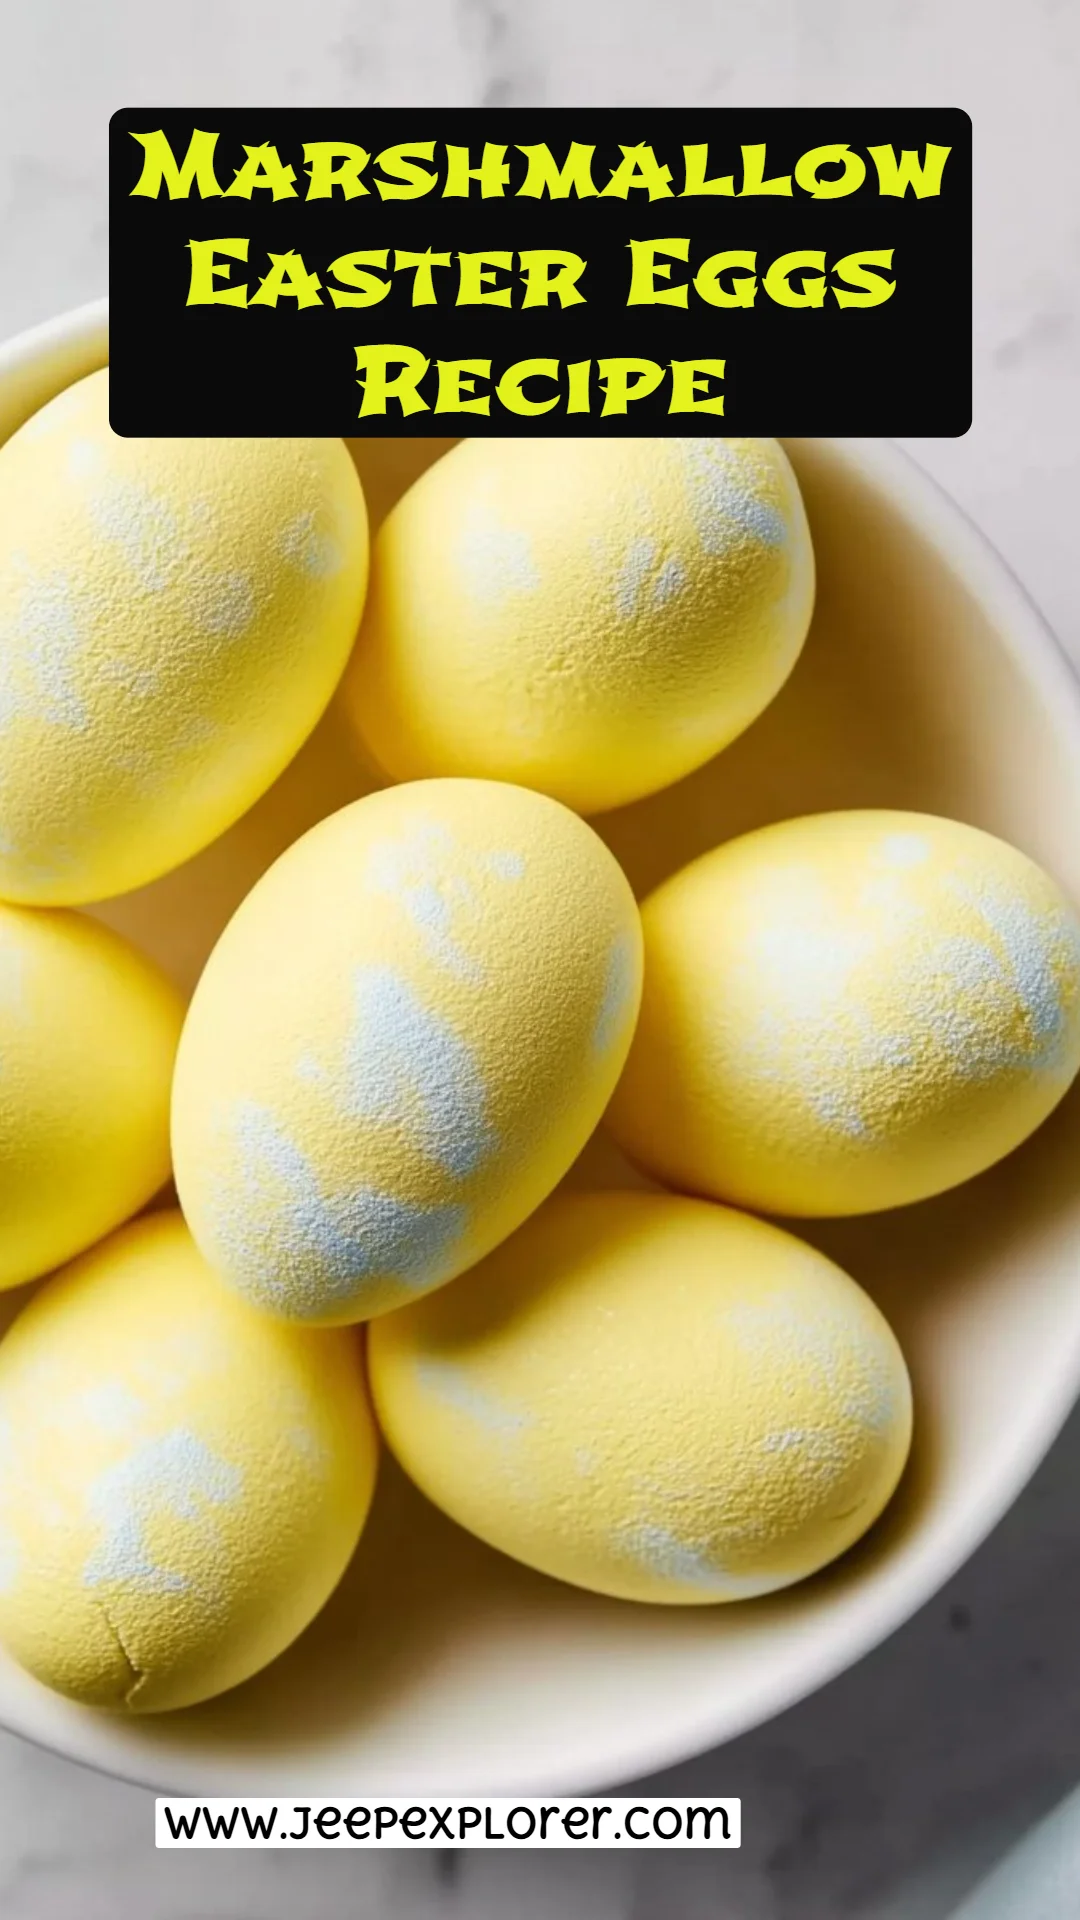
Ready to create some magic in your kitchen? Let’s dive into this mouthwatering Marshmallow Easter Eggs Recipe filled with love, joy, and a sprinkle of creativity!
What Are Marshmallow Easter Eggs?
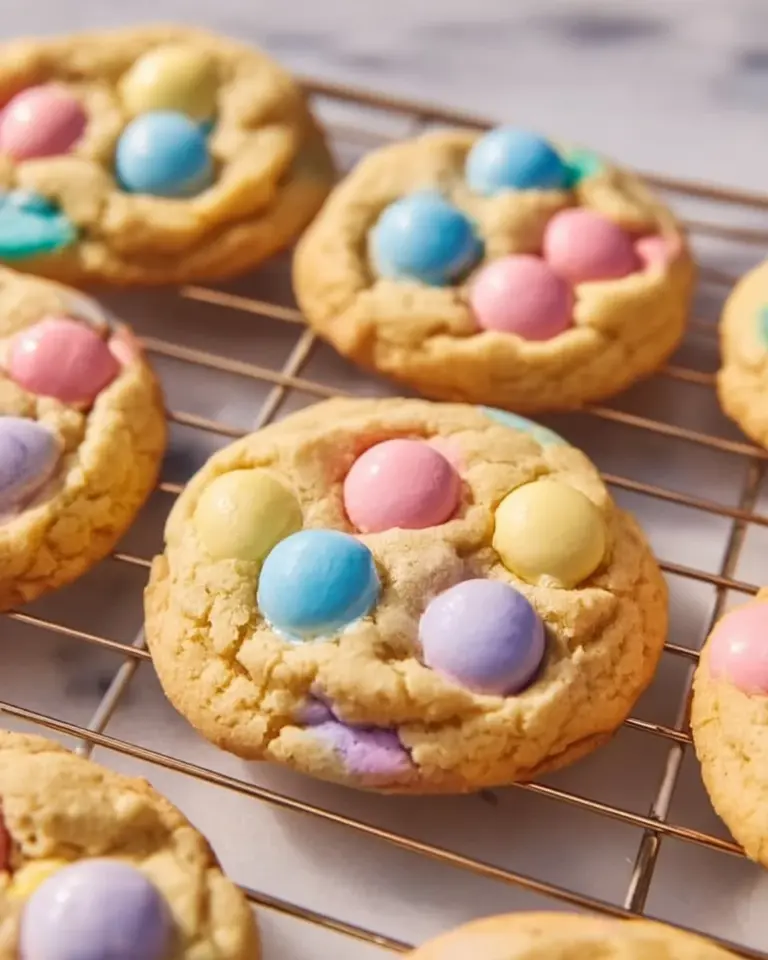
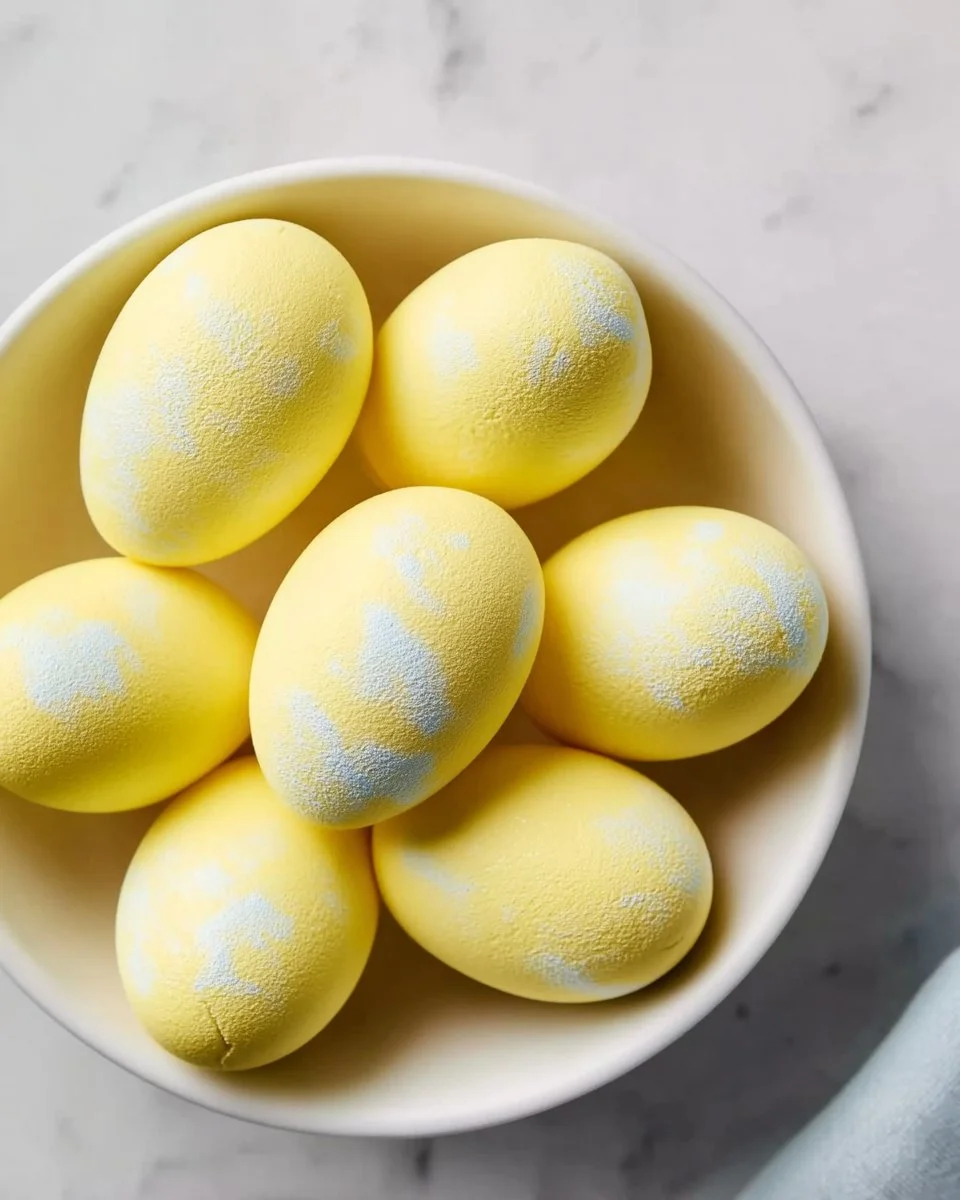
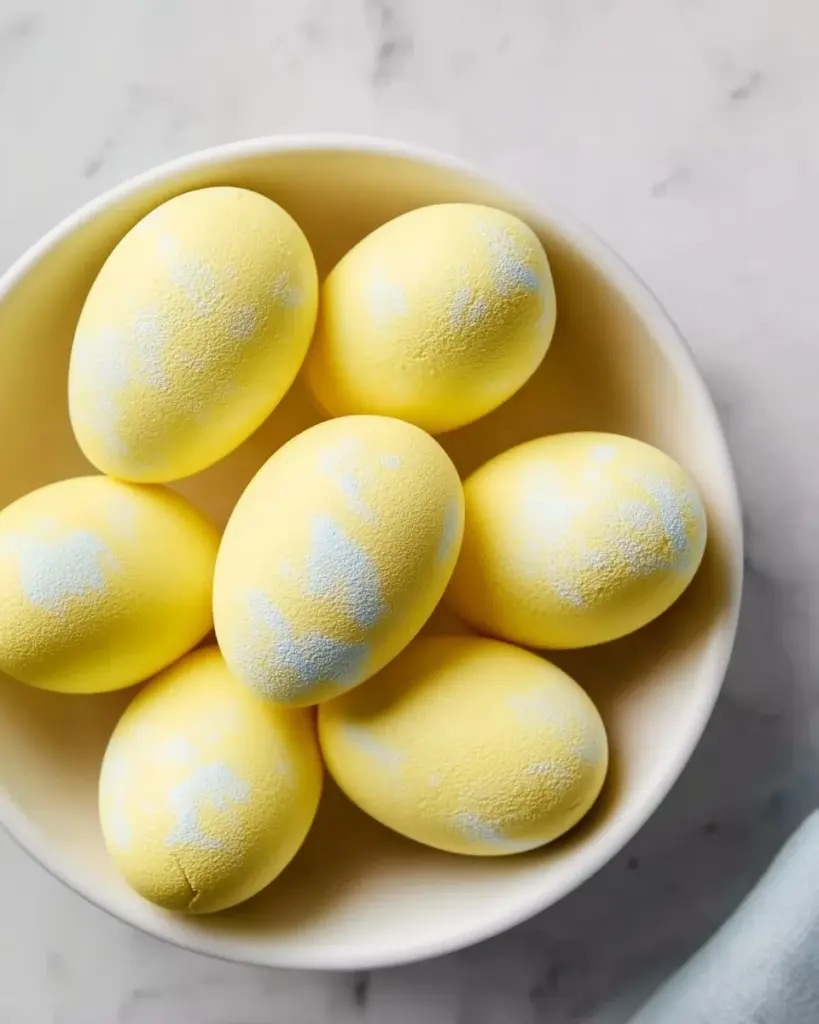
Marshmallow Easter Eggs have their roots in the classic marshmallow confections that have delighted sweet tooths for generations. These playful treats tap into the spirit of Easter, shaped into charming egg forms in various pastel colors that symbolize spring’s arrival.
Imagine biting into a perfectly crafted marshmallow egg; the outer layer is soft yet slightly firm, and the inside boasts an airy, cloud-like texture that practically melts away with each bite. What makes these eggs truly unique is the blending of holiday tradition with a customizable twist. Want strawberry flavor? Or maybe a subtle hint of coconut? The choice is yours!
These little beauties are perfect for Easter baskets, party favors, or even as a fun project to engage children during the holiday season. Their whimsical shapes and colors make them a delightful treat for gathering friends and family around the table, all while adding a special flair to your holiday celebrations.
Why You’ll Love This Recipe
Let me tell you why this Marshmallow Easter Eggs Recipe stands out from the rest! Here are five compelling reasons to get you excited about bringing this delightful treat to your kitchen:
A Home for Customization: While store-bought versions may box you in, making your marshmallow eggs allows your creativity to shine! Mix in your favorite flavors or colors, or top them with edible glitter for that extra WOW factor.
Cost-Effective Treats: Why spend a fortune on candy that won’t compare to homemade goodness? This recipe is not only affordable but also allows you to craft a large batch of treats to share or enjoy yourself!
Easy to Follow: With a simple step-by-step approach, even novice bakers can get great results. I promise you’ll impress your friends and family with minimal effort!
A Family-Friendly Activity: What better way to bond than whipping up these fun treats together? Whether you’re with kids or adults, mixing, molding, and decorating will bring everyone together in the kitchen.
Heirloom Worthy: Once you master this recipe, it will surely become a treasured tradition—much like it is in my family. Imagine passing this down for generations, filling your home with delightful aromas and memories.
With all of this in mind, your kitchen is about to be filled with laughter and cheer as you prepare these Marshmallow Easter Eggs!
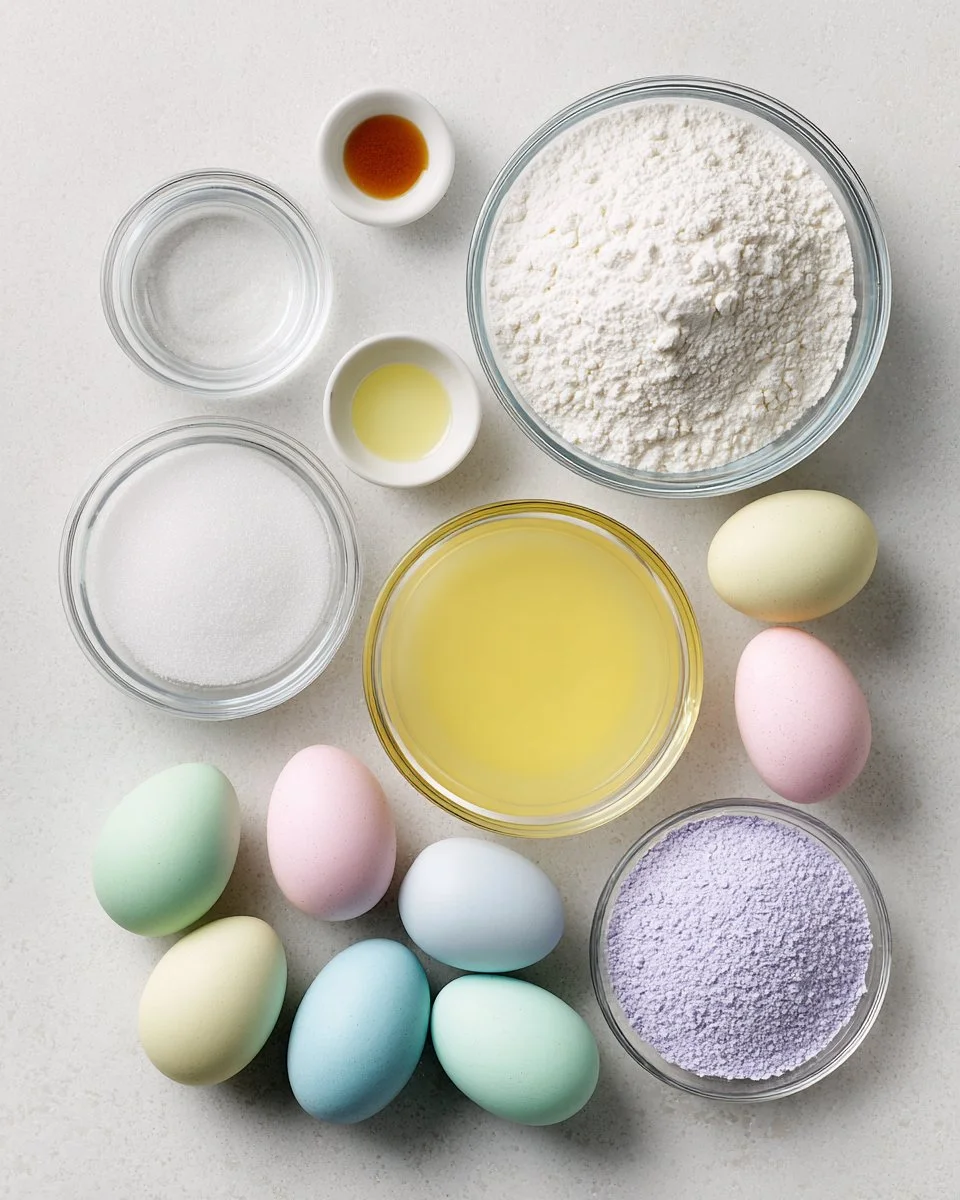
Ingredients
Here’s everything you’ll need to get started on your Marshmallow Easter Eggs Recipe:
- 3 envelopes (21g) unflavored gelatin: Opt for a high-quality brand like Knox for the best results.
- 1 cup cold water, divided: Don’t forget to reserve ½ cup!
- 1 ½ cups granulated sugar: Pure and fine will yield the best texture.
- 1 cup light corn syrup: This keeps your marshmallows nice and chewy.
- ¼ teaspoon salt: Enhances all those sweet flavors!
- 1 tablespoon vanilla extract (or almond extract): Choose a pure extract for the richest flavor.
- Yellow food coloring (or any pastel color): This adds that festive touch. Feel free to get creative!
- Cornstarch and powdered sugar mix (for dusting molds): Helps with easy unmolding!
- Edible glitter or sanding sugar (optional): For a touch of sparkle.
- Edible wafer paper for stamping (optional): Great for making your treats stand out!
Chef’s Note: Make sure to let your butter and eggs come to room temperature for the best consistency!
Step-by-Step Instructions
1. Prepare Your Molds
Start by dusting your molds with a generous mixture of powdered sugar and cornstarch. This will help your marshmallow eggs pop out easily later! It’s an essential step, so don’t rush it.
2. Bloom the Gelatin
In a medium bowl, combine ½ cup cold water and the unflavored gelatin. Let it sit for 10 minutes, allowing the gelatin to bloom—this step is key to achieving that fluffy marshmallow texture!
3. Create the Syrup
In a saucepan over medium heat, combine the granulated sugar, light corn syrup, salt, and the remaining ½ cup of cold water. Stir until the sugar has dissolved, then bring the mixture to a full boil. Cook until it reaches 240°F on a candy thermometer—this will take about 10 minutes. Be sure to keep an eye on it as it can boil over quickly!
4. Combine Hot Syrup and Gelatin
Once your syrup reaches temperature, slowly pour it into the bloomed gelatin while mixing on low speed (I recommend using a stand mixer for ease!). After all the syrup is mixed in, increase the speed to high and whip for about 10–12 minutes, until it thickens and turns glossy.
5. Fill the Molds
Carefully spoon your marshmallow mixture into the prepared molds, using a spatula to smooth the tops. You’ll want to fill each mold evenly. Allow the marshmallows to sit at room temperature for at least 6 hours, or overnight if you can wait that long!
6. Unmold and Decorate
Once set, gently remove the marshmallow eggs from the molds. Dust them with additional cornstarch and powdered sugar to prevent them from sticking. Now comes the fun part—decorating! Whether you sprinkle on edible glitter or stamp with wafer paper, get creative!
Chef’s Tip: If your marshmallows are sticky, they may need a bit more corn starch dusting.
Expert Tips & Tricks
Temperature is Key: Ensure you have a reliable candy thermometer for the syrup; using a non-stick pan can help prevent sticking.
Storage: Keep your marshmallow eggs in an airtight container at room temperature. They’ll last up to two weeks if stored properly!
Make-Ahead: These can be made several days in advance. Just prepare and store them in a dry place.
Troubleshooting: If your marshmallows aren’t setting, it might be due to not mixing long enough or not reaching the right syrup temperature. Don’t be discouraged—you’ll get it right next time!
Experiment with Flavors: Try different extracts or add food-safe flavoring oils, like peppermint or coconut, to really make your treats pop!
Serving Suggestions
Pair your homemade Marshmallow Easter Eggs with a steaming cup of hot cocoa or a light, refreshing lemonade for a delightful contrast. Present them on a decorative platter at your Easter brunch or use them as whimsical decorations for an egg hunt. They’ll surely be the star of your holiday gathering!
Variations & Substitutions
Flavor Combinations: Experiment with different extracts like hazelnut, raspberry, or even seasonal flavors like pumpkin spice during the fall.
Dietary Adaptations: For a vegan version, consider using fruit puree and agar-agar instead of gelatin. Check your ingredients to ensure they meet your dietary needs.
Seasonal Variations: Swap out the pastel colors for Halloween-themed shades or even a festive red and green for Christmas!
Nutrition & Storage Info
- Prep Time: 30 minutes
- Cook Time: 15 minutes
- Total Time: 6 hours (most of which is setting time)
- Yield: Approximately 12-15 marshmallow eggs
- Estimated Calories: About 120 calories per egg (varies with decorations)
Storage Instructions:
Keep your marshmallow eggs in an airtight container at room temperature. They’ll stay fresh for up to two weeks. If you need to freeze them, they can last for up to two months.
FAQs
Can I use flavored gelatin instead of unflavored?
- Using flavored gelatin will change the texture and overall outcome of your marshmallows. Stick with unflavored for the best results!
What happens if my marshmallows are too sticky?
- They may need more cornstarch dusting, or you could have not mixed enough after adding the syrup.
Can I make these in other shapes besides eggs?
- Absolutely! Use any mold you like—bunnies, flowers, or even simple square shapes!
How do I store leftover syrup?
- If you have extra syrup, let it cool completely and store it in the fridge for up to a week. Reheat gently before use!
Is there a way to make these sugar-free?
- While making sugar-free marshmallows is challenging, experimenting with sugar substitutes is possible, though results may vary.
Can I use a hand mixer instead of a stand mixer?
- Yes! Just be prepared for a bit more of a workout as you need to hold it until the marshmallows thicken.
How do I know when my syrup is ready?
- The 240°F mark is key. You can also do a “soft ball” test by dropping a bit of syrup into cold water; if it forms a soft ball, you’re good!
Do the marshmallows taste like store-bought versions?
- Not at all! These homemade treats offer a lighter, richer flavor that’s hard to beat.
How long can I keep these marshmallows?
- When stored properly, they last up to two weeks at room temperature.
Is this suitable for children to help with?
- Yes! With adult supervision (especially around hot syrup), this recipe is a fun project for kids.

Conclusion
The Marshmallow Easter Eggs Recipe is so much more than a delicious treat; it’s a bridge connecting family traditions, childhood nostalgia, and sweet creativity! I hope you’ll dive into making these delightful marshmallows and create new memories of your own.
I can’t wait to hear how your eggs turn out! Please share your thoughts or variations in the comments below. And if you’re looking for more ideas, be sure to check out my other festive recipes, including my popular Chocolate Coconut Easter Nests and Irresistible Cream of Mushroom Soup: A Cozy Classic Reimagined!
Happy baking, and may your kitchen be filled with love and laughter!
Marshmallow Easter Eggs
Ingredients
Method
- Dust your molds with a generous mixture of powdered sugar and cornstarch.
- In a medium bowl, combine ½ cup cold water and the unflavored gelatin. Let it sit for 10 minutes.
- In a saucepan over medium heat, combine the granulated sugar, light corn syrup, salt, and the remaining ½ cup of cold water. Stir until the sugar has dissolved, then bring the mixture to a full boil.
- Cook until the mixture reaches 240°F on a candy thermometer, about 10 minutes.
- Once the syrup reaches temperature, slowly pour it into the bloomed gelatin while mixing on low speed. Increase the speed to high and whip for about 10-12 minutes until thickened and glossy.
- Spoon the marshmallow mixture into the prepared molds and smooth the tops.
- Let the marshmallows sit at room temperature for at least 6 hours or overnight.
- Once set, carefully remove the marshmallow eggs from the molds and dust with additional cornstarch and powdered sugar.
- Decorate with edible glitter or stamp with wafer paper as desired.