Discover the Magic of Thai Chili Vinegar (Prik Nam Som): A Tangy Delight for Your Taste Buds
Growing up, meals in my family were never just about feeding our bellies; they were the highlight of our day—laughter, memories, and lots of flavors! One memory that stands out is of my grandma’s little bottle of Thai Chili Vinegar (Prik Nam Som) that sat on the dining table, always ready to elevate any dish. Just a drizzle of that spicy, tangy goodness over our favorite stir-fries or fried rice would send the flavor soaring, igniting our taste buds with joy.
What makes Prik Nam Som so special? It’s not just the heat of the chilies or the tanginess of the vinegar; it’s that perfect harmony of flavors that dances on your tongue. This recipe stands out from your typical vinegar concoction—crafted with care and a sprinkle of nostalgia, it captures the essence of Thai cuisine. You’ll see, once you make this at home, it becomes your go-to magic potion for anything you want to boost.
In this post, I’ll share my cherished recipe and show you how easy it is to create your own Thai Chili Vinegar. Along the way, I’ll share tips that have been passed down through my family to ensure success. So grab your apron, and let’s start this flavorful journey together!
What Are Thai Chili Vinegar (Prik Nam Som)?
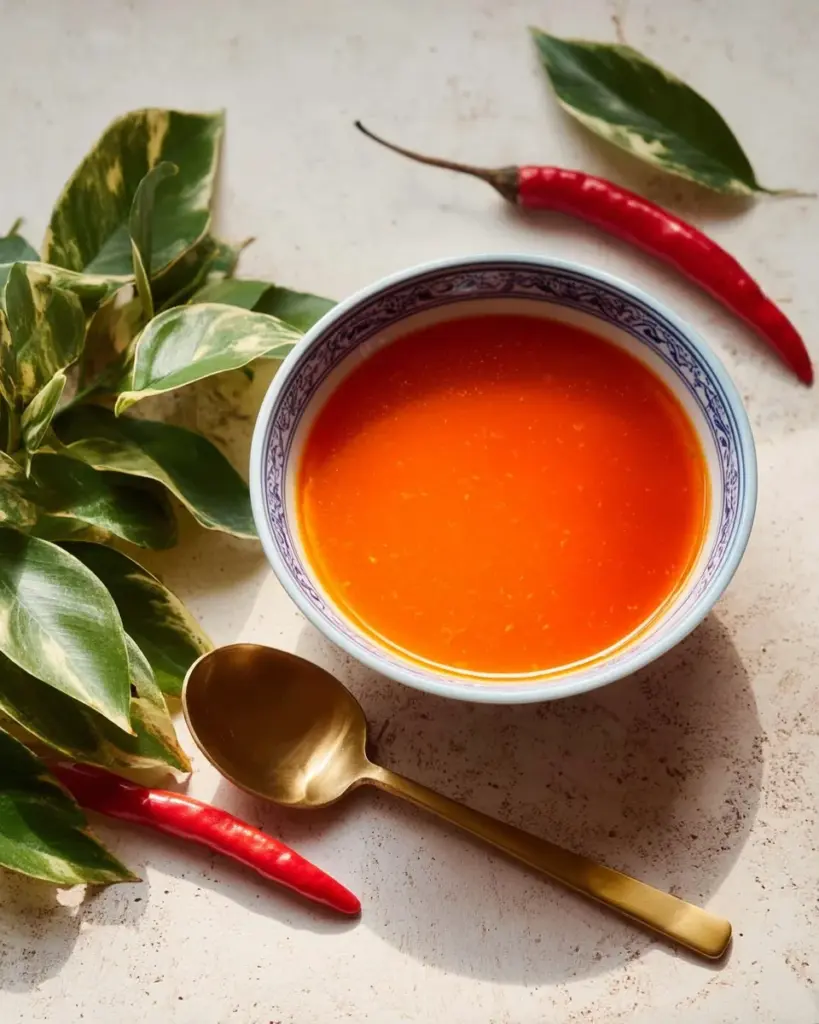
Thai Chili Vinegar (Prik Nam Som) is more than just a condiment; it’s a celebration of balance and brightness. Rooted in the vibrant streets of Thailand, this dipping sauce combines the heat of fresh Thai chilies with the sharpness of vinegar to create an irresistible flavor profile.
The beauty of Prik Nam Som lies in its simplicity. It offers a spice that comes with a kick, mingled with a sour, vinegary bite, and the result is a complex yet straightforward dressing that is both spicy and delicious. The texture is typically thin, allowing it to easily coat your favorite foods, whether it’s spring rolls, grilled meats, or even a simple bowl of rice.
Why make your own? Homemade versions give you full control over the ingredients, allowing you to customize the spice level and freshness. Several occasions—barbecues, family gatherings, or even a cozy dinner at home—call for this delicious sauce, so why not whip up a batch and keep it handy?
Why You’ll Love This Recipe
Freshness is Key: There’s nothing like the pop of flavor you get when you use fresh ingredients. Homemade Thai Chili Vinegar delivers freshness that store-bought versions simply can’t match. With just a few quality ingredients, you’ll capture that authentic taste of Thailand.
Customization: Think you can’t handle the heat? You can still enjoy this traditional sauce by adjusting the number of chilies. Not a fan of garlic? Leave it out! This recipe is yours to tweak.
Cost-effective: Making your own chili vinegar is not only easy but also budget-friendly. A couple of chilies and some vinegar can yield a sizable batch that lasts for weeks, compared to expensive sauces from the store.
Quick and Easy: This recipe requires minimal prep and can be made in just about 15 minutes! Perfect for a last-minute addition to meals or guests.
Elevate Your Dishes: Use it as a condiment or dressings—this vinegar shines over grilled vegetables, fried rice, and even as a dipping sauce for appetizers. It adds that unexpected zing that leaves everyone craving more.
Ingredients

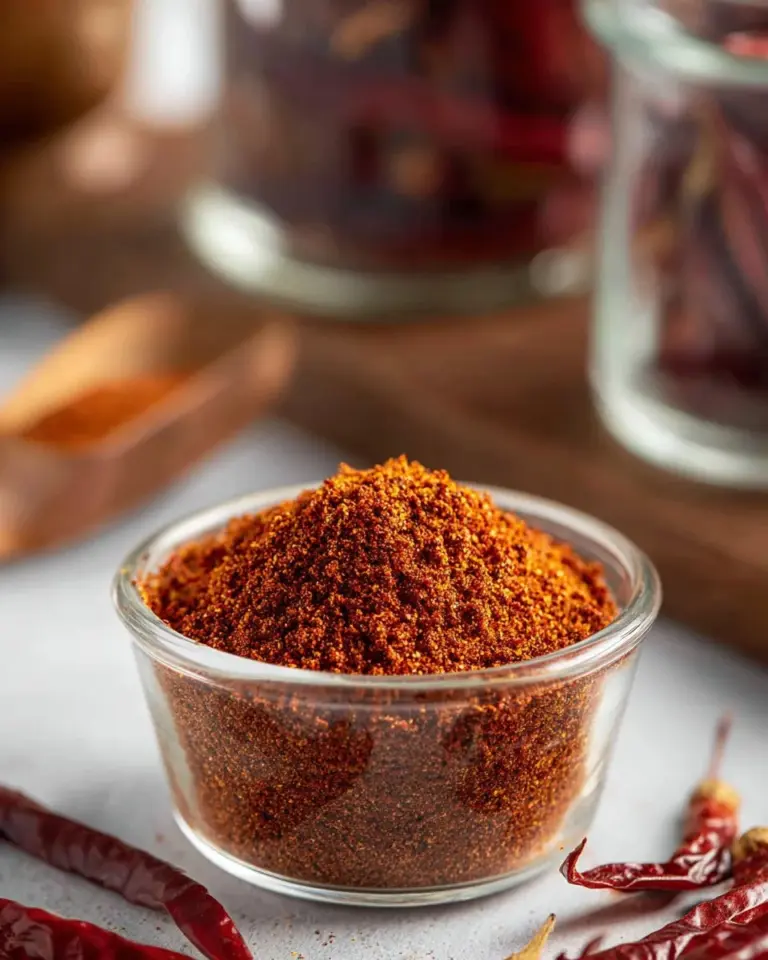
- 2-3 Thai chilies – These are essential for that signature heat. Adjust the quantity to your spice preference; more chilies equal more kick!
- 1 clove garlic (optional) – Adds a pungent depth to the flavor. If you prefer it milder, feel free to skip it.
- 1/4 cup white vinegar – Use a good quality vinegar for the best results. Avoid substitutes like apple cider vinegar as they can alter the taste.
Additional Notes
- Freshness: Be sure to pick fresh chilies that are bright and firm.
- Substitutions: If you can’t find Thai chilies, you can use serrano or jalapeños as substitutes, though the flavor profile may change slightly.
Prep Note: Ensure your ingredients are at room temperature to mix better and enhance flavors.
Step-by-Step Instructions
Optional Step: Char the chilies and garlic (if using) in a dry skillet over high heat until they are lightly charred, about 2-3 minutes. This step intensifies the flavors and adds a smoky touch.
Pound to Paste: If you’ve opted for garlic, pound the chilies and garlic together into a paste using a mortar and pestle. This will allow the flavors and oils to release beautifully.
Mix with Vinegar: Transfer the chili paste into a bowl, and add the white vinegar. Stir well to combine, ensuring there are no lumps.
Blender Option: For a smoother consistency, you can blend all ingredients together in a blender. This is also useful if you’re doubling the batch!
Store: Pour the mixture into a sealed container. Store it in the fridge; it will keep fresh for up to two weeks.
Chef’s Tips
- Taste as You Go: As you make the vinegar, taste it! Adjust by adding more chilies or vinegar until you’ve reached your desired flavor.
- Avoid Common Mistakes: Don’t skip charring; it’s a game-changer. Also, ensure your container is clean and dry to prevent spoilage.
Expert Tips & Tricks
Storage Recommendations: Always keep your Thai Chili Vinegar in the fridge. It will taste best within two weeks, but you can extend its lifespan by sterilizing your container before filling.
Make-Ahead Instructions: This sauce is a great make-ahead option. Whip up a batch during the week and have it ready for your meals. It only gets better as the flavors meld.
Troubleshooting: If your vinegar turns too spicy, dilute it with a bit more vinegar to reduce heat.
Experiment: Feel free to play with the ingredients! Add a teaspoon of sugar for sweetness or some finely chopped herbs for freshness.
Serving Suggestions
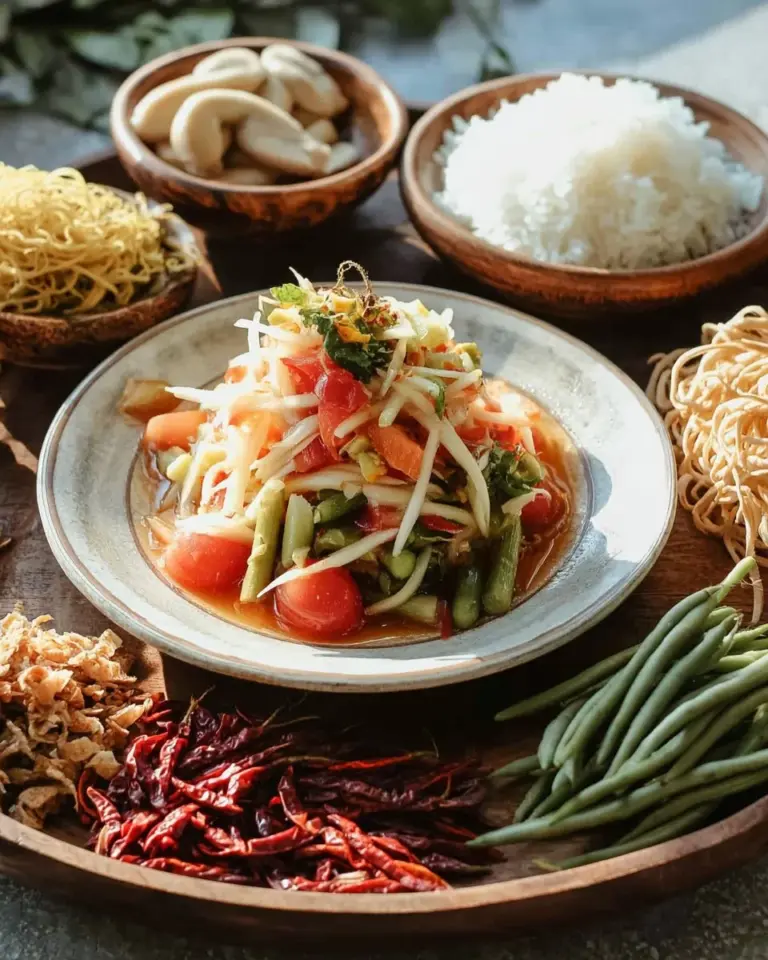
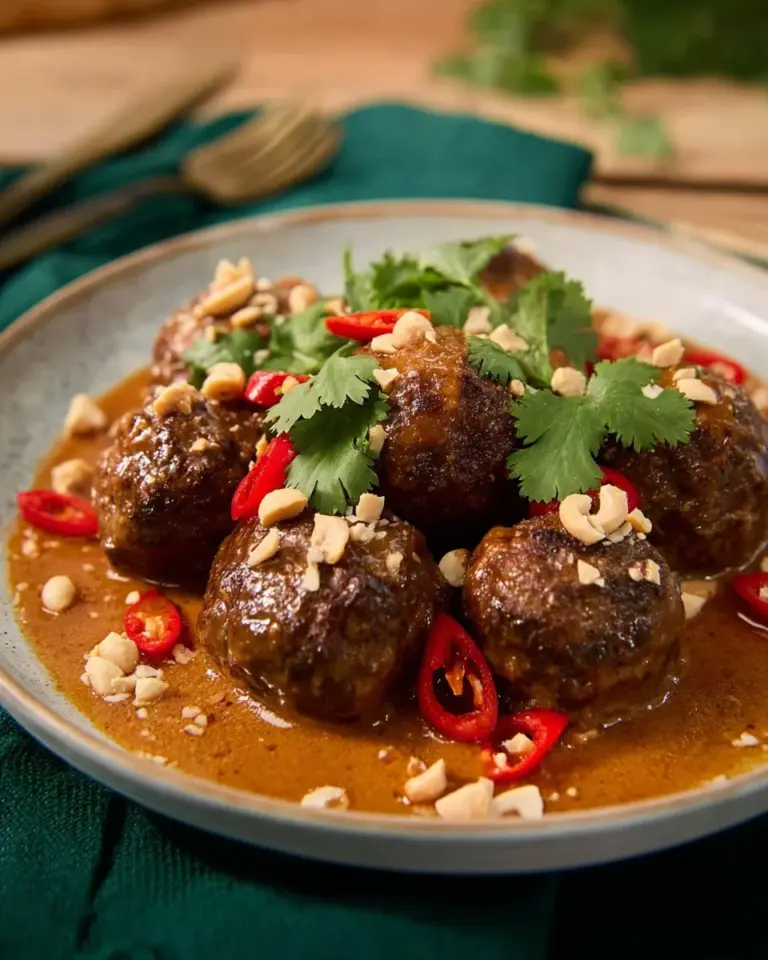
Thai Chili Vinegar shines when paired with a multitude of dishes. Drizzle it over grilled chicken or toss it with fresh spring rolls. For a cozy night in, serve it alongside fried rice, and watch it transform your meal. Presentation matters: pour it into a chic dipping bowl and accompany it with vibrant veggies or crispy snacks to create an inviting atmosphere.
Variations & Substitutions
Flavor Combinations: Why not take a trip to flavor town? Consider adding a dash of fish sauce or a squeeze of lime for an extra umami twist. For those who love sweetness, blend in a little palm sugar.
Dietary Adaptations: This recipe can easily be made gluten-free by ensuring your vinegar is gluten-free (most white vinegar is).
Seasonal Variations: During summer months, incorporate seasonal fruits like mango or pineapple into the mix for a fruity kick that’s refreshing!
Nutrition & Storage Info
- Prep Time: 5 minutes, Cook Time: 10 minutes, Total Time: 15 minutes
- Yield: About 1 cup
- Estimated Calories per Serving: 15 calories
- Storage Instructions: Best kept in the fridge in a sealed container for up to two weeks.
FAQ Section
Can I use other types of vinegar?
- While white vinegar is traditional, you can try rice vinegar for a milder flavor, but the taste will differ.
How spicy is this recipe?
- The spiciness varies based on the chilies used; start with fewer chilies if you’re unsure and add to taste.
What if I don’t have a mortar and pestle?
- A blender or food processor works just as well. Just pulse until it’s a paste!
Can I freeze Thai Chili Vinegar?
- While you can freeze it, the texture may change upon thawing. It’s best enjoyed fresh.
What foods pair well with this vinegar?
- It’s fantastic with grilled meats, fresh spring rolls, or even drizzled over salads for a zesty punch.
Can this recipe be doubled?
- Absolutely! Just adjust the ingredients proportionately for a larger batch.
Is it okay to add more garlic?
- Yes, more garlic will impart a stronger flavor, but balance it with the chilies to maintain the overall taste.
How long do the flavors meld?
- Ideally, let it sit for at least 24 hours to deepen the flavors.
Can I use dried chilies instead?
- Fresh chilies are preferred for best flavor but dried can work in a pinch—soak them first to rehydrate.
Is this recipe safe for canning?
- This recipe is not designed for canning, so always keep it refrigerated for safety.

Conclusion
Thai Chili Vinegar (Prik Nam Som) is not just a recipe; it’s a flavorful story waiting to unfold in your kitchen. With its optimal balance of heat and tang, you’ll soon find yourself reaching for this sauce during every meal. So, roll up your sleeves, try this recipe, and feel free to share your experience! If you have any tips or tweaks you make, drop a comment below—I’d love to hear from you.
For more exciting adventures in the kitchen, be sure to explore my other recipes on the blog. Happy cooking!
Thai Chili Vinegar
Ingredients
Method
- Optional Step: Char the chilies and garlic (if using) in a dry skillet over high heat until they are lightly charred, about 2-3 minutes.
- Pound the chilies and garlic together into a paste using a mortar and pestle.
- Transfer the chili paste into a bowl, and add the white vinegar. Stir well to combine.
- For a smoother consistency, blend all ingredients together in a blender.
- Pour the mixture into a sealed container and store it in the fridge.