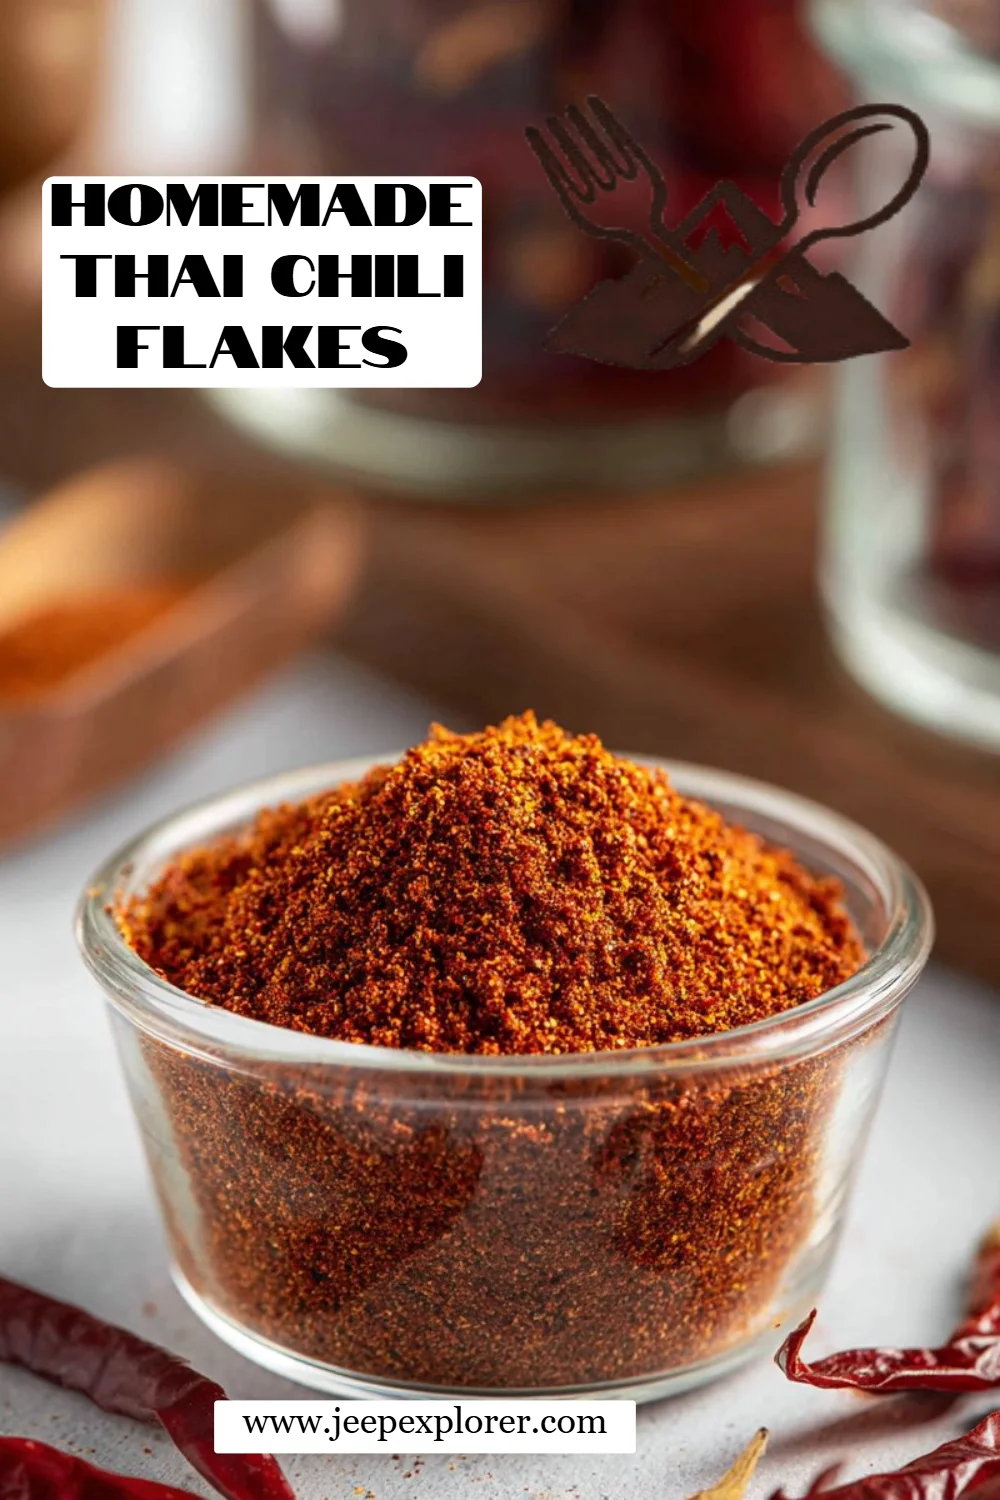
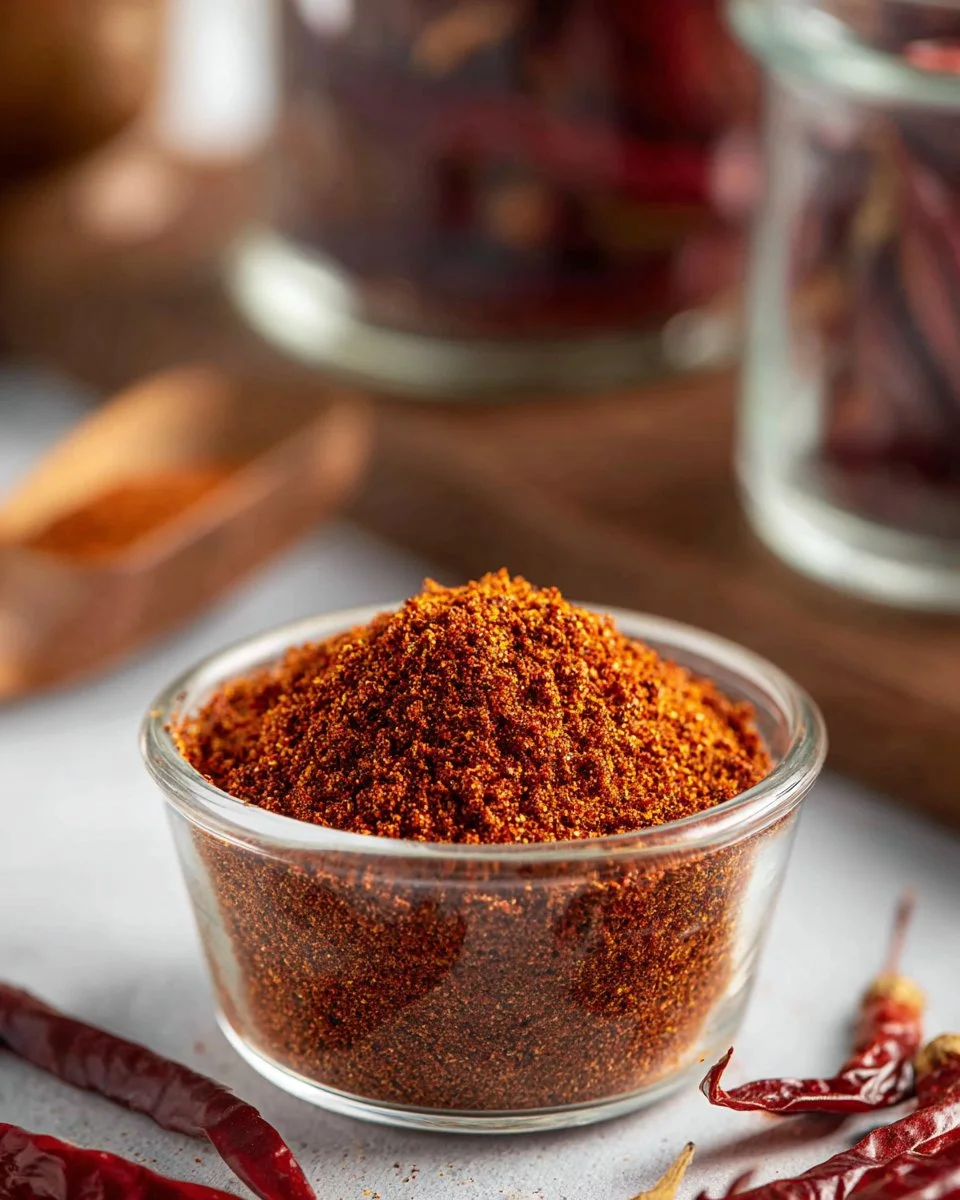
How to Make Irresistibly Spicy Thai Chili Flakes (Prik Bon) at Home!
Introduction
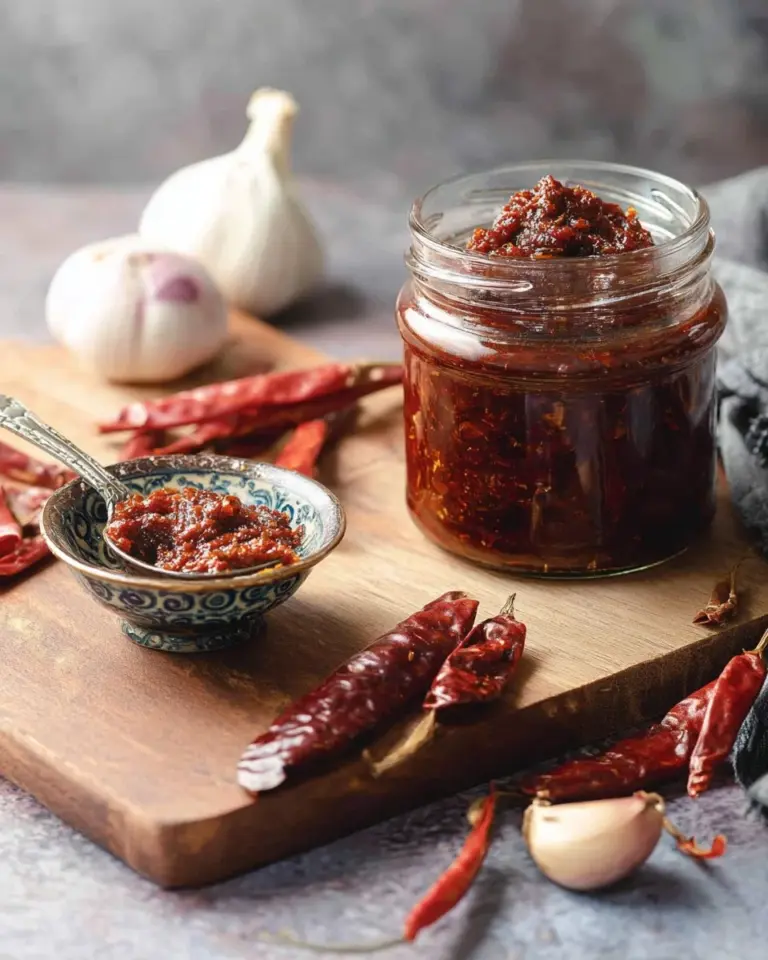
Picture this: it’s a chilly evening, and your home is filled with the inviting aroma of Thai spices simmering on the stove. As I stand by the counter, a bright red bowl of homemade Thai chili flakes (also known as Prik Bon) glistens beside me, ready to spice things up. These little flakes are more than just a condiment; they are my secret ingredient, a nod to my grandmother’s kitchen, where she always had a jar on hand.
What makes these chili flakes so special? Well, it’s not just the vibrant heat that brings dishes to life; it’s the memories tied to every sprinkle. Unlike the store-bought versions, which can be bland or too one-note, this homemade recipe bursts with complex layers of flavor thanks to the careful toasting process. You’ll soon discover how easy it is to make your own chili flakes that perfectly suit your taste.
Join me on this flavorful journey, and by the end of this article, you’ll know exactly how to make Thai chili flakes that will elevate your culinary creations, filling your home with warmth, nostalgia, and a dash of spice!
What Are Thai Chili Flakes (Prik Bon)?
Thai chili flakes, or Prik Bon, are a staple in Thai cuisine, renowned for their heat and flavor. Originating from the traditional methods of using dried Thai chilies, these flakes are a versatile seasoning that adds character to any dish. The chilies themselves offer a unique combination of smokiness and a robust heat that’s distinct from other chili powders.
The texture of Prik Bon is coarse yet fine enough to integrate beautifully into sauces, curries, or even as a topping on your favorite dishes. You can whip up a batch of these delightful flakes at home, becoming your very own heat master in the kitchen. Making them is a rewarding experience, and as an extra bonus, you can adjust the heat level to your preference—something you can’t really control with store-bought options.
So, when should you make these amazing chili flakes? Whenever you feel like adding an unforgettable punch of flavor to your meals, they’re the perfect pantry staple to have on hand!
Why You’ll Love This Recipe
Cost-Effective Spice: When it comes to quality and flavor, nothing beats homemade! Store-bought chili flakes can cost a pretty penny and often lack the freshness you get from making your own. For just a few dollars, you can produce a generous batch using dried Thai chilies.
Customization: You have the freedom to adjust the heat level. If you’re feeling adventurous, try mixing different types of chilies or adding spices like cumin or garlic powder for a unique twist tailored to your palate.
Quality Control: The only ingredients you’ll use are pure and natural. Many store-bought versions contain preservatives or additives. With your homemade Prik Bon, you can ensure every flake is as vibrant and fresh as possible.
Easy to Make: With just a few simple steps, you can master this easy recipe in under 30 minutes! You don’t need to be a professional chef to whip up something extraordinary, and recent experience has taught me just how rewarding that can be.
Long Lasting: Although you’ll want to use your homemade chili flakes within a couple of months for optimal flavor, they can still be used for up to 6 months without losing all their heat. This makes them an accessible option for anyone who loves spice!
So ditch the dull store-bought versions and prepare to finesse your dishes with homemade Thai chili flakes!
Ingredients
- 3 loose cups dried Thai chilies: Choose high-quality chilies for the best flavor. Look for bright red, whole chilies without blemishes. Brands like Thai Kitchen and Himalayan Natives are great choices.
Additional Ingredients:
- 1 tablespoon of sea salt (optional for flavor balance)
- 1 teaspoon of sugar (optional to mellow the heat)
Preparation Notes:
- Make sure your Thai chilies are at room temperature to allow for even roasting.
Step-by-Step Instructions
Toast the Chilies:
- Heat a pan over low heat (dry, no oil), then add the dried chilies. Stir them continuously for about 5-7 minutes. Watch as they slowly darken and become shiny—this is crucial for releasing their oils and flavor. Do not let them blacken!
Cool Down:
- Once toasted, remove the pan from the heat and let the chilies cool completely. This is important to avoid any potential burning once you move to the next step.
Grind to Perfection:
- Transfer the cooled chilies to a blender or a food processor. Grind until you reach your desired texture – I prefer mine slightly coarse for that authentic feel.
Store Wisely:
- Place your freshly made Thai chili flakes in an airtight container. They’ll stay vibrant for 1-2 months at room temperature, but can last up to 6 months in the fridge.
Chef’s Tips:
- Avoid over-toasting to prevent bitterness.
- For a more intense flavor and different notes, try adding garlic or onion powder to the blend.
Expert Tips & Tricks
Storage Recommendations: Keep your chili flakes in a cool, dark place, preferably in a glass jar to maintain freshness.
Make-Ahead Instructions: Prepare your Thai chili flakes in a batch and store them to have on hand for meal prep; they provide an instant kick to your dishes.
Troubleshooting:
- If your flakes taste burnt, reduce the heat next time.
- Not spicy enough? Try adding a handful of extra hot chilies when toasting.
Use Fresh Ingredients: Whenever possible, buy fresh, high-quality Thai chilies for the best flavor.
Experiment: Don’t hesitate to try different blends with herbs, spices, or even nuts for an elevated chili flakes experience!
Serving Suggestions
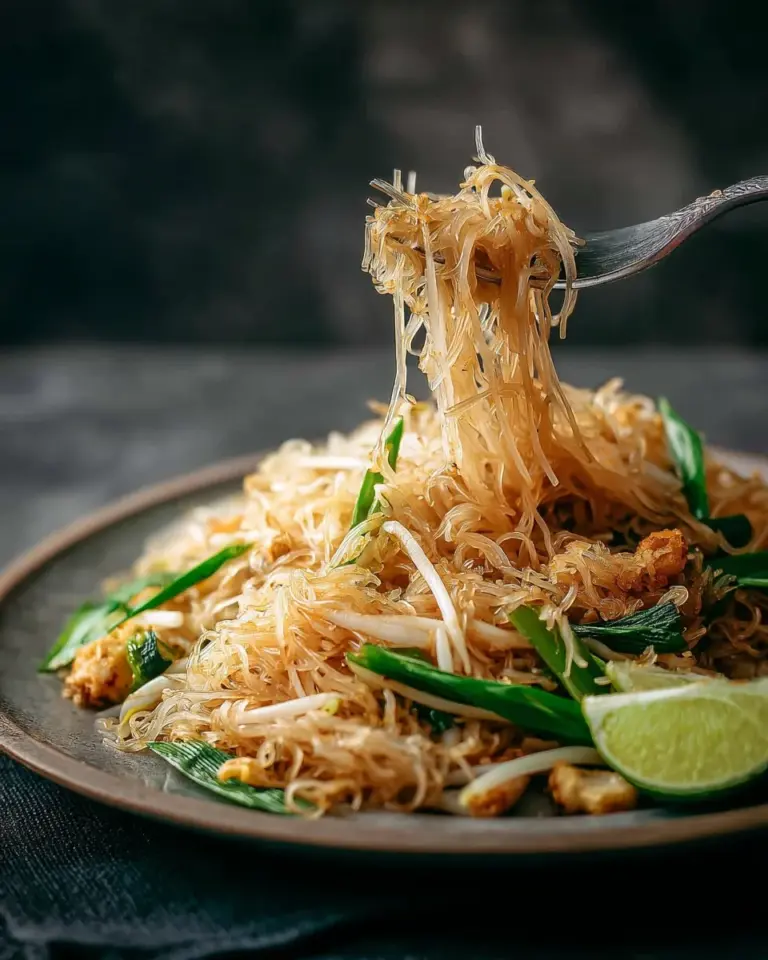
What pairs well with your homemade Thai chili flakes? Try sprinkling them over a steaming bowl of Pad Thai, using them to spice up a fresh Thai salad, or even incorporating them into marinades for grilled meats. A vibrant sprinkle on a cream-based soup adds an unexpected twist!
For the ultimate presentation, serve your chilies in a decorative bowl and let guests add them to their own dishes at the table. This not only looks appealing but creates a fun interactive dining experience.
Variations & Substitutions
- Different Chilies: For a smoky flavor, try blending in a few smoked chilies with your Thai chilies.
- Dietary Adaptations: If you’re sensitive to heat, use less chili or mix in mild spices to adjust the flavor.
- Seasonal Twist: In the fall, consider adding dried herbs for a holiday flair!
Nutrition & Storage Info
- Prep Time: 5 minutes
- Cook Time: 10 minutes
- Total Time: 15 minutes
- Yield: About 1 cup of chili flakes
- Estimated calories per serving: Minimal; negligible calories for seasoning.
- Storage Instructions: Keep in an airtight container at room temperature; refrigerate for longer freshness.
FAQ Section
Can I use fresh chilies instead of dried?
- Fresh chilies contain moisture, which can lead to spoilage. Always use dried chilies for this recipe to maintain longevity.
How can I adjust the heat level?
- To ramp up the heat, blend in a few additional hot dried chilies such as bird’s eye chilies. For milder flakes, try mixing in some sweet peppers.
What should I do if my chilies burn?
- If your chilies burn during toasting, start over. Burnt chilies will contribute bitterness to your final product.
How do I store my chili flakes for extended freshness?
- Store in a dark, cool place in an airtight container. Refrigerating can extend shelf life.
Can I add herbs to my chili flakes?
- Absolutely! Fresh herbs can be dried and added, but remember that they may affect the drying time.
What dishes are best with chili flakes?
- Chili flakes are great on pastas, salads, soups, and Asian stir-fries.
Do I need to wash the chilies?
- No, do not wash them, as moisture makes drying less effective. If they’re dusty, a gentle brush will do.
What is the best way to grind the chilies?
- A spice grinder, blender, or food processor works best, but ensure they’re dry before grinding.
Can I make a large batch to last longer?
- Sure! Just be mindful of storage conditions to keep them fresh longer.
Is it safe to eat old chili flakes?
- If they appear discolored or taste off, it’s best not to consume them.
Conclusion
Creating your very own Thai chili flakes (Prik Bon) is not just a cooking project; it’s a delightful journey into flavor that brings a sense of nostalgia and warmth to your kitchen. The beautiful aromas and vibrant color will undoubtedly elevate any dish you choose to enhance. I encourage you to try making this recipe at home. Experiment and delight in the tastes you love.
I’d love to hear how your homemade chili flakes turned out! Don’t forget to share your thoughts in the comments below. For more inspired recipes, check out my blog for other delightful Thai dishes that will warm your heart and tantalize your taste buds. Happy cooking!