There’s something magical about salt, chocolate, and caramel coming together in a dessert that warms the heart and soul. I remember one rainy afternoon, my kids and I were holed up in the kitchen, searching for a sweet remedy to chase away the dreariness. That’s when we stumbled upon the ultimate comfort treat: Salted Caramel Fudge Bars. Not only did the smell of melting chocolate and caramel fill our home with warmth, but they also became a new family favorite.
These Salted Caramel Fudge Bars are special; they balance the richness of chocolate, the creaminess of fudge, and a hint of salt for that mouthwatering contrast. Unlike store-bought sweets filled with preservatives, this recipe allows you to control the ingredients, ensuring a fresh treat bursting with flavor. I love how these bars evoke fond memories every time I make them—like my grandmother in her cozy kitchen, whipping up her signature delights.
In this post, I’ll guide you through creating your very own batch of Salted Caramel Fudge Bars that will have your family begging for seconds. Get ready to impress with this easy recipe, filled with love and rich flavors!
What Are Salted Caramel Fudge Bars?
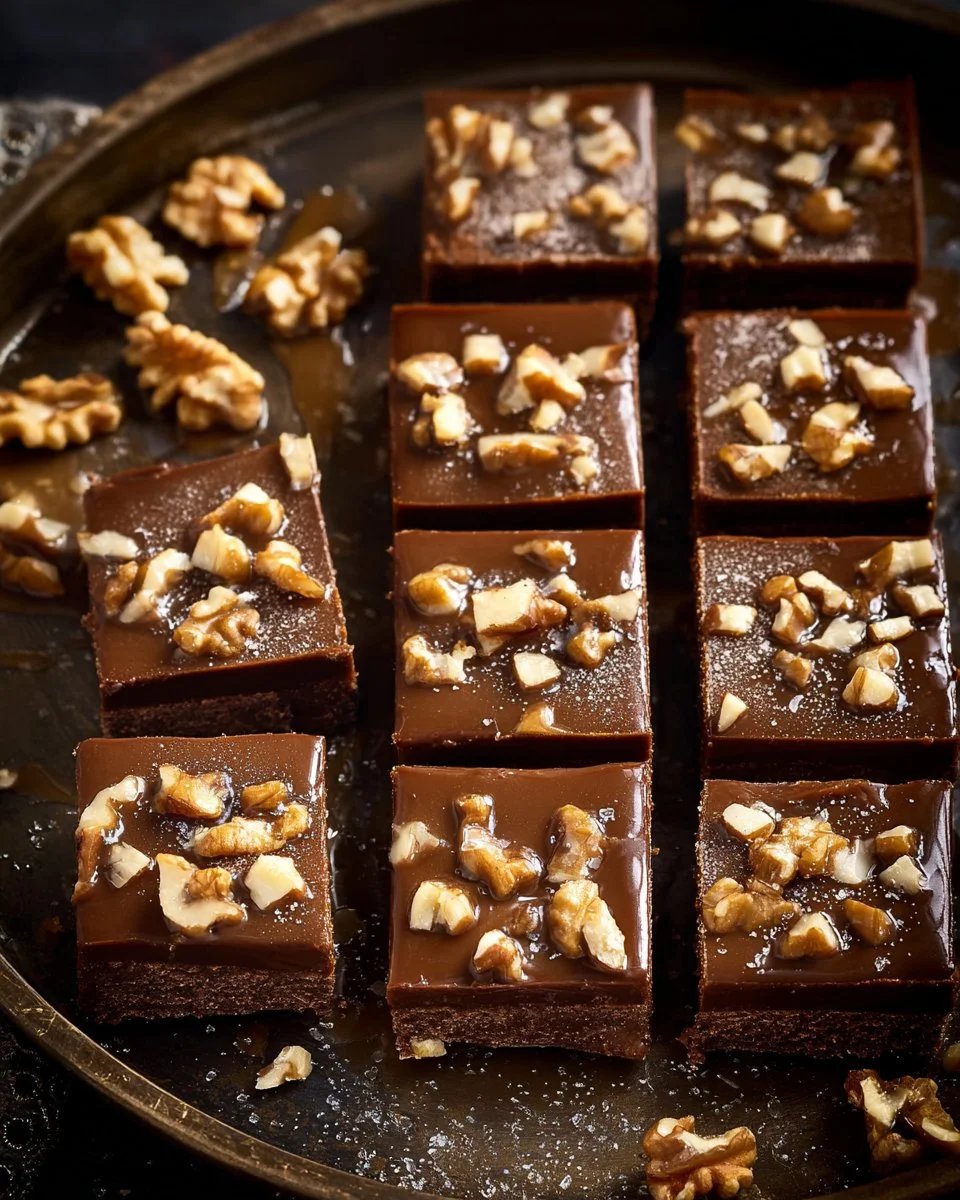
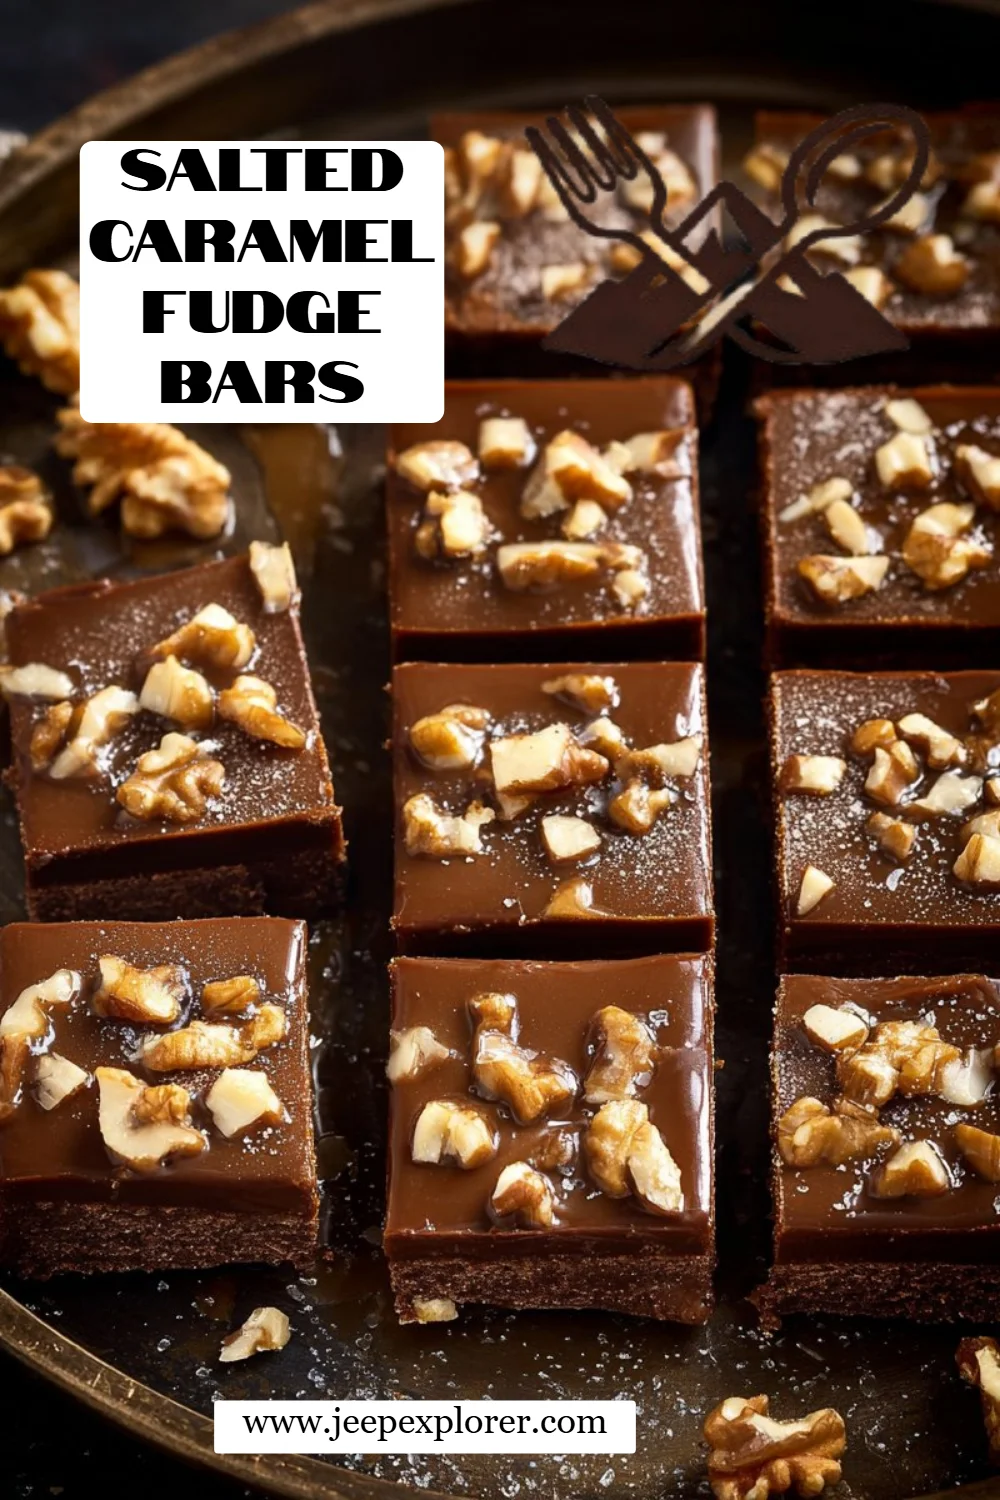
Salted Caramel Fudge Bars are a decadent treat that perfectly encapsulates the fusion of sweet and salty. Originating from classic fudge recipes, these bars incorporate layers of buttery shortbread, smooth chocolate fudge, and a drizzle of salty caramel. What makes them unique is the combination of different textures and flavors—crispy crust, velvety fudge, and a pop of salt!
The taste is an experience in itself; each bite reveals the rich chocolate and sweet caramel, complemented by that tantalizing hint of sea salt. They’re perfect for special occasions, holiday gatherings, or even as a treat just for you on a quiet evening. Whenever you find yourself needing a little comfort or a crowd-pleasing dessert, these bars are ready to shine!
Why You’ll Love This Recipe
Easier Than You Think: Don’t be intimidated; these Salted Caramel Fudge Bars are straightforward to make, even for beginners. With just a few steps and minimal equipment, you’ll have a luscious treat to present to friends and family.
Cost-Effective Delight: Why break the bank on overpriced desserts at gourmet shops when you can whip up these rich bars at home for a fraction of the cost? Plus, you get plenty to share—or hide away for yourself!
Customize to Your Taste: This recipe is incredibly versatile! Feel free to swap out chocolate types (dark or milk!), load them with nuts, or toss in a sprinkle of your favorite snack for a unique twist.
Quality Ingredients: Making these bars at home means you control what goes in! Using fresh, quality ingredients makes a world of difference. You’ll taste the love and care in every bite, unlike mass-produced versions.
Perfect Anytime: Whether it’s a special occasion, a holiday party, or a cozy movie night, these bars fit right in. The combination of chocolate and caramel will make any gathering feel a little more special and sweet!
Ingredients
For the Shortbread Base
- 1/2 cup unsalted butter, at room temperature (for a creamy texture; I recommend Land O’Lakes)
- 1/4 cup confectioners’ sugar (adds sweetness without grittiness)
- 1/2 teaspoon vanilla extract (for warmth and depth)
- 1/4 teaspoon kosher salt (balances flavors)
- 1 cup all-purpose flour (for that crumbly, shortbread texture)
For the Fudge Topping
- 16 ounces semi-sweet chocolate, finely chopped (Ghirardelli is my go-to!)
- 1 can sweetened condensed milk (get the full-fat version for creaminess)
- 2 1/2 tablespoons unsalted butter, cut into small pieces
- 1 teaspoon vanilla extract (yes, more vanilla—always!)
- 1/2 cup caramel sauce (homemade or store-bought, but the homemade one is divine)
- 1/4 teaspoon kosher salt (for that salty finish)
- 1/2 cup walnuts, roughly chopped (optional, for added crunch)
Notes:
- Ensure the butter is at room temperature so it blends easily.
- For a nuttier flavor, feel free to substitute walnuts with pecans or omit for nut-free bars.
Step-by-Step Instructions
Step 1: Preheat and Prep
Preheat your oven to 350°F (175°C). Line an 8×8-inch baking pan with parchment paper and spray it with a nonstick cooking spray for easy removal.
Step 2: Make the Shortbread Base
In a mixing bowl, beat the 1/2 cup of unsalted butter with 1/4 cup of confectioners’ sugar, 1/2 teaspoon of vanilla extract, and 1/4 teaspoon of kosher salt until light and fluffy (about 3-4 minutes). Gradually add 1 cup of all-purpose flour, mixing until the mixture is crumbly. Press the dough into the prepared pan and bake for 14-15 minutes, or until lightly golden. Allow it to cool completely.
Step 3: Prepare the Fudge Layer
In a microwave-safe bowl, combine the 16 ounces of chopped semi-sweet chocolate, 1 can of sweetened condensed milk, and 2 1/2 tablespoons of butter. Microwave in 30-second intervals, stirring in between until melted and smooth. Stir in 1 teaspoon of vanilla extract until well incorporated.
Step 4: Assemble the Bars
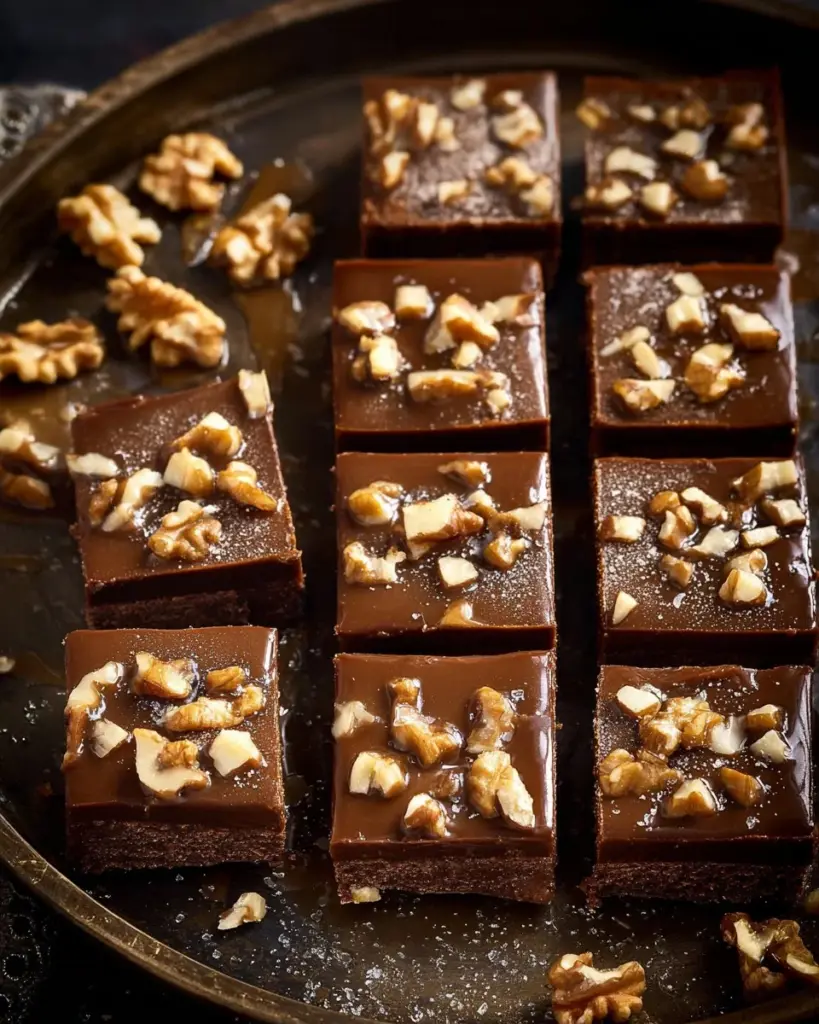
Pour the warmed fudge mixture over the cooled shortbread layer, spreading it evenly to cover. Drizzle 1/2 cup of caramel sauce on top, then sprinkle with 1/4 teaspoon of kosher salt and your 1/2 cup of walnuts if using.
Step 5: Chill and Serve
Chill in the refrigerator for at least 2 hours to set the fudge before cutting into squares. Use a sharp knife and wipe it clean between cuts for neat edges.

Expert Tips & Tricks
- Quality Ingredients: Use high-quality chocolate and fresh butter for the best flavor.
- Store Them Right: Keep your Salted Caramel Fudge Bars in an airtight container. They’ll stay fresh for up to one week at room temperature or up to two weeks in the fridge.
- Make Ahead: These bars can be made up to two days in advance. Just add the walnuts before serving if you prefer a fresh crunch!
- Troubleshooting: If your fudge doesn’t set, it could be due to overheating the chocolate. Keep the heating low and stir gently.
Serving Suggestions
These Salted Caramel Fudge Bars are delightful on their own, but pair them with a scoop of vanilla ice cream or a dollop of whipped cream for an indulgent dessert experience. For a festive presentation, arrange them on a cake stand and sprinkle some extra sea salt or drizzles of caramel sauce on top. They make fantastic gifts wrapped up with a pretty ribbon or can be a centerpiece at a holiday gathering!
Variations & Substitutions
- Different Flavor Combinations: Want to mix things up? Try adding a layer of peanut butter fudge or using dark chocolate for a richer taste.
- Dietary Restrictions: For a gluten-free version, substitute your all-purpose flour with gluten-free flour. Make sure to use gluten-free caramel sauce as well!
- Seasonal Variations: For a holiday twist, consider adding pumpkin spice to the fudge or topping it with crushed candy canes during the winter season!
Nutrition & Storage Info
- Prep Time: 15 minutes
- Cook Time: 15 minutes
- Total Time: 2 hours 30 minutes (including chilling)
- Yield: 16 servings
- Estimated Calories: 240 calories per serving
- Storage Instructions: Store in an airtight container at room temperature for up to 1 week or in the fridge for up to 2 weeks. You can also freeze them for up to 3 months.
FAQ Section
Can I make these bars ahead of time?
Absolutely! They can be prepared a day or two in advance. Just make sure to store them properly.What’s the best way to cut these bars?
Allow them to chill completely. Use a hot knife (dipped in hot water) to cut through the fudge smoothly.Can I substitute the nuts?
Yes! You can use any nut you like or leave them out altogether if you have nut allergies.Will this recipe work with other types of chocolate?
Yes! Feel free to experiment with dark chocolate or even white chocolate for a different flavor profile.How do I store leftovers?
Keep them in an airtight container at room temperature for about a week or refrigerated for extended freshness.Can this recipe be doubled?
Indeed! Just use a larger pan and adjust cooking time accordingly to allow for even baking.What can I do if my fudge isn’t setting?
Ensure the chocolate wasn’t overheated when melting. If it’s still too soft, give it more time in the fridge to set.Is this recipe suitable for special diets?
You can modify it to be gluten-free or dairy-free with appropriate substitutes.What’s the best way to serve these?
These bars are delicious at room temperature, paired with coffee or tea, or even warm with ice cream!Can I freeze the fudge bars?
Yes! Wrap them individually in plastic wrap and store in a freezer bag. They’ll last up to 3 months.
Conclusion
Salted Caramel Fudge Bars are the ultimate indulgence and a true testament to homemade goodness. They’re rich, satisfying, and bring a little bit of comfort to any occasion. I encourage you to give this easy recipe a try and experience the joy of baking these delicious bars. Don’t forget to share your thoughts in the comments below—I’d love to hear how yours turn out! And if you’re craving more sweets, be sure to check out my other delightful dessert recipes on the blog.
Irresistible Orange Creamsicle Buttercream: The Ultimate Frosting Delight
Salted Caramel Fudge Bars
Ingredients
Method
- Preheat your oven to 350°F (175°C). Line an 8×8-inch baking pan with parchment paper and spray it with a nonstick cooking spray for easy removal.
- In a mixing bowl, beat the unsalted butter with confectioners’ sugar, vanilla extract, and kosher salt until light and fluffy (about 3-4 minutes). Gradually add all-purpose flour, mixing until the mixture is crumbly.
- Press the dough into the prepared pan and bake for 14-15 minutes, or until lightly golden. Allow it to cool completely.
- In a microwave-safe bowl, combine the chopped semi-sweet chocolate, sweetened condensed milk, and unsalted butter. Microwave in 30-second intervals, stirring in between until melted and smooth.
- Stir in the vanilla extract until well incorporated.
- Pour the warmed fudge mixture over the cooled shortbread layer, spreading it evenly to cover.
- Drizzle caramel sauce on top, then sprinkle with kosher salt and walnuts if using.
- Chill in the refrigerator for at least 2 hours to set the fudge before cutting into squares.
- Use a sharp knife and wipe it clean between cuts for neat edges.