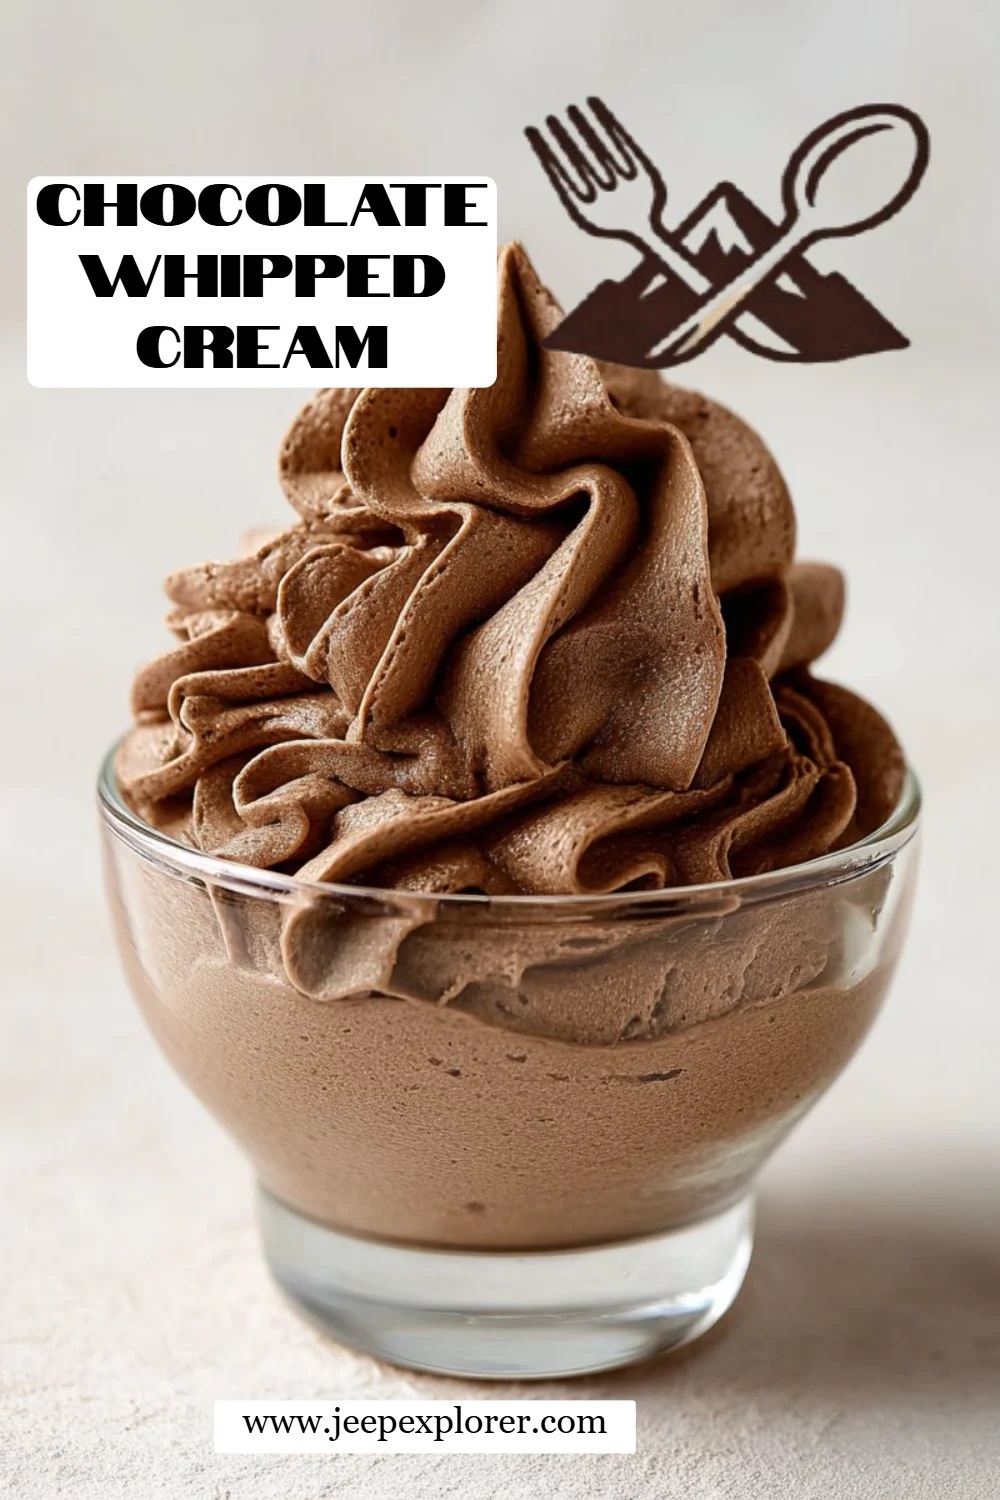
When it comes to comfort food, there’s nothing quite like a whipped cream that not only looks heavenly but tastes like a slice of chocolate paradise. I’ll never forget the first time I decided to make homemade Chocolate Whipped Cream for a family gathering. It was a chilly winter evening, and my kitchen was filled with laughter, joy, and the rich aroma of chocolate as I whisked up what would become a family favorite. My sister, usually skeptical of “extra” toppings, took one bite and declared it the best thing she had ever tasted. Since then, it has become a staple at birthday parties, holidays, and even lazy Sunday afternoons.
What makes this Chocolate Whipped Cream truly special is its velvety texture and deep chocolate flavor, which sets it apart from the store-bought variations with their artificial tastes. You won’t just be topping your desserts with a simple whipped cream; you’ll be adding an ethereal layer of decadence that brings everyone together. Plus, it’s ridiculously easy to prepare! In this post, I promise to share a foolproof recipe, insider tips, and ideas for serving it that you’ll want to try right away.
Let’s dive in and elevate your desserts with this delightful creation!
What Are Chocolate Whipped Cream?
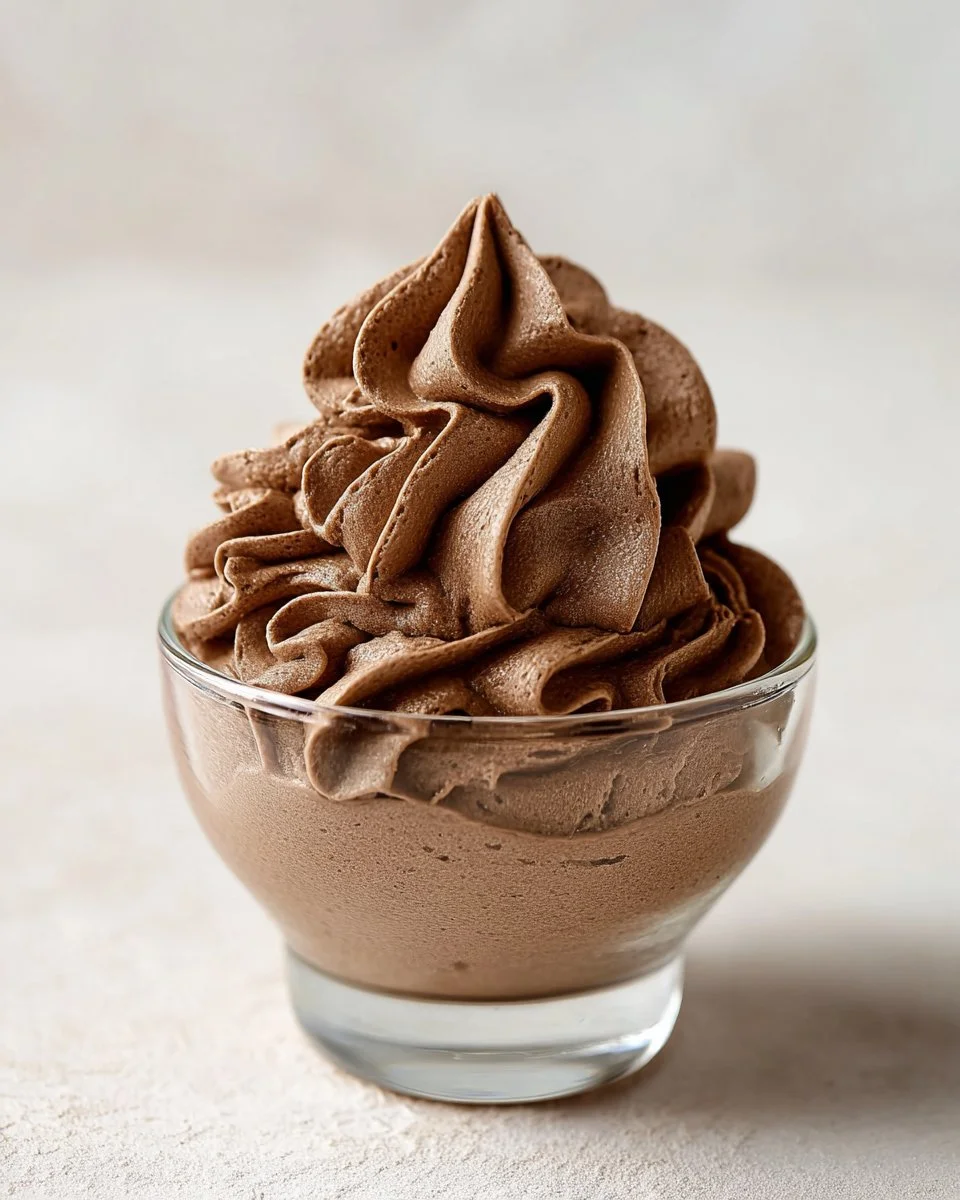
Chocolate Whipped Cream is not merely a lighter version of chocolate mousse; it’s a delightful, airy topping that promises to enhance any dessert. Originating from the classic whipped cream tradition, it incorporates cocoa powder, giving it a rich chocolate flavor that is both sweet and comforting—imagine giggles around the kitchen table as you dollop this treat on your favorite cake or pie!
This delightful concoction boasts a fluffy, yet rich texture that melts in your mouth, striking the perfect balance between sweetness and that irresistible chocolatey goodness. Whether you’re celebrating a special occasion or just indulging in a cozy night at home, there’s always a reason to whip up a batch of Chocolate Whipped Cream.
Why You’ll Love This Recipe
- Unmatched Flavor: Homemade is always better! The deep chocolate flavor and creamy texture will leave you questioning why you ever bought store-bought whipped cream.
- Cost-Effective: Making it yourself is not only more flavorful, but it’s also kinder to your wallet. Plus, you’ll know exactly what’s in it—no funky preservatives here!
- Fully Customizable: Want a little kick? Add a splash of espresso or some peppermint extract for a festive twist. The possibilities are endless!
- Easy to Make: You don’t need to be a pastry chef to achieve stellar results with this recipe. It’s straightforward and quick, perfect for both beginners and seasoned bakers.
- Perfect for Any Occasion: Whether you’re hosting a holiday dinner or simply enjoying a quiet night in, this Chocolate Whipped Cream is a versatile topping that will elevate any dessert.
Ingredients
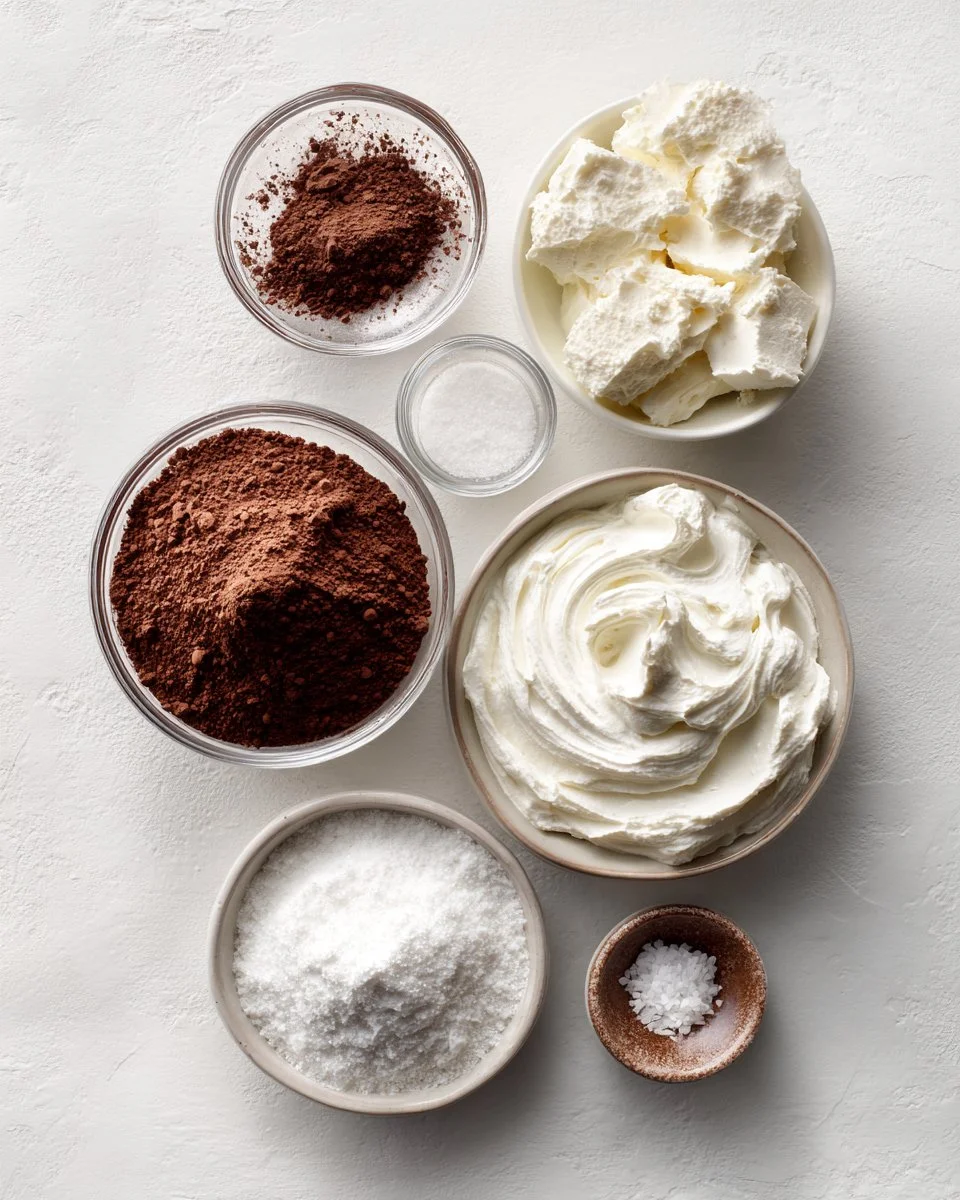
To bring your Chocolate Whipped Cream to life, you’ll need a handful of quality ingredients. Here’s what you need for this decadent treat:
- 2 ounces cream cheese, softened: Adds a delightful tang and stability to your cream.
- 1/2 cup confectioners sugar: This gives the dessert its sweetness without being overly grainy.
- 1/4 cup unsweetened cocoa powder: Choose a good quality brand, such as Ghirardelli, for an intense chocolate flavor.
- 2 cups heavy whipping cream, divided: Ensure it’s cold for maximum volume!
- 1/2 teaspoon vanilla extract: A splash of vanilla enhances the flavor beautifully—buy pure vanilla extract if you can.
- 1 pinch kosher salt: Just a hint brings out the sweetness and enhances the chocolate depth.
Pro Tip: For optimal results, allow the cream cheese to come to room temperature before you begin. This will help it blend smoothly into the mixture.
Step-by-Step Instructions
Mixing the Base: In the bowl of a stand mixer fitted with the whisk attachment, combine the softened cream cheese, confectioners sugar, and cocoa powder. Start mixing on low speed to prevent a powdered sugar explosion. Gradually increase the speed to medium over about 3-5 minutes, stopping occasionally to scrape down the sides. You want a thick, smooth paste before proceeding.
Adding Heavy Cream: With the mixer off, add in the first 1/2 cup of cold heavy cream. Turn the mixer to medium speed and beat for about 30 seconds, or until the mixture is smooth. Repeat this process for three more additions. Each time, you’ll be adding 1/2 cup of heavy cream.
Final Mix: Once all the heavy cream has been incorporated, use a rubber spatula to scrape the bottom of the bowl, ensuring all the delicious cream cheese mixture is fully combined. Turn the mixer back on to medium speed, and beat until stiff peaks form. This should take about 2-3 minutes.
Flavoring: Finally, add the 1/2 teaspoon of vanilla extract and a pinch of kosher salt, mixing just until combined. Be careful not to overmix as this can lead to a grainy texture.
Serve: There you have it! Serve your Chocolate Whipped Cream atop cakes, pies, or even as a dip for fresh fruit or cookies. Get creative, and enjoy!
Expert Tips & Tricks
- Storage Recommendations: Leftover chocolate whipped cream can be stored in an airtight container in the refrigerator for up to three days. Stir gently before serving again.
- Make Ahead: You can prepare this whipped cream a day in advance. Just give it a quick whip to revive the texture before serving.
- Common Mistakes: Avoid over-whipping the cream; once stiff peaks form, stop mixing. You can always whip a bit more if it’s too loose.
- Flavor Adjustments: If you like a sweeter cream, feel free to incrementally add more confectioners’ sugar until you reach your desired taste.
Serving Suggestions
Now that you have this fluffy treasure ready, let’s discuss how to serve it! This Chocolate Whipped Cream pairs beautifully with:
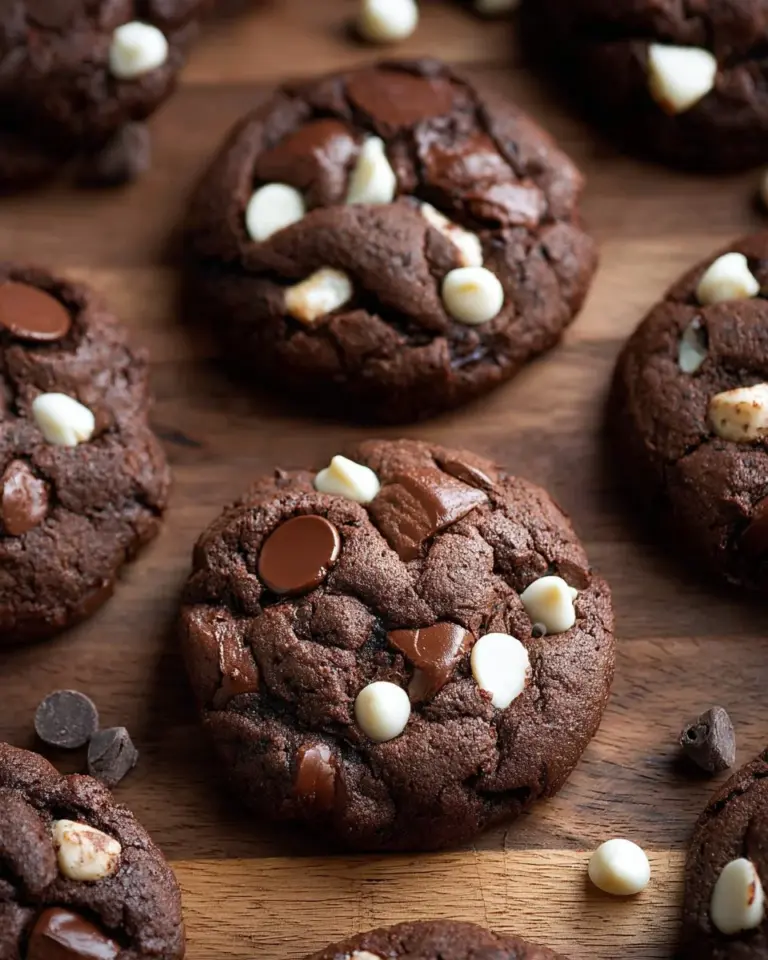
- Brownies: A generous swirl on a warm brownie fresh out of the oven takes it to chocolate-lover’s paradise!
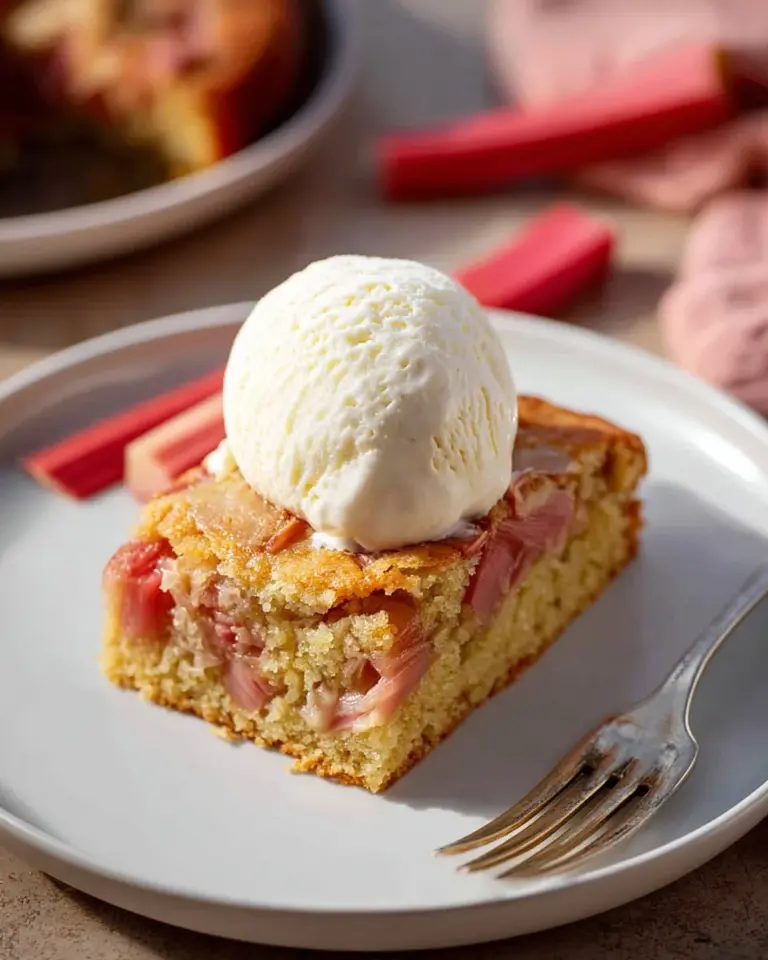
- Ice Cream: Dishing it over a scoop of vanilla or coffee ice cream creates a decadent dessert.
- Fruit: Channel your inner gourmet by serving it alongside fresh strawberries or a fruit tart.
- Cakes: Use it as a topping for chocolate cake, layered cakes, or even a delicious pie.
Consider topping it with chocolate shavings or a drizzle of caramel for stunning presentation.
Variations & Substitutions
Want to mix it up a bit? Here are some fun variations and substitutions:
- Flavored Whipped Cream: Add a teaspoon of espresso powder for a mocha twist or a splash of peppermint extract during mixing for a holiday favorite.
- Dairy-Free Option: Swap out the heavy cream for coconut cream for a dairy-free alternative. Simply chill a can of coconut milk overnight, scoop out the solidified cream, and whip it up with the other ingredients.
- Seasonal Flavors: Incorporate seasonal spices—like cinnamon or nutmeg during the fall—for a festive flair.
Nutrition & Storage Info
- Prep Time: 10 minutes
- Chill Time: 10-15 minutes
- Total Time: 25 minutes
- Yield: Approximately 4 servings (1/2 cup each)
- Estimated Calories: About 170 calories per serving (varies based on exact measurements and brands used).
- Storage: Keep in the refrigerator for up to 3 days, and avoid freezing to maintain the texture.
FAQ SECTION
Can I use low-fat cream cheese?
- While you can, low-fat cream cheese may not provide the same depth of flavor or stability.
How do I prevent my whipped cream from deflating?
- Ensure your cream is cold when you whip it and whip until stiff peaks form without overdoing it.
Can I use milk instead of heavy cream?
- Milk won’t create the same thickness; I highly recommend sticking with heavy cream for best results.
What desserts pair well with Chocolate Whipped Cream?
- It’s fabulous with pies, cakes, brownies, ice cream, and even pancakes!
How do I store leftovers?
- Store in an airtight container in the refrigerator for up to three days, but it’s best when fresh.
Can I make this a day ahead?
- Yes, just give it a gentle stir before serving!
Does it freeze well?
- I don’t recommend freezing whipped cream, as it can lose its texture.
Can I add other flavors?
- Absolutely! Vanilla, peppermint, almond extract, or even citrus zest could elevate the flavor.
What type of cocoa powder should I use?
- For best results, opt for unsweetened Dutch-processed cocoa powder for a richer flavor.
Why does my whipped cream look grainy?
- This could be due to over-beating. Stop mixing when you see stiff peaks, but the cream is still smooth.

Conclusion
This Chocolate Whipped Cream is not just a topping; it’s a delicious hug in dessert form! From family gatherings to cozy nights at home, it infuses joy and flavor into every bite. I can’t wait for you to try this recipe and experience the delight it brings—your desserts will never be quite the same again! Please share your feedback and let me know how you plan to use it in your favorite recipes.
Think of checking out my blog for more delectable recipes like Chocolate Ganache Tarts and Irresistible No Churn Chocolate Cherry Ice Cream Recipe: A Decadent Delight because chocolate should never be in short supply!

Chocolate Whipped Cream
Ingredients
Method
- In the bowl of a stand mixer, combine cream cheese, confectioners sugar, and cocoa powder. Mix on low speed, then gradually increase to medium for 3-5 minutes until smooth.
- With the mixer off, add the first 1/2 cup of heavy cream. Start the mixer on medium for 30 seconds until smooth. Repeat for the remaining heavy cream.
- Scrape the bowl and mix on medium until stiff peaks form, about 2-3 minutes.
- Add vanilla extract and salt, mixing until combined. Avoid overmixing.
- Serve atop cakes, pies, or as a dip for fruit or cookies.