There’s something magical about baking that fills the heart with joy, especially when creating delectable treats like Frosted Easter Brownies. I still remember the first time I made these brownies. It was springtime, and my family gathered around the kitchen, excitedly waiting for the aroma of chocolate to waft through our home. With pastel colors and vibrant decorations, these brownies quickly became a beloved tradition, not just for the holiday but for any celebration.
What makes my version of Frosted Easter Brownies special? It’s the creamy frosting layered atop a fudgy brownie base, made even better with rich chocolate morsels and sweet memories. Unlike many store-bought treats, this recipe allows you to control the sweetness and texture, making them not only taste better but also more personal. I believe a bite should transport you back to cherished moments with loved ones, and this recipe does just that.
Today, I want to share how easy and enjoyable it is to create these inviting brownies from scratch. You’ll discover tips to perfect the texture, methods to personalize your frosting, and stories of how my family enjoys them. So, tie on that apron, and let’s whip up something delicious!
What are Frosted Easter Brownies?
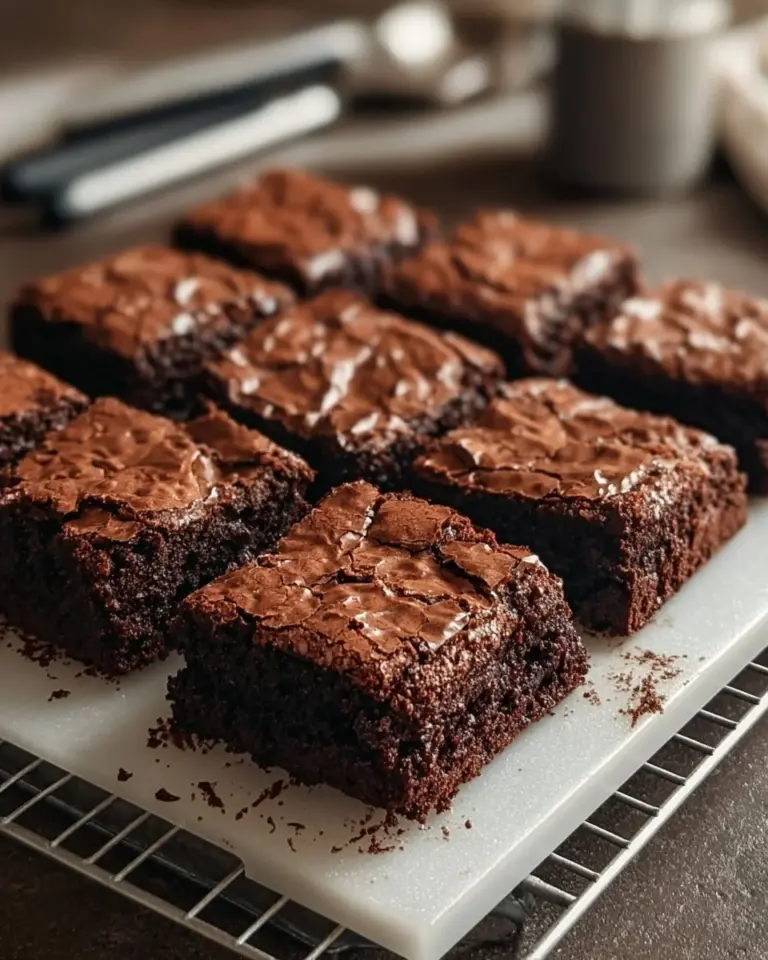
Frosted Easter Brownies are more than just dessert; they are a celebration of spring! Originating from the classic brownie concept, these treats combine a rich, fudgy base with a colorful and creamy frosting, echoing the blooming vibes of the season. The brownie texture is soft and chewy, while the frosting adds a layer of sweetness that makes every bite an adventure in flavor.
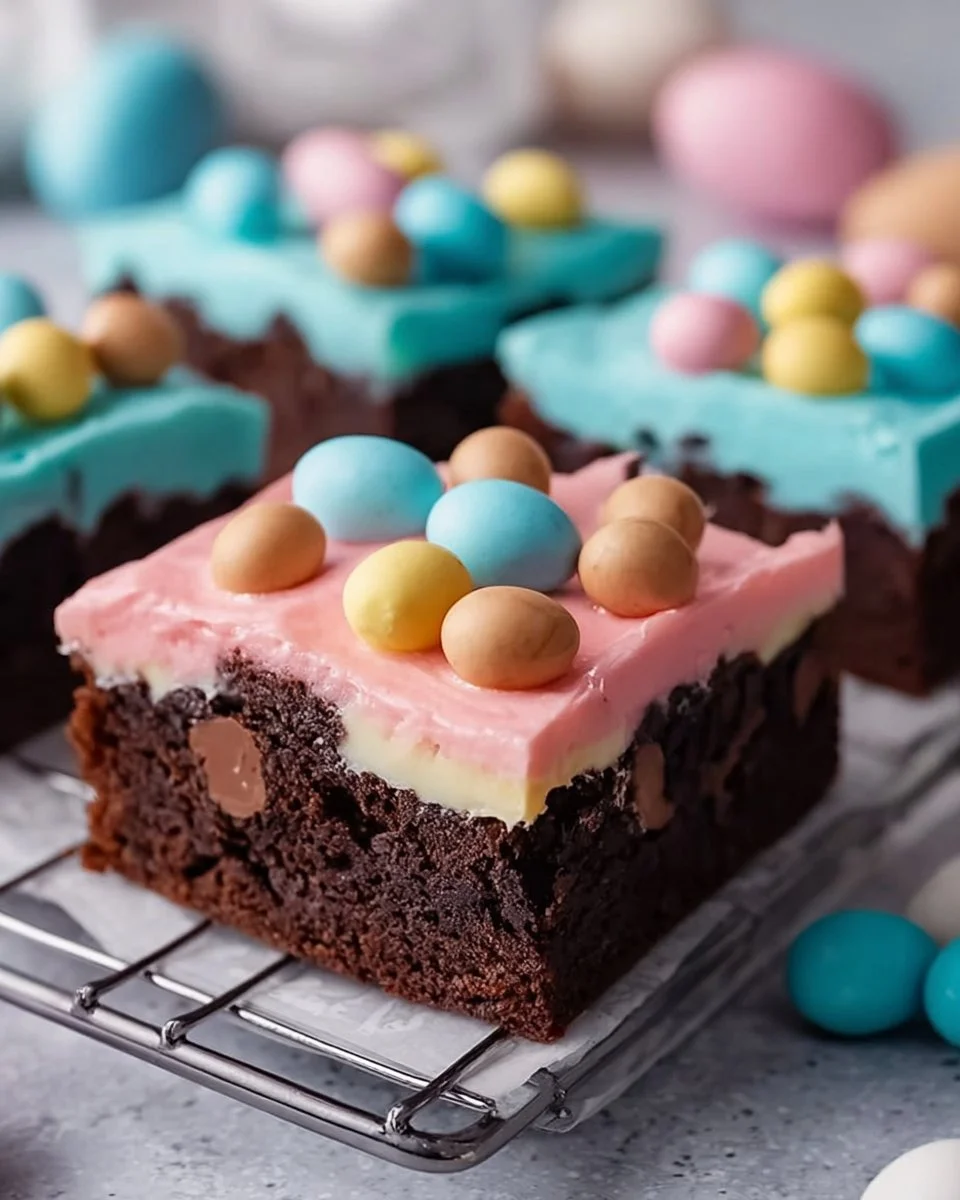
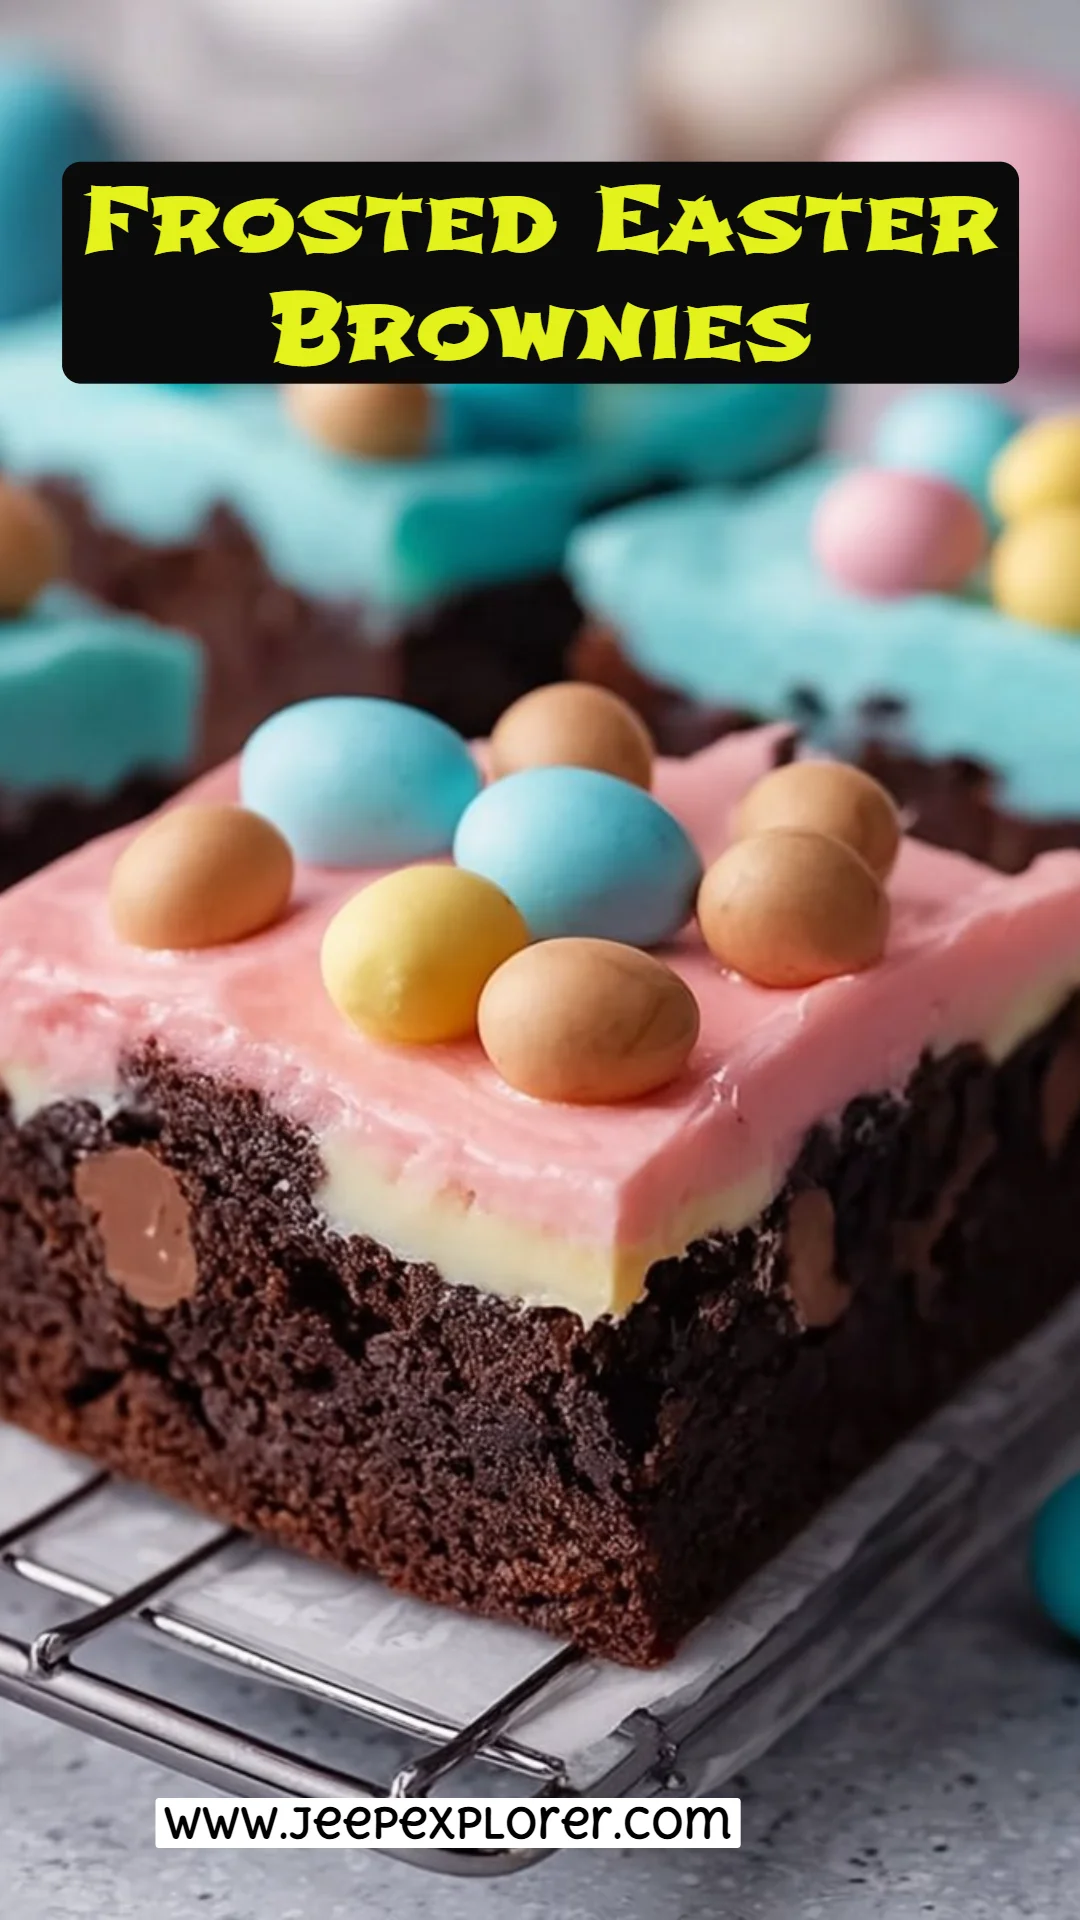
What sets these Frosted Easter Brownies apart is their vibrant presentation and playful taste. Picture bite-sized squares topped with pastel-colored frosting resembling Easter eggs—these brownies are visually stunning and irresistibly delicious.
These brownies are perfect for Easter gatherings, birthday parties, or any occasion where you want to spread joy and sweetness. The cheerful colors make them a festive addition to dessert tables, while the rich chocolate flavor evokes warmth and comfort for all who indulge.
Why You’ll Love This Recipe
Homemade Happiness: There’s an undeniable satisfaction in baking from scratch! These Frosted Easter Brownies are made with simple, quality ingredients which offer a fresher taste that you just can’t replicate with store-bought options.
Cost-Effective Treat: Making these brownies at home is not only budget-friendly but also means you have more control over the ingredients. You can whip up a whole batch for the price of a single slice at a café!
Endless Customization: Whether you want to turn them into an extravagant creation with layers of frosting or keep it simple, you have full creative freedom. Try incorporating your favorite nuts, different chocolate varieties, or even flavored extracts.
Quick and Easy: With a prep time that won’t keep you in the kitchen all day, this recipe is accessible even for beginner bakers. In less than an hour, you can treat your loved ones to something special!
Perfect for Any Celebration: From Easter brunch to birthday parties or just a cozy gathering, these brownies add the right amount of cheer and sweetness to any occasion. They’re sure to make everyone smile!
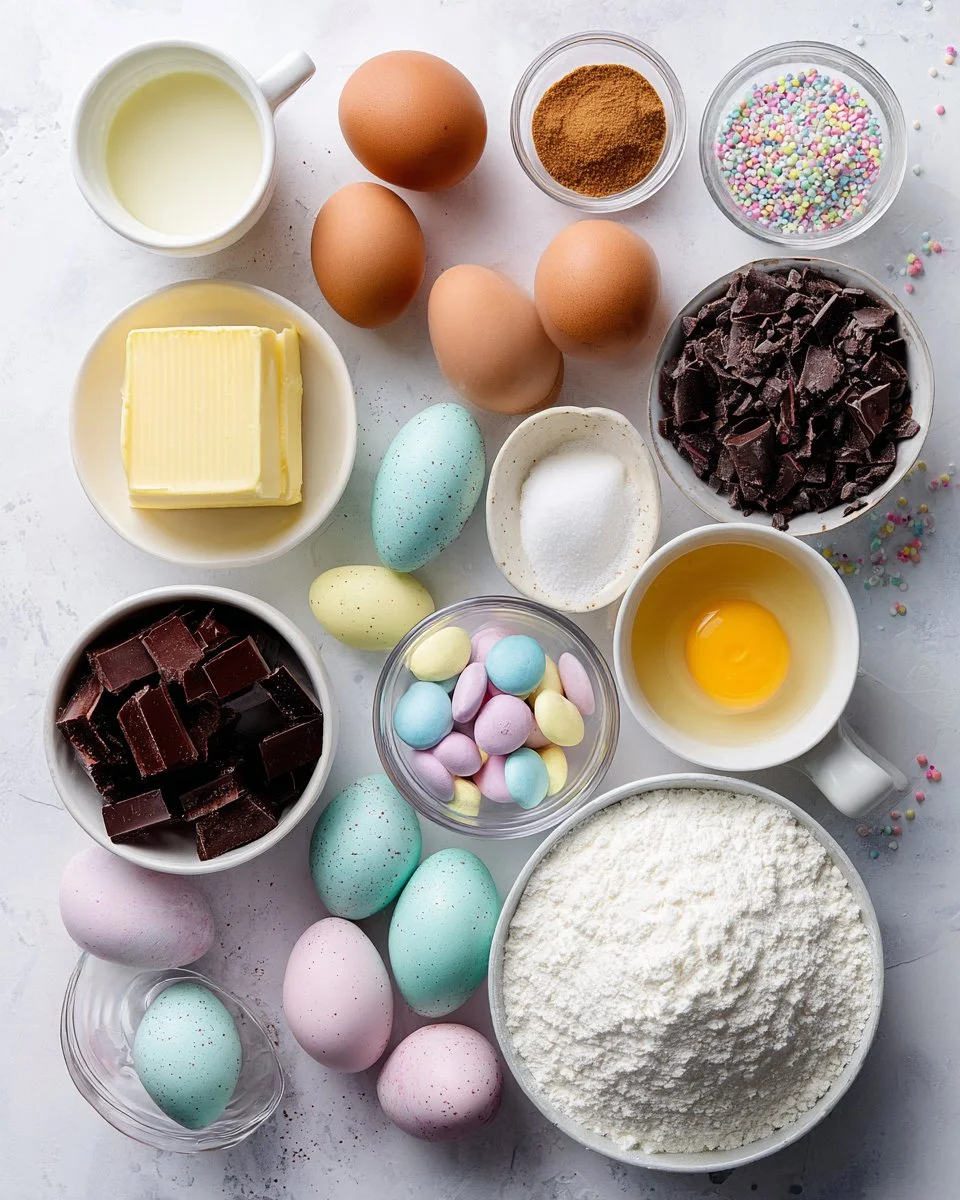
Ingredients
For the Brownies:
- 1 cup (225g) unsalted butter, melted: Always use unsalted for better control over seasoning.
- 1 1/4 cups (250g) granulated sugar: Adjust sweetness to your preference.
- 3/4 cup (150g) brown sugar: This adds a chewiness and depth of flavor.
- 4 large eggs, room temperature: Room temperature eggs ensure better mixing.
- 1 tablespoon vanilla extract: Use pure vanilla extract for the best flavor.
- 1 cup (120g) all-purpose flour: Essential for the structure of the brownies.
- 1 cup (85g) unsweetened cocoa powder: Choose a high-quality cocoa for a richer taste.
- 1/2 teaspoon salt: Balances the sweetness.
- 1/2 teaspoon baking powder: Helps the brownies rise a bit.
- 1 cup (170g) chocolate chips or chunks (optional): Add more chocolatey goodness!
For the Frosting:
- 1 cup (225g) unsalted butter, softened: Ensure it’s softened for easy mixing.
- 3 1/2 cups (440g) powdered sugar: Sift to avoid lumps.
- 2 to 3 tablespoons heavy cream or milk: For a creamy consistency.
- 1 tablespoon vanilla extract (for frosting): Enhances flavor.
- Pinch of salt (for frosting): Important for balance.
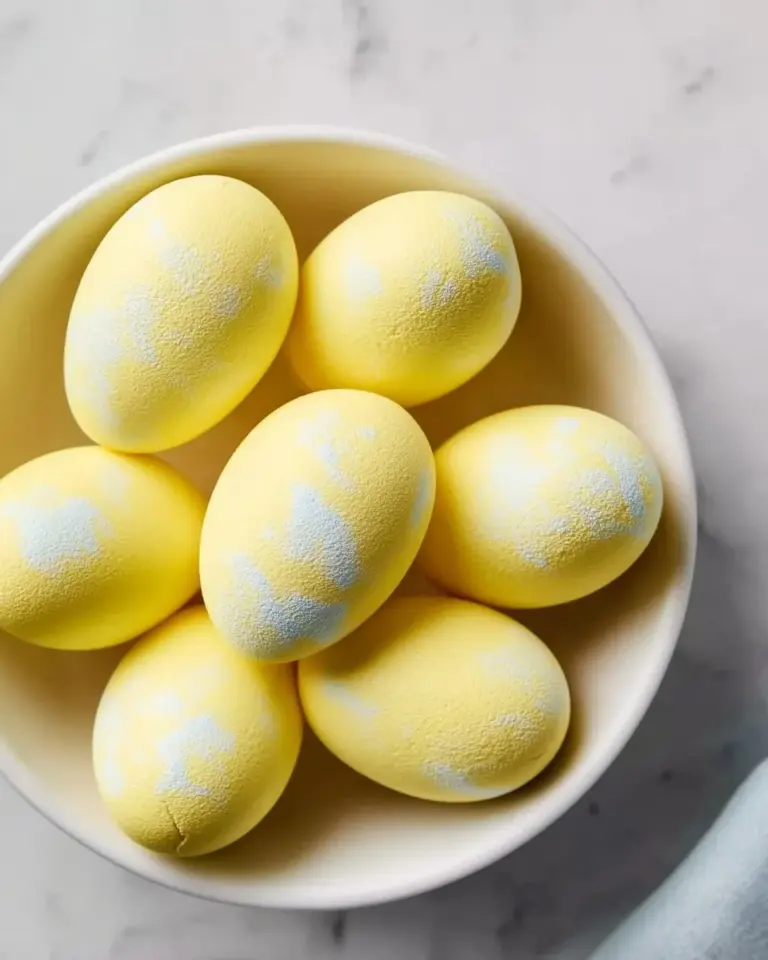
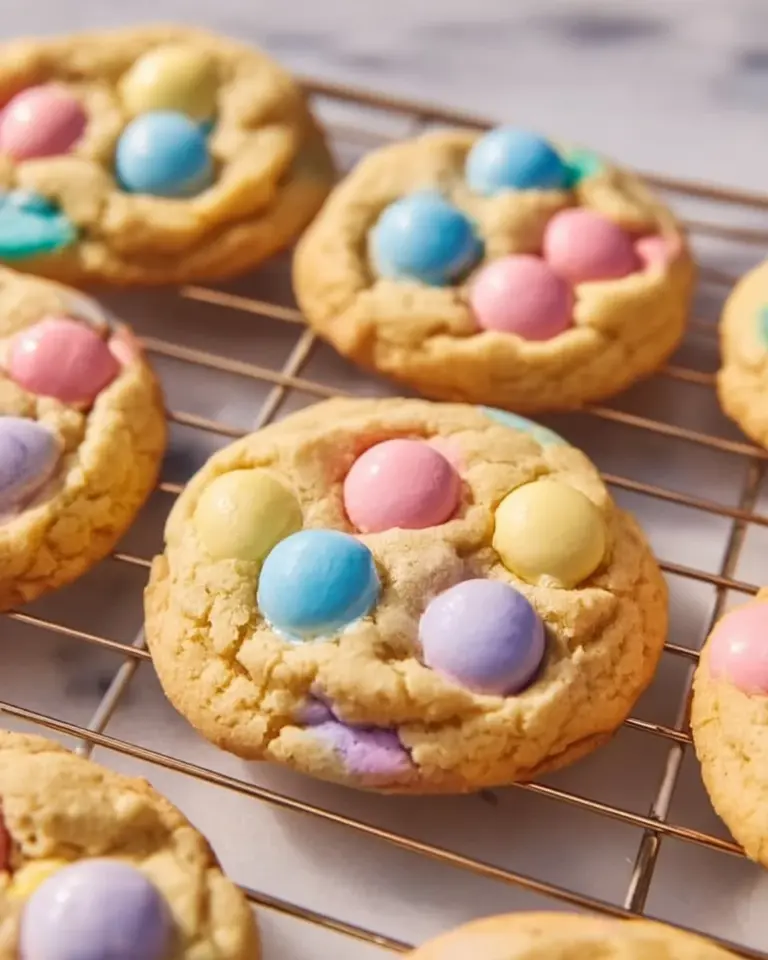
- Gel food coloring in pastel shades (pink, blue, yellow): Make your brownies pop!
- Mini candy-coated chocolate eggs: For a festive touch on top.
- Pastel sprinkles or confetti sprinkles: Adds that special decoration!
Prep Notes: Make sure your butter is at room temperature for the frosting, and if you’re using chocolate chips, I recommend Ghirardelli or Nestlé Toll House for the best melting and flavor.
Step-by-Step Instructions
Preheat the Oven: Start by preheating your oven to 175 degrees C (350 degrees F). Line a 9×13-inch baking pan with parchment paper for easy removal later.
Mix the Brownie Base: In a large mixing bowl, whisk together the melted butter, granulated sugar, and brown sugar until smooth. This mixture should have a glossy appearance. Add the eggs and vanilla extract, whisking until combined.
Incorporate the Dry Ingredients: Sift in the flour, cocoa powder, salt, and baking powder. Be careful not to overmix; gently fold until just incorporated. If you’re using chocolate chips, stir them in now for that extra chocolaty goodness!
Bake the Brownies: Pour the batter into the prepared pan, spreading it evenly. Bake for 28 to 32 minutes or until a toothpick inserted comes out with a few moist crumbs. Don’t overbake; we want that fudgy texture!
Cool Down: Allow the brownies to cool completely in the pan on a wire rack.
Frosting Preparation: In the meantime, prepare the frosting. Beat the softened butter in a large bowl until creamy. Gradually add the powdered sugar on low speed. Then add the vanilla extract, salt, and just enough cream or milk to achieve your desired frosting consistency.
Color the Frosting: Divide the frosting into three bowls. Add a few drops of gel food coloring to each bowl and mix until the colors are well-blended. Think pastel hues reminiscent of Easter!
Frost the Brownies: Once the brownies are cooled, use an offset spatula to frost them with the various colored frostings. You can swirl them together for a beautiful marbled effect!
Decorate: Top the brownies with mini candy eggs and a sprinkle of pastel sprinkles.
Chill and Slice: Place the brownies in the fridge for 10-15 minutes to allow the frosting to set. After chilling, slice them into 24 squares.
Chef’s Tips:
- Be mindful not to overbake the brownies. Fudgy is key!
- If your brownie edges turn out too hard, try covering them with foil during the last few minutes of baking.
[Common mistakes to avoid]: Not measuring the flour correctly can lead to dry brownies.
Expert Tips & Tricks
Storage Recommendations: Keep your brownies in an airtight container at room temperature for 3-4 days. If you want to extend their life, store them in the fridge for up to a week.
Make-ahead Instructions: You can bake the brownies a day in advance. Wrap them carefully in plastic wrap until you’re ready to frost.
Troubleshooting: If your brownies come out too dry, it might be due to overbaking. For fudgy brownies, aim for a slightly underdone center.
Frosting Tip: For easier spreading, ensure your butter for the frosting is lightly whipped and at room temperature, not melted.
Personal Touch: Don’t shy away from adding nuts or toasted coconut directly into the brownie batter for added flavor and texture.
Serving Suggestions
These Frosted Easter Brownies are a showstopper on their own, but they pair beautifully with a scoop of vanilla ice cream or a dollop of whipped cream. For presentation, consider arranging the brownies on a decorative platter with spring flowers or Easter-themed decorations.
Perfect for spring gatherings or Easter brunch, these brownies are an easy crowd-pleaser that everyone will love!
Variations & Substitutions
- Different Flavor Combinations: Swap the cocoa powder for flavored powders like matcha or caramel for a unique twist on flavor.
- Dietary Restrictions: Use gluten-free all-purpose flour for a gluten-free version, and opt for non-dairy butter and milk for a vegan treat!
- Seasonal Variations: In the fall, try adding pumpkin spice or cinnamon to the brownie batter, and top with Halloween-themed decorations.
Nutrition & Storage Info
- Prep Time: 20 minutes
- Cook Time: 30 minutes
- Total Time: 50 minutes
- Yield: 24 servings
- Estimated Calories: Approximately 200 calories per square
- Storage Instructions: Store at room temperature for 3-4 days or in the fridge for up to a week. They can also be frozen for up to 2 months.
FAQ Section
Can I use oil instead of butter?
- Yes, you can substitute oil, but keep in mind that butter gives a richer flavor.
Can I make these brownies gluten-free?
- Absolutely! Use a gluten-free all-purpose flour blend.
How can I make the frosting easier to spread?
- Make sure your butter is softened to room temperature and consider adding a teaspoon of milk if the frosting is too thick.
What if I don’t have gel food coloring?
- You can use liquid food coloring, but it may alter the frosting’s consistency, requiring a little more powdered sugar to balance.
Can I refrigerate the brownies?
- Yes! Refrigerating can help set the frosting, just be sure to let them come to room temperature before serving for optimal texture.
What type of cocoa powder is best?
- A high-quality unsweetened cocoa powder, like Dutch-processed, will give your brownies a deeper chocolate flavor.
Are these brownies nut-free?
- Yes, as written, but feel free to add nuts if desired.
What’s the best way to cut brownies?
- Use a sharp knife, and for cleaner cuts, dip the knife in hot water and wipe it clean between cuts.
Can I swap the chocolate chips for white chocolate?
- Of course! Feel free to experiment with various types of chocolate.
What if my brownies turn out too crumbly?
- That could be due to overbaking or too much flour. Next time, ensure you measure accurately and watch the baking time.
Conclusion
The joy of baking isn’t just about creating a delicious treat; it’s about weaving together memories and love. These Frosted Easter Brownies are a perfect example of that, combining a gooey chocolate base with colorful, creamy frosting that will brighten any occasion. I encourage you to bake a batch, share them with your family and friends, and watch as they delight in every bite. If you try this recipe, I’d love to hear your thoughts! Don’t forget to check out our other festive dessert recipes on the blog—each crafted with care and a sprinkle of joy!
Savory Creamy Mushroom Pappardelle: A Pasta Dish to Savor

Frosted Easter Brownies
Ingredients
Method
- Preheat the Oven: Start by preheating your oven to 175 degrees C (350 degrees F). Line a 9×13-inch baking pan with parchment paper for easy removal later.
- Mix the Brownie Base: In a large mixing bowl, whisk together the melted butter, granulated sugar, and brown sugar until smooth. Add the eggs and vanilla extract, whisking until combined.
- Incorporate the Dry Ingredients: Sift in the flour, cocoa powder, salt, and baking powder. Gently fold until just incorporated. Stir in chocolate chips if using.
- Bake the Brownies: Pour the batter into the prepared pan and spread evenly. Bake for 28 to 32 minutes or until a toothpick inserted comes out with a few moist crumbs.
- Cool Down: Allow the brownies to cool completely in the pan on a wire rack.
- Prepare the frosting: In a large bowl, beat the softened butter until creamy. Gradually add the powdered sugar on low speed. Add vanilla extract, salt, and cream or milk to achieve desired consistency.
- Color the Frosting: Divide frosting into three bowls; add gel food coloring and mix until well-blended.
- Frost the Brownies: Once the brownies are cooled, frost them with colored frostings using an offset spatula.
- Decorate: Top the brownies with mini candy eggs and pastel sprinkles.
- Chill and Slice: Refrigerate for 10-15 minutes to set the frosting. Then slice into 24 squares.