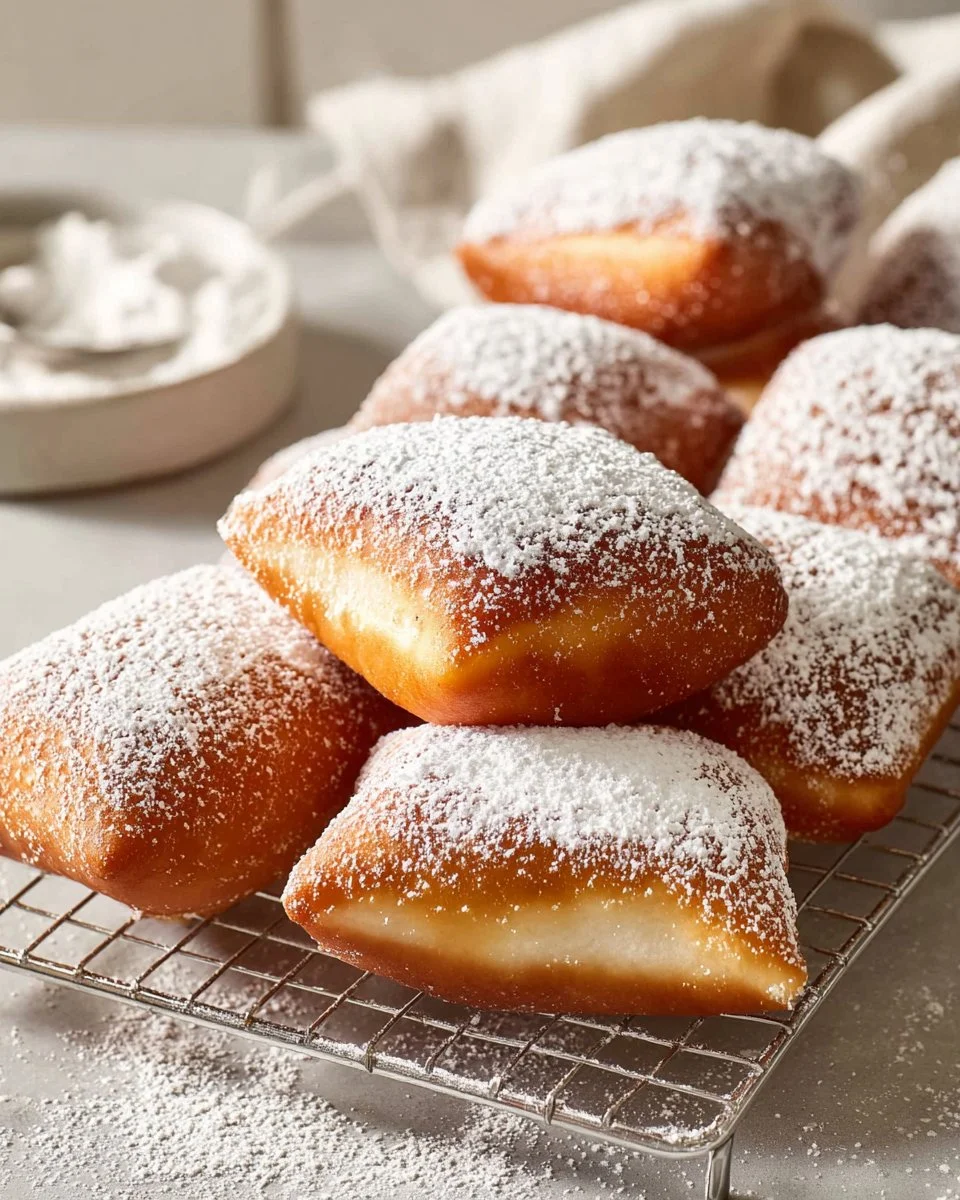
Ah, doughnuts! There’s something magical about the soft, pillow-like texture enveloped in a light dusting of confectioners’ sugar that instantly transports me back to my childhood. I remember Saturday mornings spent in the kitchen with my mom, the enticing aroma of fresh doughnuts drifting through the air, promising sweet bites of joy. Those were special moments—laughter over spilled flour and the undeniable thrill of watching dough transform into golden circles of happiness.
What makes this doughnut recipe truly special isn’t just the end result but the heart that goes into making them. Unlike store-bought or fancy bakery versions, these doughnuts are made with love and a few secret tips that guarantee a fluffy, melt-in-your-mouth experience every single time. I promise that once you learn the tricks of the trade, you’ll be whipping up your own delectable doughnuts that will impress even the most discerning of taste buds. Stick around, and you’ll discover the joy of crafting these sweet treats that can turn an ordinary day into a celebration.
What Are Doughnuts?
Doughnuts, especially the yeast-risen kind, have quite the glorious origin story that warms my heart. Believed to have originated from the Dutch settlers of New Amsterdam (now New York), these sugary delights are a testament to culinary creativity and comfort food at its best. The characteristic ring shape not only provides the perfect avenue for even cooking but adds a playful touch that everyone loves.
These delightful confections have a crisp exterior with a fluffy, tender interior, creating a contrast that’s simply irresistible. Whether you enjoy classic glazed doughnuts or crave something more adventurous, there’s a unique twist for everyone. Best enjoyed fresh and warm with a cup of coffee, doughnuts are perfect for breakfast, dessert, or even a sweet afternoon pick-me-up. So why not whip up a batch for a gathering, a sweet surprise for family, or simply indulge yourself?
Why You’ll Love This Recipe
Better Than Store-Bought: Let’s be honest—store-bought doughnuts often lack the freshness and genuine flavor found in homemade versions. With this recipe, you’ll create doughnuts that are miles ahead, bursting with flavor and cooked to perfection.
Cost-Effective: Treating yourself to gourmet doughnuts at a shop can add up quickly. With basic pantry staples, you’ll be able to whip up a generous batch for a fraction of the price, leaving room in your budget for sprinkles!
Customization Galore: Want to add a splash of flavor or experiment with fillings? The options are endless! From classic vanilla glaze to chocolate and even seasonal spices, you can make these doughnuts your own.
Simple Process: Don’t be intimidated! While they sound fancy, making doughnuts at home is quite straightforward. The entire process, from mixing to frying, can take just a few hours, with minimal effort on your part.
Perfect for Any Occasion: Whether it’s a birthday celebration, a holiday gathering, or simply a lazy Sunday morning, these doughnuts will steal the spotlight. They’re beautiful, delicious, and bursting with potential for creativity.
Ingredients

To make these fluffy doughnuts, gather the following ingredients:
- 3/4 cup lukewarm water (about 105 degrees F)
- 1/4 cup granulated sugar
- 1 packet active dry yeast (2 1/4 teaspoons)
- 1/2 cup whole milk, room temperature
- 1 large egg, room temperature
- 3 1/2 cups all-purpose flour
- 1/2 teaspoon kosher salt
- 2 tablespoons unsalted butter, softened
- Vegetable oil, for frying
- Confectioners’ sugar, for dusting
Ingredient Notes:
- Water: Ensure it’s not too hot, or it will kill the yeast!
- Milk and egg: Bringing them to room temperature will ensure they integrate smoothly.
- Butter: Softened butter is crucial for easy mixing—make sure it’s at room temperature.
- Flour: For the best texture, use high-quality all-purpose flour like King Arthur Flour.
Step-by-Step Instructions
Activate the Yeast: In a medium bowl, whisk together the lukewarm water, granulated sugar, and yeast. Let it sit for 5 to 10 minutes until foamy. This shows your yeast is alive and ready to work its magic!
Mix the Wet Ingredients: Once foamy, add the whole milk and room temperature egg. Whisk to combine thoroughly, and set aside.
Form the Dough: In the bowl of a stand mixer fitted with a dough hook, add the flour and kosher salt. With the mixer on low, combine the flour while adding the yeast mixture and softened butter. Mix just until combined.
Knead the Dough: Increase the mixer’s speed to medium and knead for 2 to 3 minutes until the dough is smooth and pulls away from the sides of the bowl. It should be slightly sticky but manageable.
Let it Rise: Place the dough into a large bowl sprayed with non-stick cooking spray. Cover it with plastic wrap or a clean kitchen towel, allowing it to rise until doubled, about 1 to 2 hours. This is the most challenging part—waiting!
Shape the Doughnuts: Once risen, roll the dough out on a floured surface to about 1/4 to 1/2 inch thick. Cut the dough into 32 squares or circles, depending on your preference.
Frying Setup: Heat about 3 inches of oil in a large pot to 360 degrees F. Fry 4 to 6 pieces of dough in batches, cooking for about 30 seconds to 1 minute on each side until golden brown.
Final Touches: Transfer the cooked doughnuts to a paper towel-lined baking sheet and dust them generously with confectioners’ sugar.
Chef’s Tips:
- To avoid greasy doughnuts, ensure your oil is at the correct temperature by using a thermometer.
- Avoid overcrowding the pot; this can drop the oil temperature and lead to soggy doughnuts.
Expert Tips & Tricks
Storage Recommendations: These doughnuts are best enjoyed fresh but can be stored in an airtight container at room temperature for up to 2 days. They can be frozen for longer storage, though the texture will be best if eaten fresh.
Make-Ahead Instructions: You can prepare the dough the night before and let it rise overnight in the refrigerator. Just bring it to room temperature before frying.
Troubleshooting: If your dough doesn’t rise, it might be due to inactive yeast. Always check the expiration date and properly activate it!
Serving Suggestions
These fluffy doughnuts are delicious on their own, but why not elevate the experience? Pair them with a rich coffee or hot cocoa for a perfect brunch spread. You could also set up a doughnut-decorating station with various toppings, such as sprinkles, chocolate glaze, or a fruit compote, making it fun for a gathering or family event!
Variations & Substitutions
Flavor Combinations: For a bit of excitement, try adding vanilla extract, almond extract, or citrus zest to the dough for a unique twist.
Dietary Adaptations: Looking for vegan options? Substitute the egg with a flaxseed mixture and use non-dairy milk instead.
Seasonal Variations: During the fall, spice things up with pumpkin puree and cinnamon! In the summer, consider infusing the dough with fresh berries.
Nutrition & Storage Info
- Prep Time: 30 minutes
- Cook Time: 15 minutes
- Total Time: Approximately 3 hours (including rising time)
- Yield: 32 doughnuts
- Estimated Calories per Serving: ~100 calories (depending on toppings)
- Storage Instructions: Best consumed fresh; can be stored at room temperature for 2 days or frozen for up to 2 months.
FAQ Section
Can I use bread flour instead of all-purpose flour?
Yes, bread flour has a higher protein content, resulting in chewier doughnuts.What can I do if my doughnut batter is too sticky?
Add a bit more flour, but be careful not to overdo it, as too much flour can lead to a tough texture.Do I need a deep fryer for this recipe?
While a deep fryer is convenient, a heavy-bottomed pot works just as well. Just monitor the oil temperature closely!How hot should the oil be for frying?
Aim for 360 degrees F. Too low, and the doughnuts will absorb too much oil; too hot, and they will burn.What’s the best way to reheat leftover doughnuts?
You can pop them in the microwave for a few seconds or warm them in the oven for a few minutes before eating to refresh their texture.Can I fill these doughnuts with jam or cream?
Absolutely! Simply create a small hole in the side after frying and fill them with your desired filling using a piping bag.What if my dough doesn’t rise?
Ensure your yeast is fresh and properly activated. Room temperature is also crucial for optimal rising.Can I bake these doughnuts instead?
Yes! Preheat your oven to 350 degrees F, let them rise for 45 minutes, then bake for 12 to 15 minutes until golden.How long do homemade doughnuts last?
Their best quality is within 2 days at room temperature. They can be frozen for longer storage.Can I make doughnut holes with this recipe?
Definitely! Simply cut the dough into small balls instead of squares. The cooking time may need to be reduced slightly.
Conclusion
This recipe for fluffy, homemade doughnuts is not just delightful; it’s heartwarming, taking you back to memories of family and cozy mornings. There’s a unique satisfaction in crafting these beauties yourself, knowing they are made from simple ingredients with love.
I encourage you to give this recipe a try and dive into the sweet world of doughnut-making. Don’t forget to share your experiences or tips with me; I love hearing how your creations turn out! If you’re looking for other sweet adventures, check out my blog for more recipes that will make your kitchen smell divine.
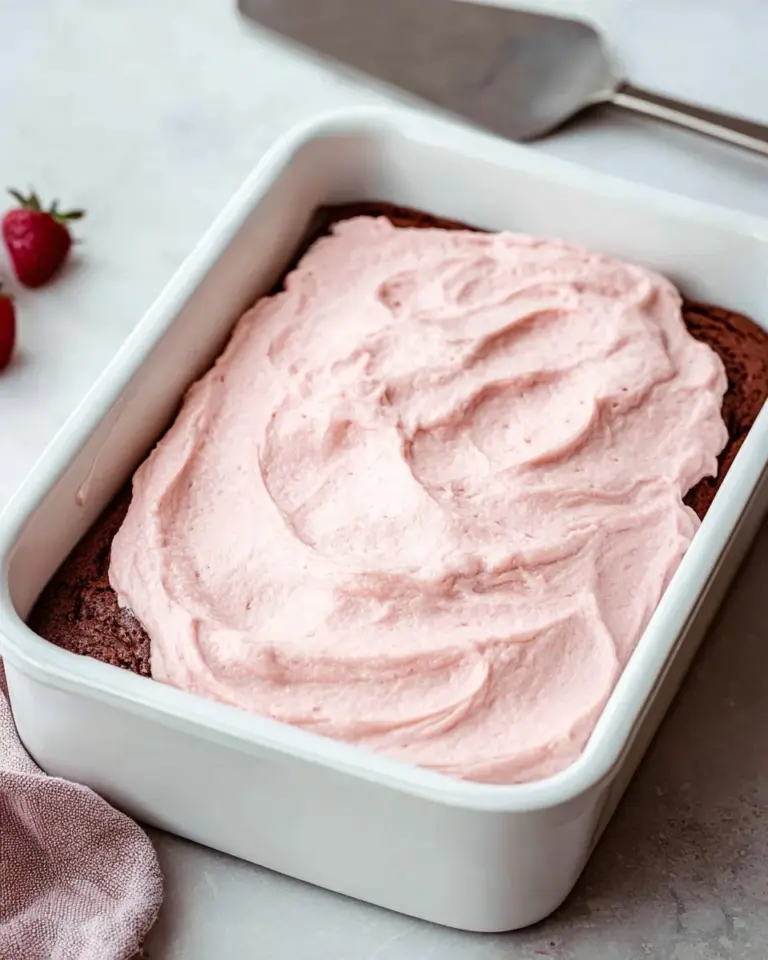
Blueberry Cream Cheese Frosting
Happy baking!

Fluffy Doughnuts
Ingredients
Method
- In a medium bowl, whisk together the lukewarm water, granulated sugar, and yeast. Let it sit for 5 to 10 minutes until foamy.
- Add the whole milk and room temperature egg to the yeast mixture and whisk to combine thoroughly.
- In the bowl of a stand mixer fitted with a dough hook, combine the flour and kosher salt. With the mixer on low, add the yeast mixture and softened butter. Mix just until combined.
- Increase the mixer’s speed to medium and knead for 2 to 3 minutes until the dough is smooth and pulls away from the sides of the bowl.
- Place the dough into a large bowl sprayed with non-stick cooking spray. Cover with plastic wrap or a clean kitchen towel and allow to rise until doubled, about 1 to 2 hours.
- Once risen, roll the dough out on a floured surface to about 1/4 to 1/2 inch thick. Cut into 32 squares or circles.
- Heat about 3 inches of oil in a large pot to 360 degrees F. Fry 4 to 6 pieces of dough in batches, cooking for about 30 seconds to 1 minute on each side until golden brown.
- Transfer the cooked doughnuts to a paper towel-lined baking sheet and dust generously with confectioners’ sugar.