There’s something undeniably nostalgic about a vanilla milkshake — it reminds me of sandy summer days spent at my grandmother’s diner, where the smell of waffle cones blended seamlessly with the laughter of family. One sip of that creamy, cold confection, and I was transported back to carefree moments shared with my loved ones. That’s what makes a vanilla milkshake so special: it’s like a hug in a tall glass, bringing people together over good times and sweet flavors.
But let’s be honest: not all vanilla milkshake recipes are created equal. This particular rendition is not just any ordinary recipe; it’s designed to be rich, smooth, and totally satisfying. I’ve spent years perfecting my technique to deliver a milkshake that rivals your favorite diner but can be made in your very own kitchen.
In this post, I’ll take you through my tried-and-true method for creating the ultimate vanilla milkshake, share some fun tips, and promise a taste adventure that’ll have you thinking you’ve been whisked away to an ice cream parlor! Let’s get blending!
What Are Vanilla Milkshakes?
The delicious vanilla milkshake is a classic American treat that has a rich history dating back to the late 19th century. Originally, milkshakes were made with alcohol — yes, you heard that right! Today, we’re much more focused on the creamy, sweet combination of milk, ice cream, and vanilla extract that we all know and love.
Each sip of a vanilla milkshake is like a frosty refreshment that dances on your taste buds. The thick yet airy texture envelops your tongue with a wave of creamy sweetness, and the touch of vanilla elevates it into the realm of pure bliss. What makes them unique is that they offer endless customization, allowing you to play with flavor profiles, toppings, and mix-ins — the only limit is your imagination!
You’ll find that these delightful shakes can be enjoyed any time of year but bring an extra touch of joy during celebrations, hot summer days, or any gathering with friends and family.
Why You’ll Love This Recipe
1. Made From Scratch
Unlike store-bought or restaurant versions packed with preservatives, I use only the freshest ingredients in this vanilla milkshake recipe. You know exactly what you’re sipping!
2. Cost-Effective Bliss
Creating your milkshake at home is not only fun but also light on the wallet. With just a few simple ingredients, you can whip up something decadent without breaking the bank.
3. Customization Galore
Feel like jazzing things up? You can easily add cookies, fruit, or different flavor extracts to create your dream combination! Want a little chocolate love? Toss in some cocoa powder or chocolate syrup — the choice is yours!
4. Easy and Quick
This easy recipe takes about 10 minutes from start to finish! Whether you’re a kitchen newbie or seasoned pro, you can impress friends and family without hours of effort.
5. A Family Favorite
There’s just something about a homemade vanilla milkshake that beckons everyone to gather around. It’s a versatile connection that bridges generations and sparks joyful conversations.
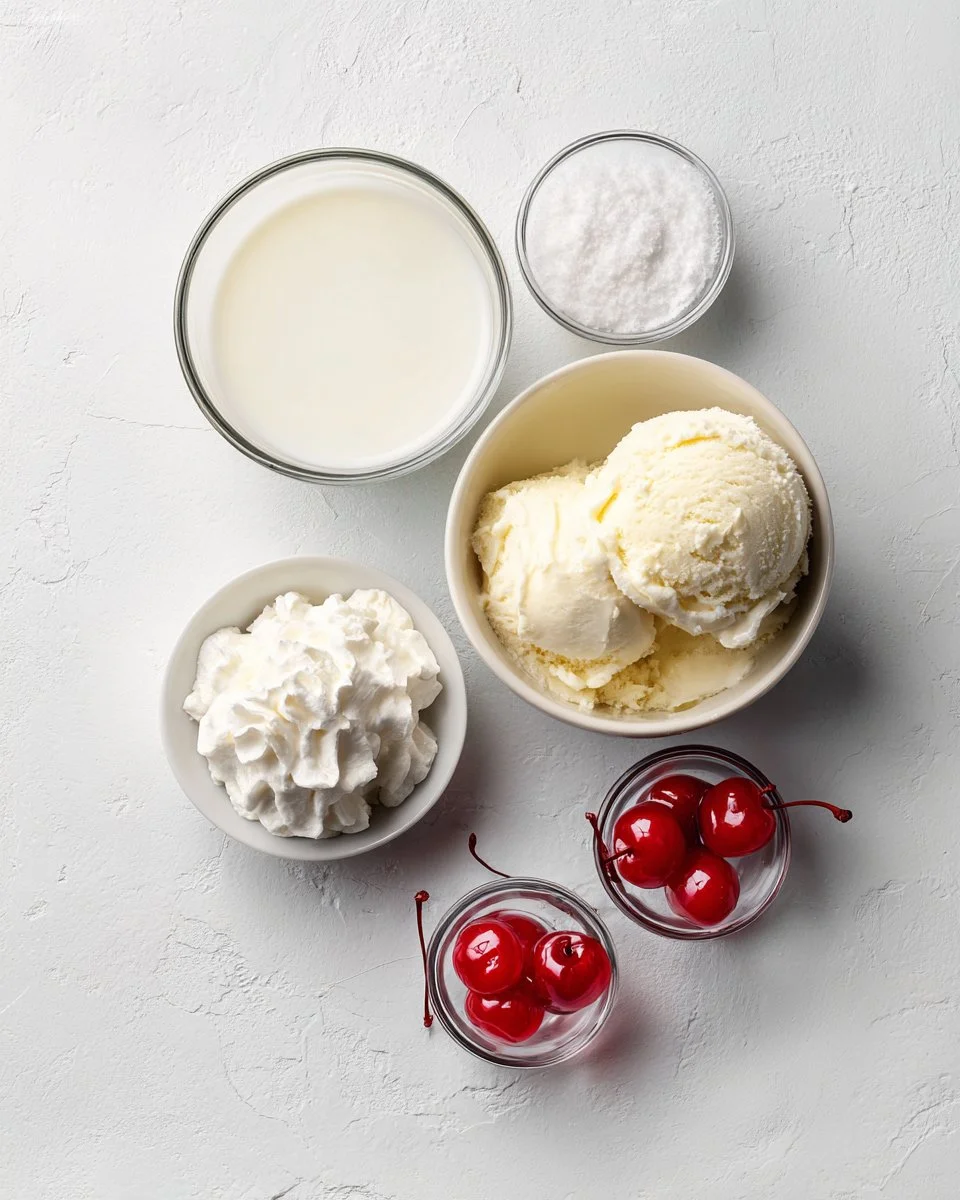
Ingredients
2 cups vanilla ice cream, softened slightly
- Note: For the best flavor and texture, I recommend high-quality brands like Haagen-Dazs or Breyers. This makes a HUGE difference!
1/2 cup whole milk
- Feel free to swap with almond milk or oat milk for a dairy-free version, but you may need to adjust the amount for optimal creaminess.
1/2 teaspoon vanilla extract
- Upgrade to pure vanilla extract rather than imitation for richer flavor.
Whipped cream (optional, for topping)
Maraschino cherry (optional, for topping)
Prep tip: Allow your ice cream to sit at room temperature for about 10 minutes to soften it slightly, ensuring a smooth blend.
Step-by-Step Instructions
Prep Your Ingredients: Start by measuring out your softened vanilla ice cream, milk, and vanilla extract. Room temperature ice cream will blend more smoothly!
Blend the Goodness: Place the softened vanilla ice cream, whole milk, and vanilla extract into a blender. Blend on high speed until the mixture is smooth and creamy, which should take about 30 to 60 seconds.
Chef’s Tip: Make sure to scrape down the sides of the blender occasionally to ensure everything is well mixed.
Adjust Consistency: If your milkshake is too thick, gradually add a tablespoon of milk at a time and blend again until you reach your desired creaminess. For a thinner shake, simply add a little more ice cream.
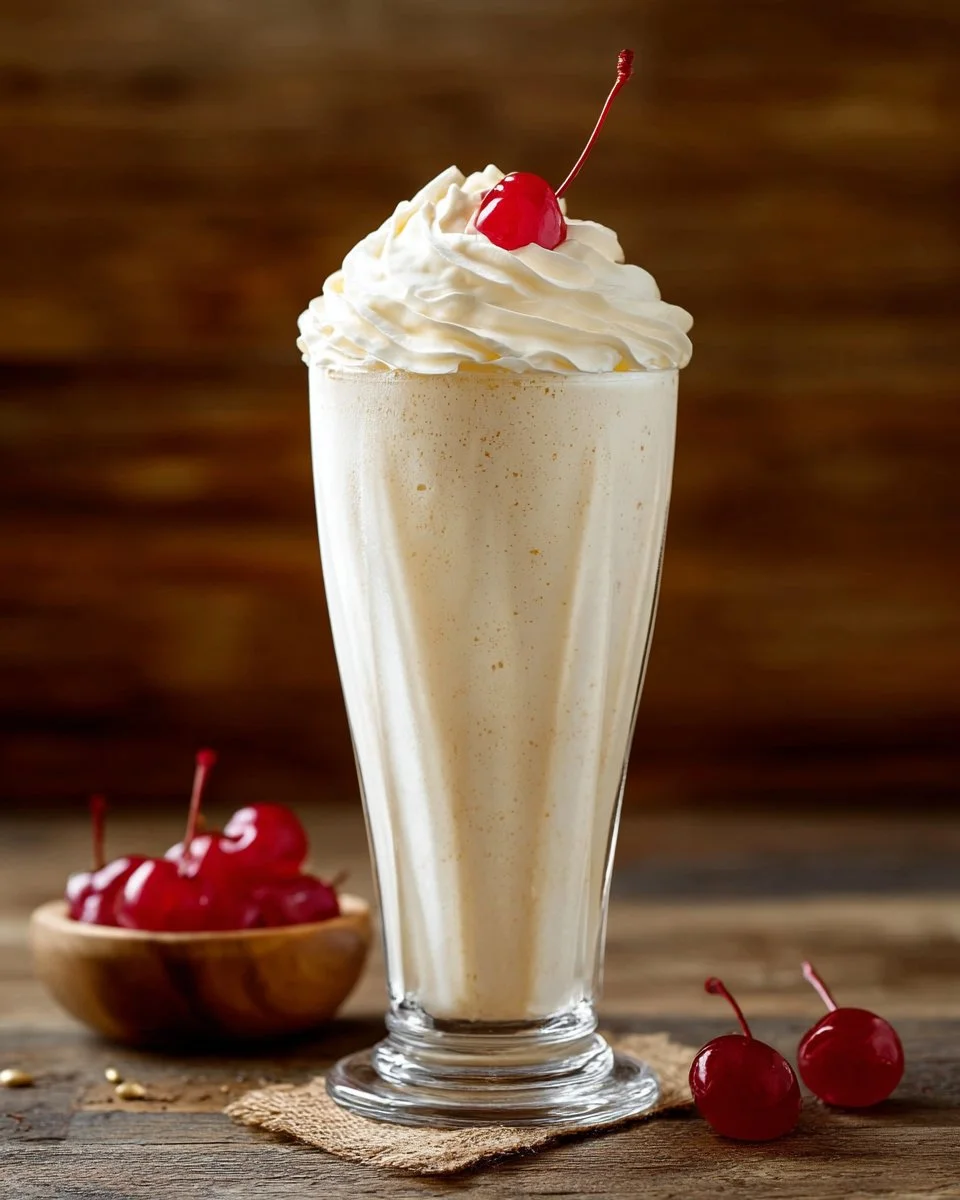
Serve: Once blended to perfection, pour the milkshake into a tall glass.
Top It Off: Add whipped cream and a maraschino cherry on top for that classic treat feel! Serve immediately and enjoy!
Expert Tips & Tricks
Perfect Ice Cream: For a creamier shake, use full-fat ice cream. You can also experiment with gelato for a unique twist.
Storage: While it’s best enjoyed immediately, if you have leftovers, store them tightly sealed in the freezer for up to 1 week. Just note that the texture may change a bit!
Make-Ahead: You can prepare all the ingredients ahead and store them separately until ready to blend. This way, you won’t have to rush!
Common Mistakes: Avoid over-blending — it can aerate your shake too much, making it less creamy. Aim for a just-smooth consistency.
Add-Ins: Get creative! Try adding a handful of chocolate chips, a dollop of peanut butter, or even crushed cookies for a fun twist. Just blend them in towards the end!
Serving Suggestions
Pair your vanilla milkshake with freshly baked cookies, a slice of chocolate cake, or that classic American favorite: a cheeseburger! Present it in a tall glass garnished with a colorful straw and sprinkles around the rim for a fun, celebratory look.
This vanilla milkshake is perfect for summer picnics, birthday parties, or just a cozy night in on the couch!
Variations & Substitutions
Flavor Combinations: Switching up the extract can change the whole vibe! Try almond extract for a nutty twist, or add fresh strawberries for a sweet berry shake.
Dietary Restrictions: For vegan options, swap dairy ingredients with plant-based alternatives. Coconut or cashew ice cream works fantastically well!
Seasonal Variations: Add pumpkin spice in the fall or a peppermint swirl during the holidays to give your shake a festive touch.
Nutrition & Storage Info
Prep Time: 5 minutes
Cook Time: 5 minutes
Total Time: 10 minutes
Yield: 2 servings
Estimated Calories: 450 calories per serving (varies by brand and add-ins)
Storage:
- Leftovers can be stored in the freezer for 1 week.
- It’s best enjoyed fresh, though, for that perfectly thick and creamy texture!
FAQ Section
Can I use low-fat milk for this recipe?
- Yes, you can, but the shake may lose some creaminess. Whole milk creates the best texture.
What if my milkshake is too thick?
- Simply add more milk, a tablespoon at a time, blending until you achieve your desired consistency.
How do I make my milkshake more decadent?
- Toss in crushed cookies, chocolate syrup, or even a scoop of flavored ice cream for added richness.
Is there a non-dairy alternative for ice cream?
- Absolutely! Look for coconut, almond, or cashew-based ice creams that are widely available now.
Can I make milkshakes ahead of time?
- While best fresh, you can prepare the ingredients in advance and blend right before serving.
What’s the secret to a perfectly smooth milkshake?
- The key is to allow your ice cream to soften slightly before blending and to blend just until smooth!
How long can I store leftover milkshake in the fridge?
- It’s best not to store it in the fridge; left out too long, it can separate. Stick to the freezer instead.
Can I create a promotion for kids’ parties?
- Of course! Set up a “milkshake bar” with toppings like sprinkles, fruits, and syrups for a fun activity.
How many servings does this recipe make?
- This recipe yields about two generous servings, perfect for sharing or enjoying on your own!
What are some creative toppings to add?
- Get creative! Try crushed cookies, chocolate shavings, or even a sprinkle of nuts for added texture.
Conclusion
What’s not to love about a homemade vanilla milkshake? It’s more than just a drink; it’s a delightful treat loaded with memories, flavor, and heartwarming moments. I encourage you to give this easy recipe a try, and I can’t wait to hear how yours turns out! Share your thoughts in the comments, or let me know about your favorite variations.
Be sure to check out some of my other delicious recipes for more sweet treats that will warm your heart!
Happy blending!

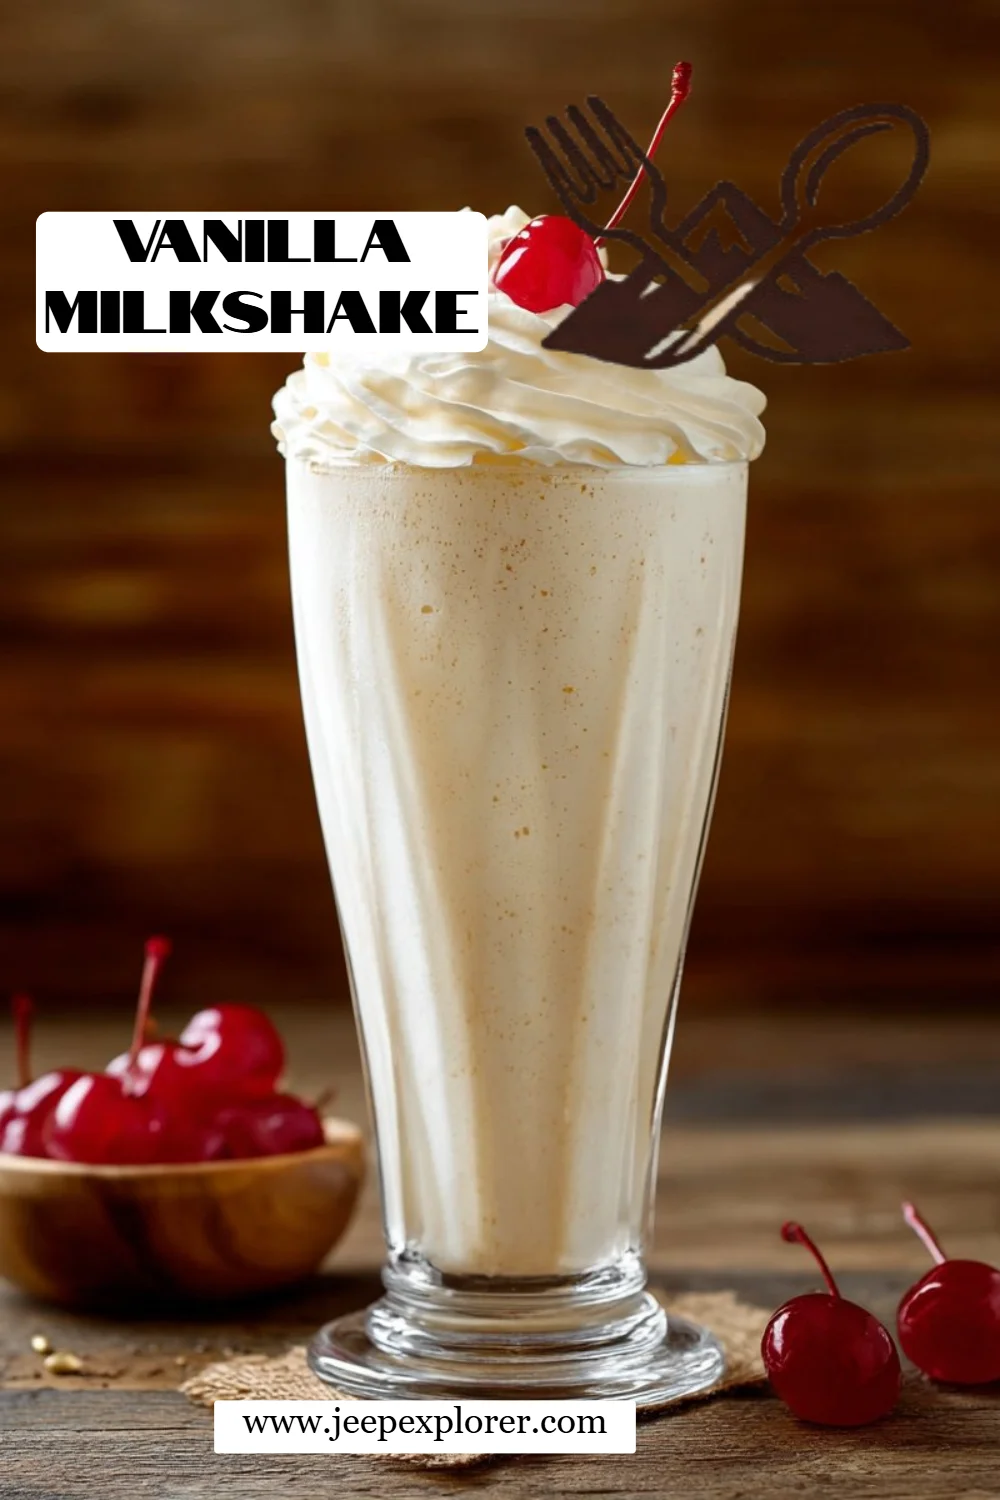
Ultimate Vanilla Milkshake
Ingredients
Method
- Start by measuring out your softened vanilla ice cream, milk, and vanilla extract. Room temperature ice cream will blend more smoothly!
- Place the softened vanilla ice cream, whole milk, and vanilla extract into a blender. Blend on high speed until the mixture is smooth and creamy, about 30 to 60 seconds.
- Scrape down the sides of the blender occasionally to ensure everything is well mixed.
- If your milkshake is too thick, gradually add a tablespoon of milk at a time and blend again until you reach your desired creaminess.
- For a thinner shake, simply add a little more ice cream.
- Once blended to perfection, pour the milkshake into a tall glass.
- Top with whipped cream and a maraschino cherry for that classic treat feel!