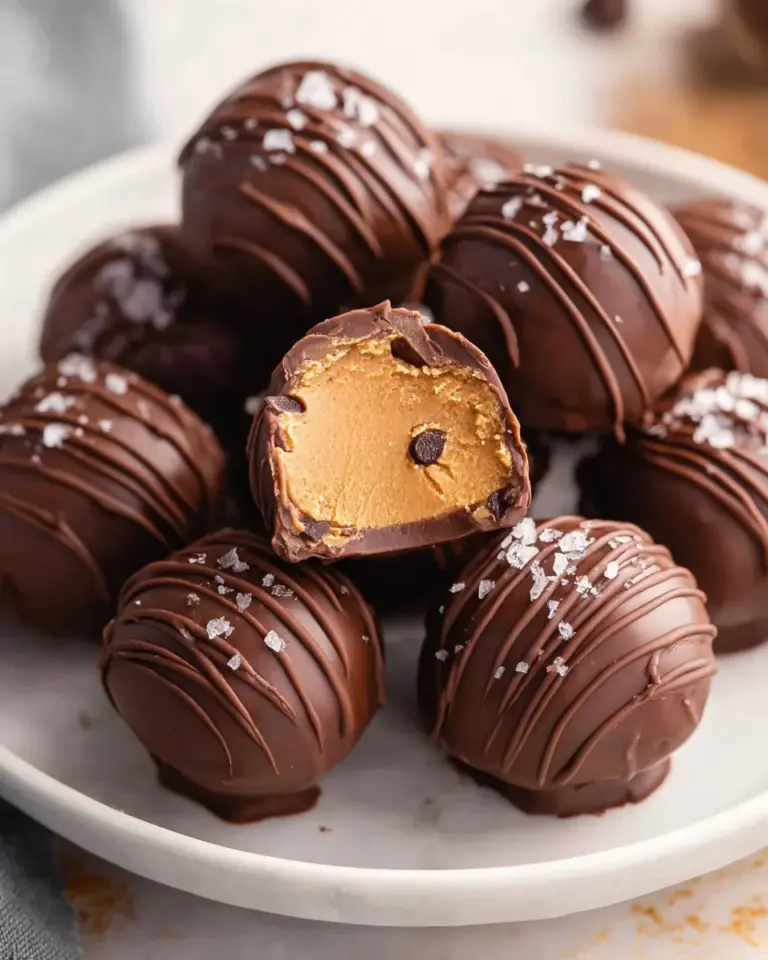
As the crisp autumn air fills my kitchen with the warm scents of cinnamon and nutmeg, I can’t help but recall the countless family gatherings where pumpkin pie took center stage. But this fall, I wanted to elevate that nostalgia to new heights. That’s when I discovered the heavenly world of Pumpkin Truffles—a decadent fusion of fall flavors, combining the comforting taste of pumpkin pie with a smooth, melt-in-your-mouth chocolate coating.
What sets my version of Pumpkin Truffles apart from others is not just the convenience of repurposing a classic 9-inch pumpkin pie but also the way these bite-sized delights bring everyone together. Each truffle is the perfect blend of creamy and crunchy, a taste explosion that delivers all the comfort of your favorite holiday dessert in a single, rich morsel. Trust me; they’ll have your family asking for seconds, and perhaps even thirds!
Join me on this flavorful journey as I share my cherished recipe for Pumpkin Truffles, made better with personal touches, expert tips, and a proud promise—they’re easier to make than you might think!
WHAT ARE Pumpkin Truffles?
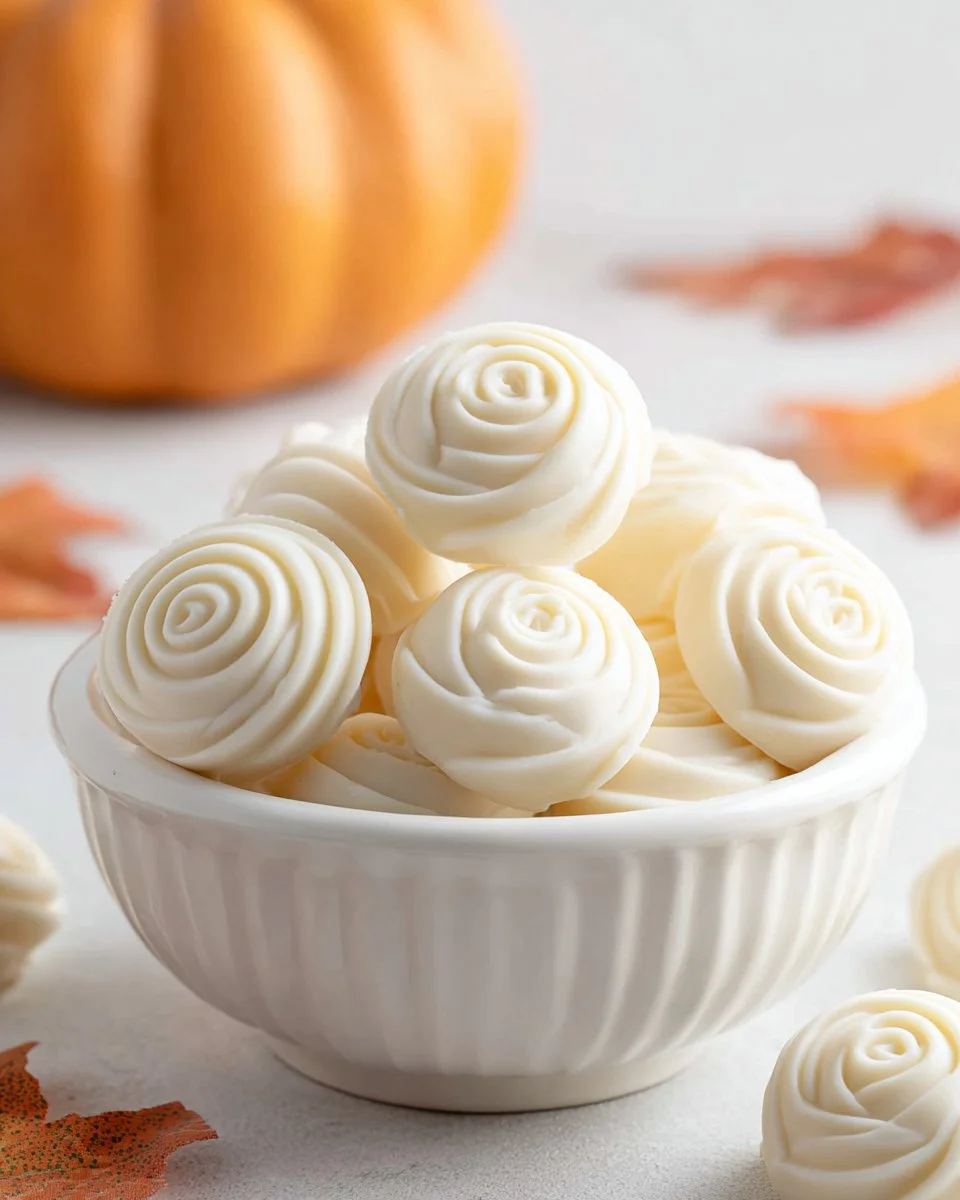
Originating from the beloved tradition of indulgent desserts, Pumpkin Truffles are essentially miniature bites of pumpkin pie goodness, expertly blended with a creamy coating of vanilla almond bark. Imagine the familiar warmth of spices like cinnamon and nutmeg melding into a rich, velvety filling, all wrapped in a sweet shell—pure bliss!
These truffles are unique not just for their flavor but also for their texture. The crushed pumpkin pie creates a filling that’s both soft and slightly crumbly, while the almond bark provides a delightful crunch on the outside. The beauty of these truffles makes them perfect for various occasions—be it a cozy gathering, a festive celebration, or just a special treat to enjoy while curled up on your couch with a good book.
You can whip them up in advance and serve them at your next dinner party, sharing a piece of your home with each delectable bite. Trust me, everyone will want to know your secret!
WHY YOU’LL LOVE THIS RECIPE
Simplicity at Its Best: With just a prepared pumpkin pie and some almond bark, this recipe couldn’t be easier. Forget about complicated steps—this one is perfect for beginners and experienced bakers alike!
Cost-Effective Indulgence: Think about it—store-bought Pumpkin Truffles can get pricey. By making them at home, you’re not only saving money but you get to enjoy a superior treat that tastes so much better than anything you’ll find at a store.
Customization Galore: Love spices? Add a touch more cinnamon. Want a splash of caramel? Drizzle it on top! You can make these truffles truly your own, experimenting with flavors and toppings to suit your taste.
Stress-Free Fun: These truffles can be made ahead of time, so you can enjoy the holiday rush without the stress of last-minute baking. Plus, they last up to two weeks in the fridge, keeping that pumpkin spice joy alive even after your gatherings!
Unwavering Adoration: I once brought a tray of these truffles to a family reunion, and let me tell you—the buzz around them was electric! People loved them so much that they begged me for the recipe. They’ll quickly become a family favorite, just like they are in my house.
INGREDIENTS SECTION

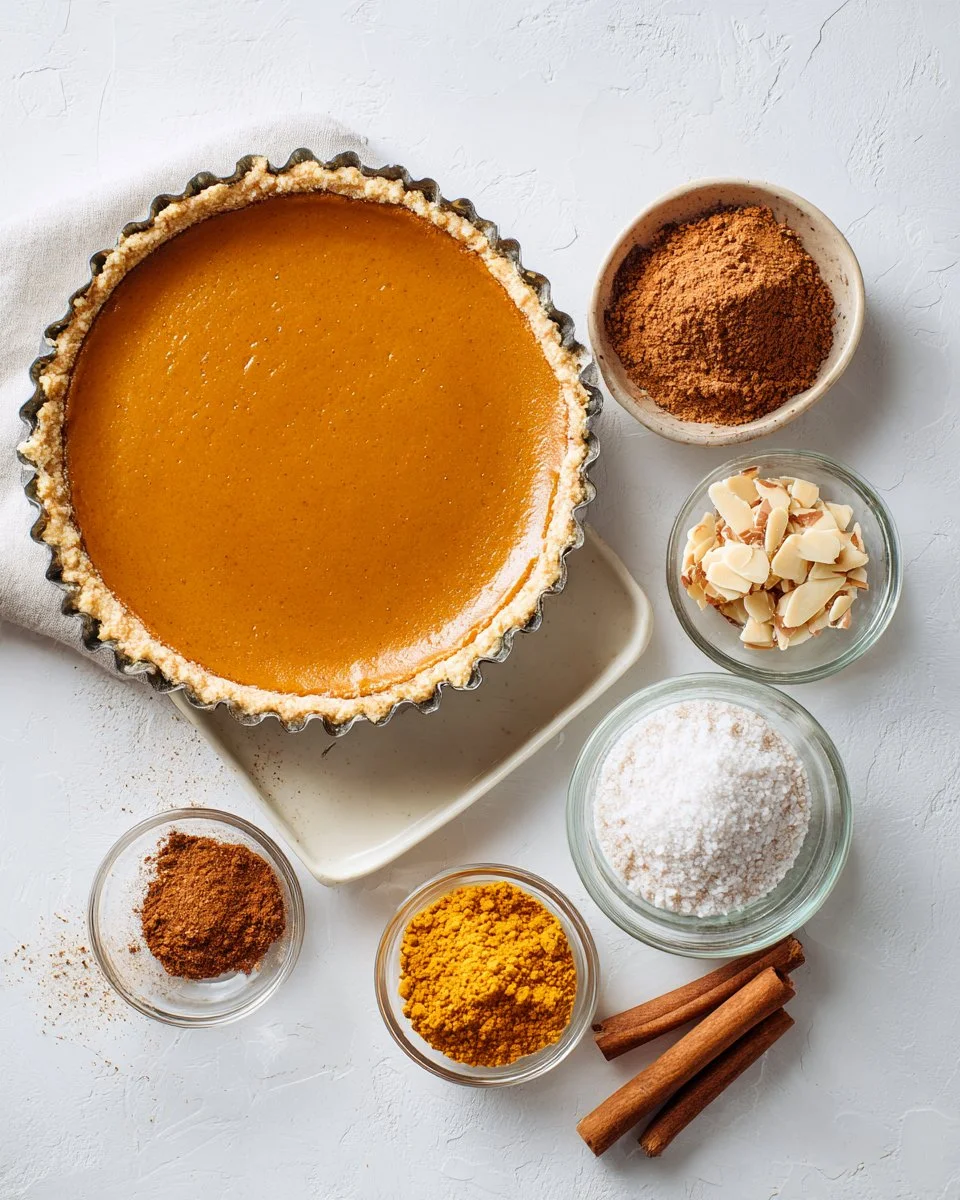
Ingredients
- 1 9-inch pumpkin pie, prepared: Ensure it’s your favorite recipe or buy from a trusted local bakery. If you’re feeling adventurous, make it from scratch!
- 32 ounces vanilla almond bark: I recommend the Ghirardelli brand for its smooth melting properties. If you prefer, white chocolate can be used as a substitute.
Notes on Ingredient Quality
- Use high-quality vanilla almond bark for a better melting experience and flavor.
- If you like a richer taste, opt for dark chocolate instead of almond bark.
Prep Notes
- Set the butter out to reach room temperature for a smoother mixing process later on.
STEP-BY-STEP INSTRUCTIONS
Prepare Your Workspace: Line a baking sheet with parchment paper. This will make it easy to transport the truffles once they’re ready.
Crumble the Pie: In a large bowl, crumble the entire pumpkin pie, including the crust, using a fork or potato masher. Stir well to combine until you have a uniform mixture.
Shape the Balls: Using a 1-tablespoon cookie scoop, drop balls of the pie mixture onto the lined baking sheet, spacing them about an inch apart.
Initial Freeze: Freeze for 25-30 minutes, or until the balls are firm. This step is crucial for shaping them later.
Final Shaping: Roll each portion into a smooth ball and place it back into the freezer for an additional 30 minutes to ensure all the shapes are uniform and easy to dip.
Prepare the Chocolate: Line another baking sheet with parchment paper. In a medium microwave-safe bowl, melt the almond bark. Heat for 60 seconds, stir, then heat in 15-second increments until creamy. Let sit for 1 to 1.5 minutes to cool slightly before dipping.
Dip the Truffles: Remove the truffles from the freezer. Dip each truffle into the melted almond bark, ensuring they are completely covered.
Transfer and Cool: Lift out with a fork and slide onto the parchment-lined baking sheet. Repeat for all truffles.
Set the Coating: Refrigerate for about 30 minutes, or until the almond bark has set completely.
Store: Store the truffles in an airtight container in the refrigerator for up to 2 weeks.
Chef’s Tip: For a smooth coating, make sure the almond bark is just cool enough before dipping the truffles—too hot, and it may drip off too quickly!
EXPERT TIPS & TRICKS
- Best Results: Use a good quality workbook chocolate and be patient when melting your almond bark. This prevents burning and ensures a smooth finish.
- Make-Ahead Instructions: These truffles can be made a week in advance. Just keep them in an airtight container in the fridge until you’re ready to serve.
- Storage: If you plan to freeze them, use an airtight container, and they should last up to a month—perfect for the busy holiday season!
- Common Mistakes to Avoid: Don’t skip the freezing steps; they’re critical for maintaining the shape and integrity of the truffles when dipping.
- Troubleshooting: If your truffles crack while cooling, it may be due to an overly hot workspace. Make sure your kitchen is cool and your ingredients aren’t too warm when forming and dipping your truffles.
SERVING SUGGESTIONS
Pumpkin Truffles are delicious on their own but shine when paired with a steaming cup of spiced latte or hot chocolate. Consider serving them on a decorative platter, sprinkled with crushed nuts or drizzles of caramel for an elegant touch. They are perfect for sharing at family gatherings or holiday parties—everyone will be delighted to indulge and reminisce as they savor each truffle.
VARIATIONS & SUBSTITUTIONS
- Flavor Combinations: Experiment by adding chocolate chips to the pie filling or swapping out some vanilla for almond extract for an extra flavor kick.
- Dietary Restrictions: For gluten-free variations, ensure your pumpkin pie is certified gluten-free, and look for gluten-free vanilla almond bark.
- Seasonal Variations: In the summer, try using fresh fruit purees instead of pumpkin for a refreshing treat, or experiment with peppermint for a festive twist this winter!
NUTRITION & STORAGE INFO
- Prep Time: 15 minutes
- Chill Time: 1 hour
- Total Time: 1 hour 15 minutes
- Yield: Approximately 24 truffles
- Estimated Calories per Serving: 100 calories (varies based on the specific brands used)
- Storage Instructions: Store in the fridge for up to 2 weeks or in the freezer for up to a month. Always keep them in an airtight container to preserve freshness.
FAQ SECTION
Can I use a different type of chocolate?
Yes! Feel free to use dark chocolate or even milk chocolate for coating; just keep in mind that melting times may vary.Can I make these truffles vegan?
You can use vegan pumpkin pie and dairy-free chocolate options to make this recipe vegan. Ensure all ingredients match your dietary needs.What if my truffles are too soft to roll?
If they’re too soft, simply freeze them for a bit longer until they’re firm enough to handle.How should I store leftover truffles?
Keep them in an airtight container in the fridge for up to two weeks or freeze for longer storage.Do I have to use a prepared pumpkin pie?
You can make a homemade pumpkin pie if you prefer! Ensure it cools completely before crumbling to avoid a soggy mixture.Can I add nuts or candy pieces into the filling?
Absolutely! Some crushed walnuts or pecans can add a lovely crunch to these truffles.What is the best way to melt chocolate?
Melting chocolate in a microwave is quick; just monitor closely to avoid burning, stirring frequently.Is there a way to keep the truffles from sticking together when stored?
Use parchment paper between layers in your storage container to prevent sticking.Can I use a different type of coating?
Definitely! You can use confectioners’ sugar or ground nuts for a different texture and appearance.What’s a good way to serve these at a gathering?
Arrange them on a festive platter, topped with fall-themed decorations like mini pumpkins or leaves for a seasonal touch.

CONCLUSION
These delightful Pumpkin Truffles truly encapsulate the spirit of the season, turning a beloved classic into a modern treat that’s packed with flavor and love. They’re easy to make, perfect for sharing, and sure to leave a lasting impression at any gathering. I encourage you to try this recipe and make it your own!
I would love to hear your thoughts or any variations you tried! Feel free to leave a comment below and check out other related recipes on my blog—each one crafted with the same love for comfort food that we all cherish.
Moist Walnut Banana Orange Bread: Your New Favorite Comfort Recipe
Happy baking!

Pumpkin Truffles
Ingredients
Method
- Line a baking sheet with parchment paper.
- In a large bowl, crumble the entire pumpkin pie, including the crust, using a fork or potato masher.
- Using a 1-tablespoon cookie scoop, drop balls of the pie mixture onto the lined baking sheet, spacing them about an inch apart.
- Freeze for 25-30 minutes, or until the balls are firm.
- Roll each portion into a smooth ball and place back into the freezer for an additional 30 minutes.
- Line another baking sheet with parchment paper and melt the almond bark in a medium microwave-safe bowl. Heat for 60 seconds, stir, and then heat in 15-second increments until creamy.
- Let the melted almond bark sit for 1 to 1.5 minutes to cool slightly before dipping.
- Remove the truffles from the freezer and dip each one into the melted almond bark, ensuring they are completely covered.
- Lift out with a fork and slide onto the parchment-lined baking sheet. Repeat for all truffles.
- Refrigerate for about 30 minutes, or until the almond bark has set completely.
- Store the truffles in an airtight container in the refrigerator for up to 2 weeks.