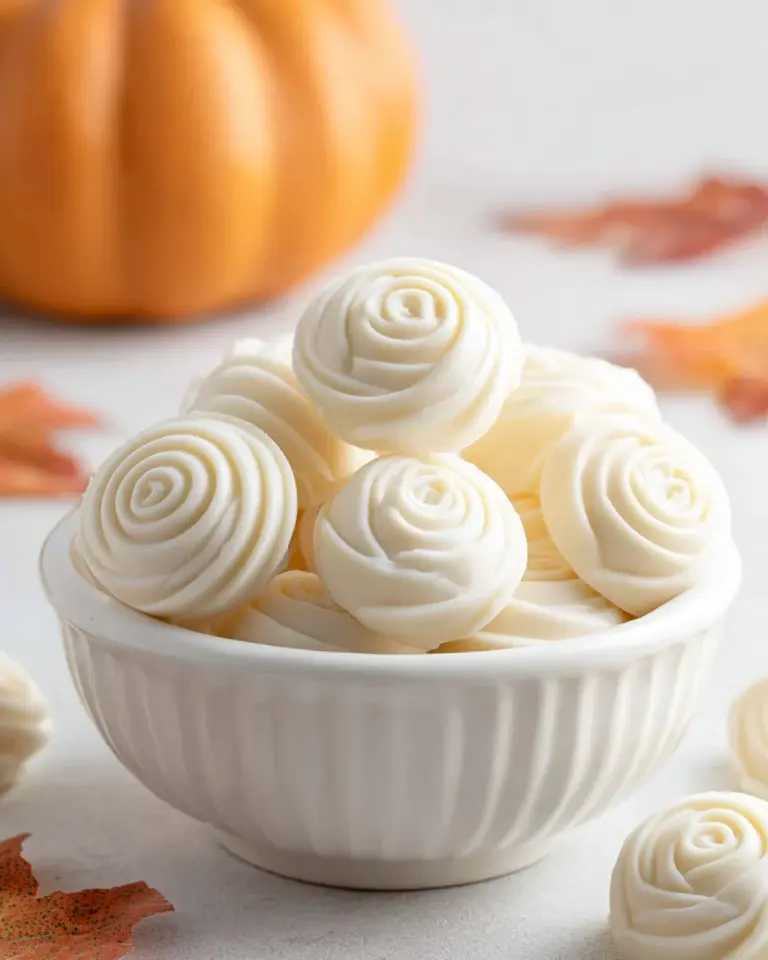
As a child, I fondly remember the holidays spent in my grandmother’s kitchen, her laughter mixing with the smell of melting chocolate and sweetened coconut. One treat that always made an appearance was Martha Washington Candy—a delightful combination of creamy textures, crunchy pecans, and a luscious chocolate coating. Each bite was like a hug from my grandma, wrapping me in warmth and nostalgia. These candies hold a special place in my heart because they remind me of family gatherings, where stories were shared, and flavors danced together, creating memories that linger long after the last bite.
What makes my recipe for Martha Washington Candy truly stand out is its balance of simplicity and flavor. Unlike other versions I’ve tried, this one is made with staple ingredients—much of which you likely have at home—and can be customized to your taste. Whether you’re planning a holiday feast or simply want a sweet treat to share with loved ones, this recipe encapsulates that warm, familial comfort. By the end of this post, you’ll learn how to create these delicious candies that will not only satisfy your sweet tooth but also bring a little slice of my childhood into your kitchen!
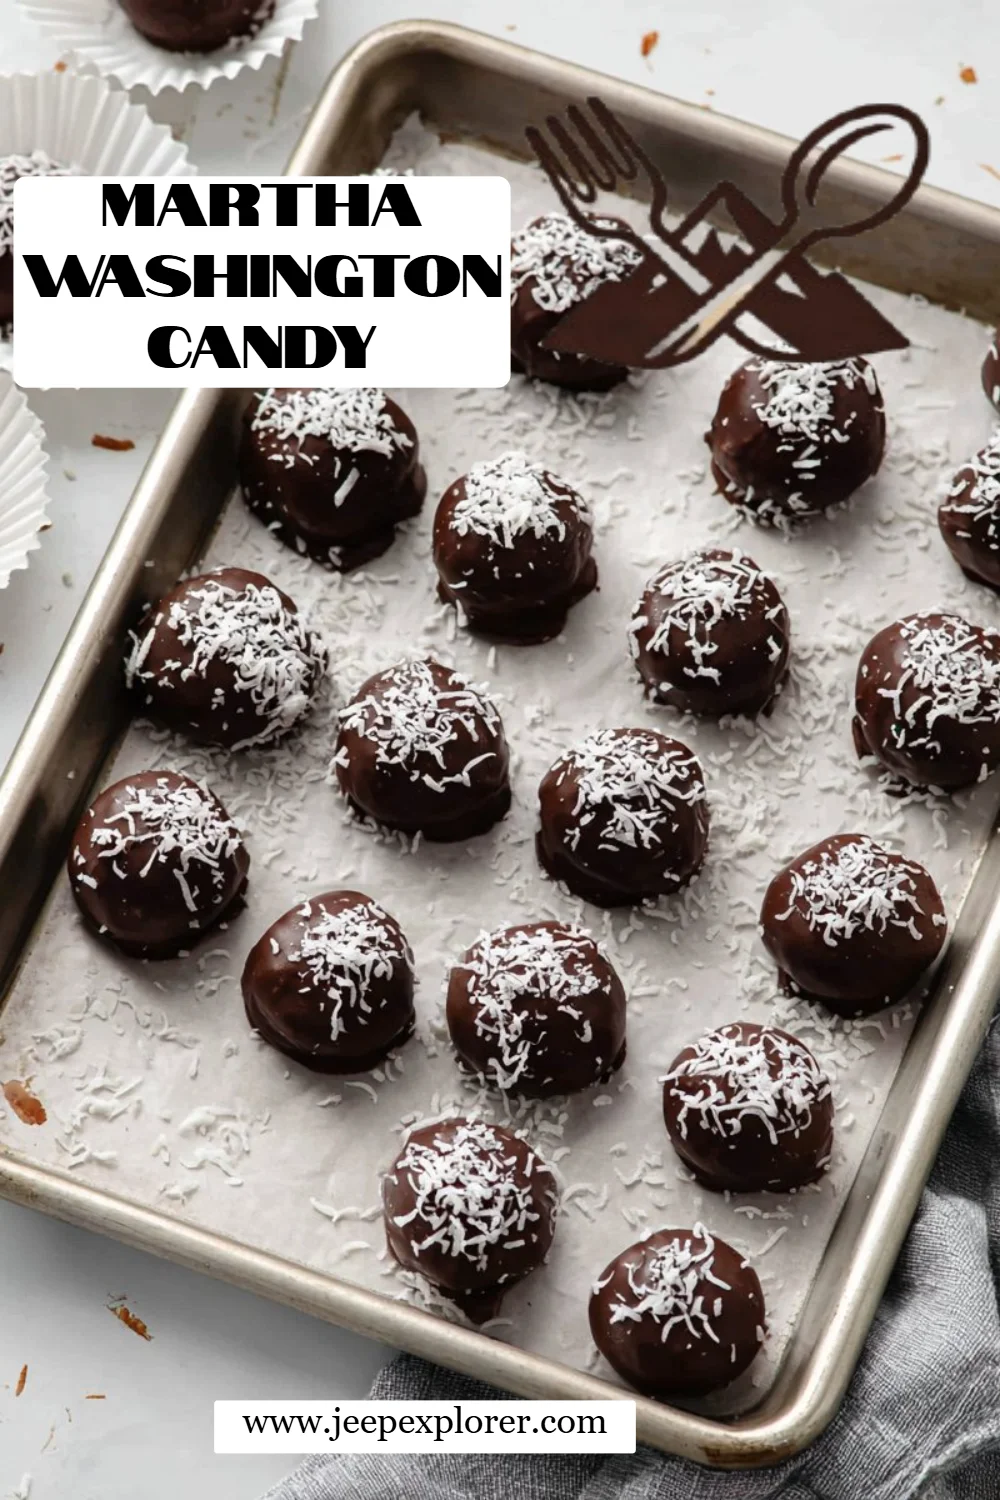
What Are Martha Washington Candy?
Martha Washington Candy, often considered a classic American confection, has its roots in the early 1900s. Named after the wife of George Washington, this delectable treat consists of a creamy mixture typically made from butter, confectioners’ sugar, and shredded coconut, enriched with crunchy nuts and occasionally enhanced with sweet cherries. The candy is then dipped in a rich layer of chocolate, making it an irresistible combination of sweet and nutty flavors.
The texture is a symphony of contrasts: lightly creamy on the inside with a crunchy exterior. What makes these candies unique is how easily you can personalize the flavors—whether you prefer to swap out pecans for walnuts or add a splash of almond extract instead of vanilla, the choices are endless. They’re perfect for special occasions like Christmas, weddings, or as a delightful homemade gift for friends and family. You’re not just making a treat; you’re making a memory!
Why You’ll Love This Recipe
1. Unmatched Flavor and Texture
Unlike typical candy you find in stores that often lack character, these Martha Washington Candies burst with flavor. The combination of creamy coconut, crunchy pecans, and that rich chocolate coating takes the cake (or, in this case, candy). Each bite is a delightful explosion of sweetness and texture that simply can’t be replicated in a store-bought version.
2. Cost-Effective Indulgence
Let’s talk money. The ingredients for Martha Washington Candy are quite affordable and can often be found in your pantry. Making these treats at home means you can whip up a large batch without breaking the bank—perfect for feeding a crowd or stocking up for the holidays!
3. Customization Galore
This recipe comes with a blank canvas! Feel free to substitute lime zest for the traditional vanilla, or swap out the pecans for some spicy, roasted almonds—the options are endless. Have fun experimenting with flavors that excite your palate!
4. Decidedly Simpler Than Expected
You might be wondering, “Can I really make these?” Fear not! They’re easier than they sound, making this an accessible treat for both novice and seasoned bakers. Plus, the mixing involves no elaborate techniques—just good old-fashioned stirring!
5. Perfect for Gift-Giving
Homemade Martha Washington Candy also makes for a thoughtful gift. Package them in festive tins or jars, and you’ll have a heartfelt present that anyone would appreciate. Who doesn’t love receiving homemade treats over store-bought sweets?
With just a couple of hours invested, you’ll create delightful confections that are sure to impress anyone lucky enough to taste them!
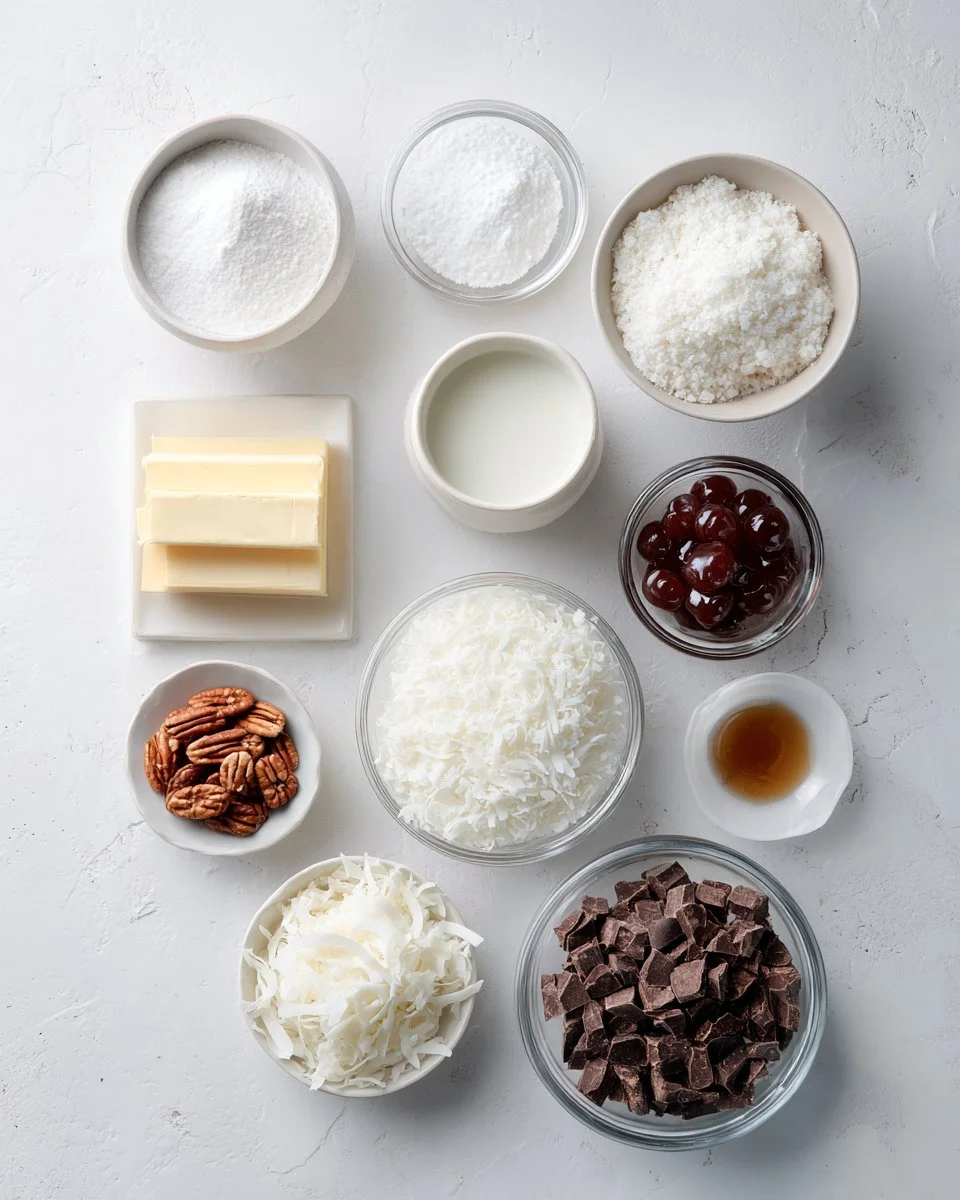
Ingredients
1 cup unsalted butter, softened
(Room temperature is best for easy mixing. I personally love using Kerrygold for its rich flavor.)4 cups confectioners’ sugar
(Ensure there are no lumps for a smooth texture.)1 can sweetened condensed milk (14 ounces)
(The key to that intense sweetness and creamy texture.)2 cups shredded sweetened coconut
(I recommend using Sweetened Baker’s Coconut for optimal sweetness.)2 cups chopped pecans
(Or you could swap these out for walnuts or almonds.)2 teaspoons vanilla extract
(Choose a pure vanilla extract for richer flavor.)1 jar maraschino cherries (6 ounces), drained and chopped
(Make sure to chop them finely so they mix in well.)6 cups semi-sweet chocolate chips
(I stand by Ghirardelli for this!)2 tablespoons vegetable oil
(This helps to smooth out the chocolate when melting.)Coconut flakes for garnish (optional)
(A sprinkle adds a beautiful touch!)
Notes on Preparation:
- Make sure your butter is at room temperature; it will mix far better into the sugar.
- For those wishing to save calories, consider using less sugar or reduced-fat options in moderation, but keep in mind that the texture may vary.
Step-by-Step Instructions
Now, let’s get into the exciting part! Here’s how to make these cozy candies:
Mixing the Base: In a stand mixer, combine 1 cup of softened unsalted butter and 4 cups of confectioners’ sugar until fully mixed—about 2-3 minutes on medium speed. This fluffy mixture sets the base for your candy!
Add Sweetness: Pour in 1 can of sweetened condensed milk, followed by 2 cups of shredded coconut, 2 cups of chopped pecans, and 2 teaspoons of vanilla extract. Mix until everything is well incorporated—not more than a minute to avoid toughening the mixture.
Cherry Time: Gently fold in your 1 jar of chopped maraschino cherries, making sure they’re evenly distributed.
Chill, Baby, Chill: Cover your mixing bowl and refrigerate the mixture for at least 3 hours, or even better, overnight. This helps the flavors meld and makes it easier to scoop later on.
Prepare for Chocolate: Line a baking sheet with parchment paper. This is where your candies will rest and set!
Scoop & Shape: Using a tablespoon, scoop the chilled mixture into balls and place them on the prepared baking sheet, leaving space between each ball.
Firm & Melt: Pop the baking sheet back into the fridge for about 30 minutes to let the balls firm up while you melt the chocolate.
Chocolate Melting: In a microwave-safe bowl, heat 6 cups of semi-sweet chocolate chips and 2 tablespoons of vegetable oil in 30-second bursts, stirring in between until melted and smooth—this usually takes about 1-2 minutes.
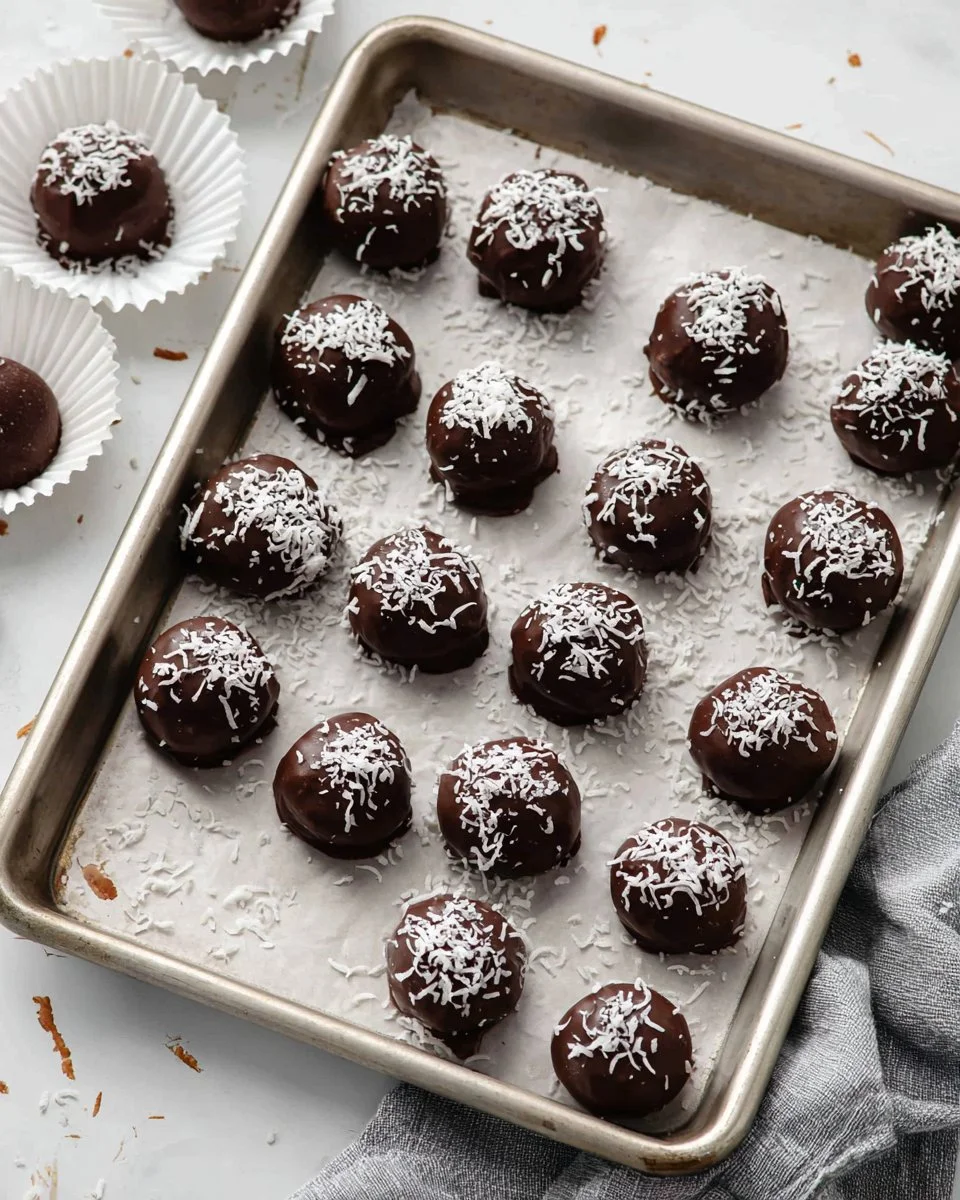
Dip & Decorate: Dip each candy ball into the melted chocolate, coating them fully before placing them back onto the baking sheet.
Garnish If Desired: If you’re feeling fancy, sprinkle some coconut flakes on top before the chocolate sets.
Set It Up: Let the chocolate set at room temperature or put them back in the fridge until fully hardened.
Storage: Once set, store the candies in an airtight container in the refrigerator. They can last for up to two weeks!
Chef’s Tips:
- Keep an eye on the chocolate while melting to avoid burning it.
- If the chocolate thickens too much, you can gently reheat it with a small amount of vegetable oil.
- Use a fork to help dip your candy balls for an even coating!
Expert Tips & Tricks
Perfect Chocolate Dip: For an ultra-smooth coating, add a splash of coconut oil to your melted chocolate—it makes the candy shiny and beautiful!
Storage Recommendations: These candies can be kept in the fridge for up to two weeks and can also be frozen for a month. Just make sure to layer them between parchment paper to prevent sticking.
Make-Ahead Option: The base mixture can be made days in advance and just scooped and dipped when you’re ready, making this a fantastic “last-minute” dessert.
Avoiding Soggy Candy: If you find that your chocolate coating isn’t setting, it could be due to moisture on the candies. Ensure they’re completely chilled and dry before dipping.
Troubleshooting Weak Chocolate: If your chocolate coating keeps breaking apart, you might have used too low of a quality chocolate. Always opt for high-quality chocolate chips!
Sharing is Caring: When gifting, include a little note about how to store the candies to maintain freshness!
Serving Suggestions
These sweet delights are perfect for any occasion! Serve them up with freshly brewed coffee, or alongside a variety of other holiday treats like peppermint bark or gingerbread cookies. Presentation-wise, consider arranging them in a decorative box or cake stand. Martha Washington Candies are particularly lovely for Christmas, Thanksgiving, or even as a charming wedding favor.
Variations & Substitutions
There’s no limit to how you can tweak Martha Washington Candy to fit your taste! Here are some ideas:
- Different Nuts: Swap in different nuts such as walnuts, hazelnuts, or even pistachios for a unique twist.
- Flavor Enhancements: Try using almond extract instead of vanilla for a different depth of flavor.
- Seasonal Flavors: Incorporate peppermint extract during the winter or orange zest for a zesty summertime version!
- Dietary Adjustments: You can try using vegan chocolate and substitutes for butter to make a dairy-free version.
Nutrition & Storage Info
- Prep Time: 20 minutes
- Chill Time: 4 hours (or overnight)
- Total Time: 4 hours 20 minutes
- Yield: About 30 candies
- Estimated Calories per Serving: 150 calories per candy
Storage Instructions:
- Room Temperature: Not recommended, as they require refrigeration.
- Refrigerator: Up to 2 weeks in an airtight container.
- Freezer: Up to 1 month, layered between parchment paper to prevent sticking.
FAQ Section
Can I use unsweetened coconut?
- You can, but it will dramatically change the sweetness of the candies. Consider adding more sugar if you do!
Can I leave out the cherries?
- Yes! While they provide a lovely contrast, you can definitely omit them or substitute with dried cranberries.
What can I use instead of pecans?
- Almost any nut works well here! Walnuts, almonds, or even a nut-free seed option could be nice.
Is it safe to eat raw eggs in my candy?
- This recipe does not contain any eggs, so it is safe to enjoy!
How can I make these gluten-free?
- Rest easy; all the ingredients in this recipe are gluten-free.
How do I prevent chocolate from seizing?
- Avoid any moisture contact with chocolate, and always melt it slowly at low temperatures.
What if my filling is too sticky?
- If the mixture is sticky, it may need more chilling. Just pop it in the fridge for a bit longer!
Can I use dark chocolate instead of semi-sweet?
- Absolutely! Dark chocolate offers a rich contrast to the sweetness of the filling.
Can I use evaporated milk instead of sweetened condensed?
- Not recommended, as it will drastically alter the sweetness and consistency.
Can I add additional flavors like spices?
- Yes! Consider a touch of cinnamon for a warm flavor twist!
Conclusion
Martha Washington Candy isn’t just a recipe; it’s a sweet tradition that brings loved ones together and evokes cherished memories. Perfect for any occasion, these homemade treats promise delight in every bite and the joy of sharing homemade goodness. I encourage you to take the plunge into this delightful world of candy-making! Please let me know how your batch turns out—share your feedback and variations, as I love hearing from you! For more sweet adventures, check out my other related recipes on the blog!
The Ultimate Strawberry Crumble Cheesecake: A Delicious Blend of Creamy and Crunchy
Happy baking!

Martha Washington Candy
Ingredients
Method
- In a stand mixer, combine 1 cup of softened unsalted butter and 4 cups of confectioners’ sugar until fully mixed—about 2-3 minutes on medium speed.
- Pour in 1 can of sweetened condensed milk, followed by 2 cups of shredded coconut, 2 cups of chopped pecans, and 2 teaspoons of vanilla extract. Mix until everything is well incorporated—not more than a minute to avoid toughening the mixture.
- Gently fold in your 1 jar of chopped maraschino cherries, making sure they’re evenly distributed.
- Cover your mixing bowl and refrigerate the mixture for at least 3 hours, or even better, overnight.
- Line a baking sheet with parchment paper.
- Using a tablespoon, scoop the chilled mixture into balls and place them on the prepared baking sheet, leaving space between each ball.
- Pop the baking sheet back into the fridge for about 30 minutes to let the balls firm up while you melt the chocolate.
- In a microwave-safe bowl, heat 6 cups of semi-sweet chocolate chips and 2 tablespoons of vegetable oil in 30-second bursts, stirring in between until melted and smooth.
- Dip each candy ball into the melted chocolate, coating them fully before placing them back onto the baking sheet.
- If you’re feeling fancy, sprinkle some coconut flakes on top before the chocolate sets.
- Let the chocolate set at room temperature or put them back in the fridge until fully hardened.
- Once set, store the candies in an airtight container in the refrigerator. They can last for up to two weeks!