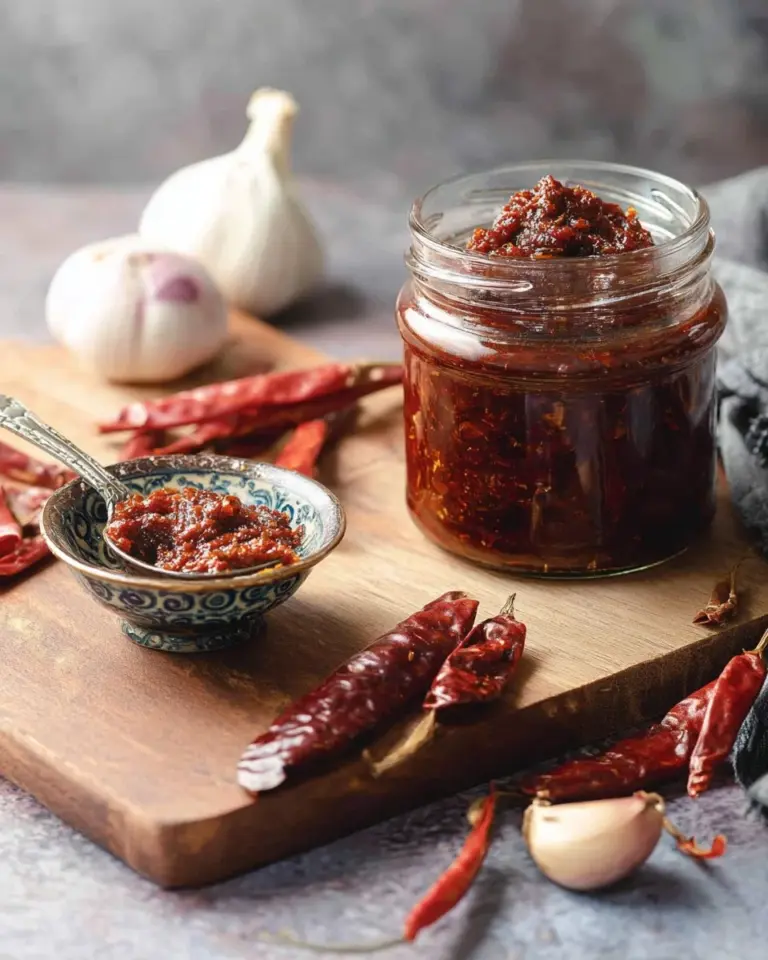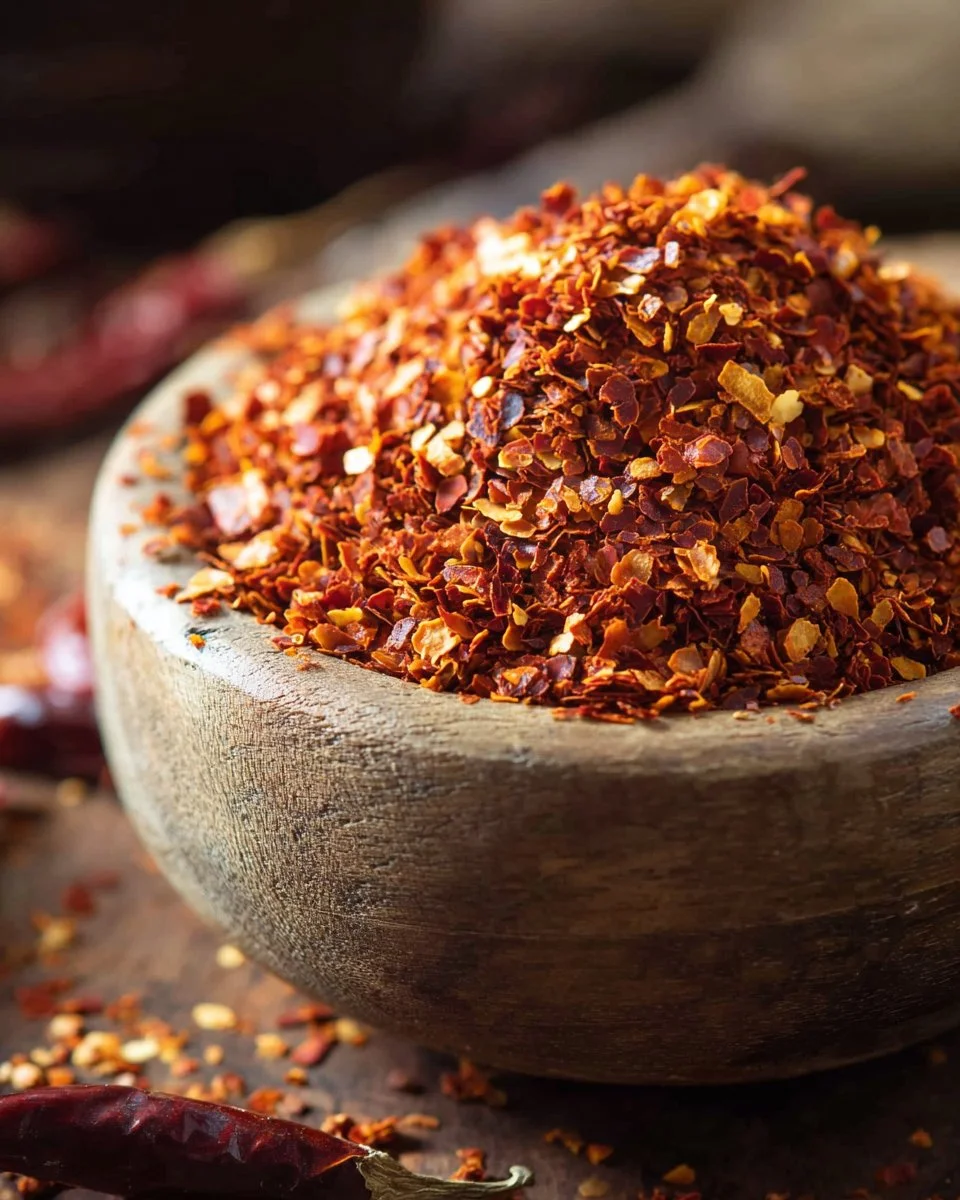
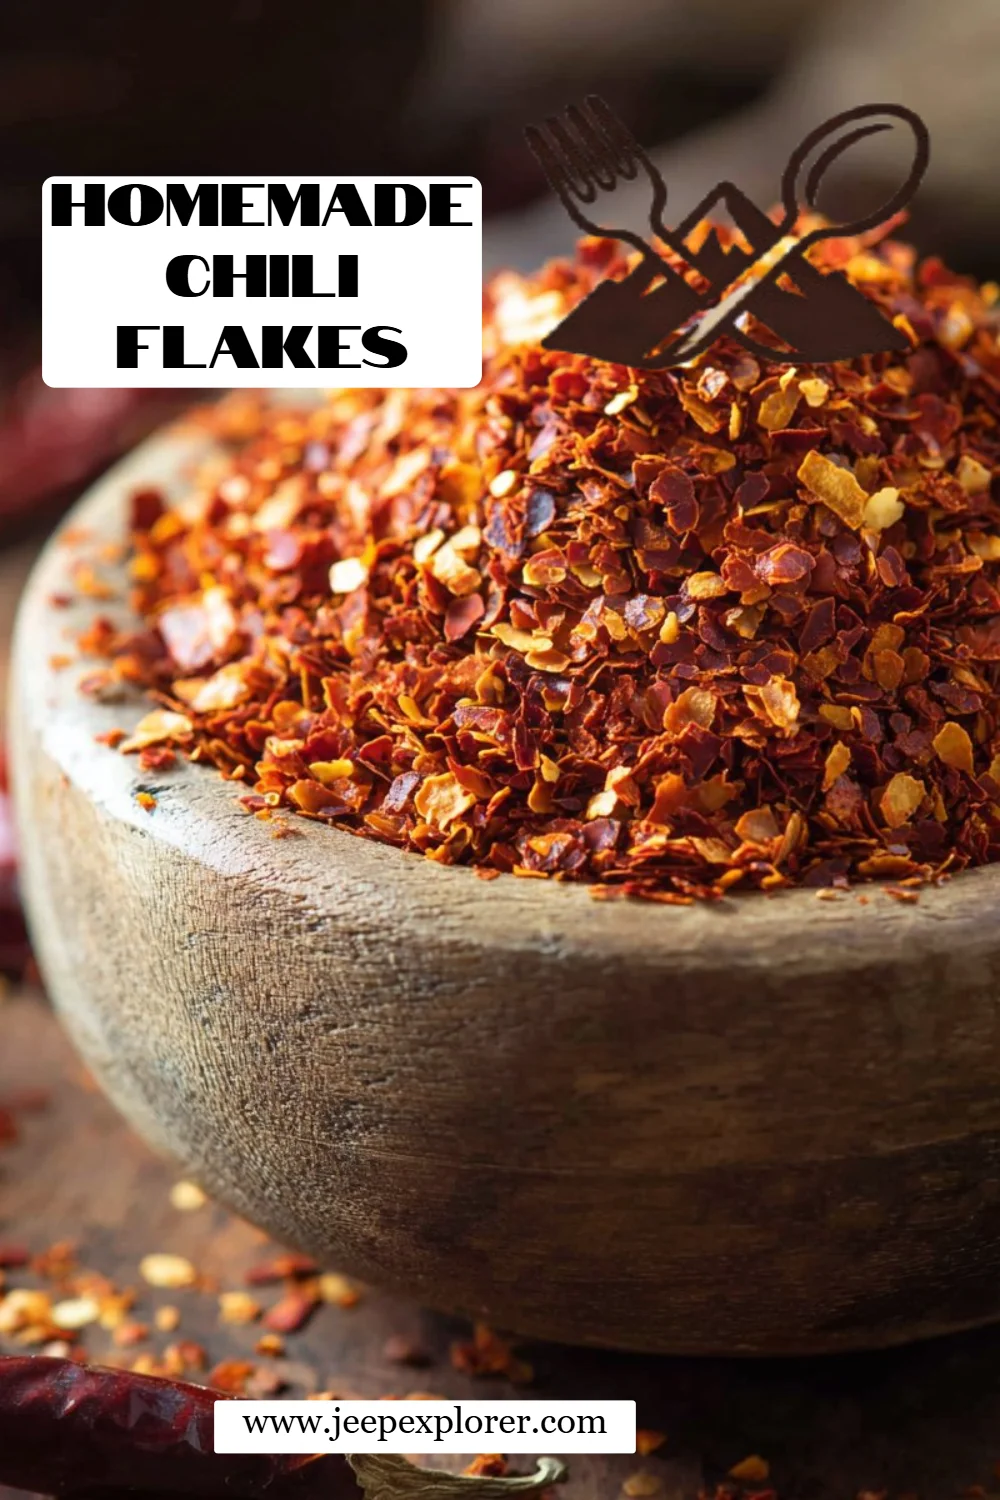
Spice Up Your Life: The Ultimate Guide to Homemade Chili Flakes
As the chill of autumn creeps in, I can’t help but reminisce about those cozy evenings spent with family, a big pot of chili simmering away on the stove, filling our home with rich, spicy aromas. The secret to that unforgettable chili? A generous sprinkle of homemade chili flakes! Crafting my own chili flakes has become a cherished tradition, and it’s more than just a cooking step; it’s a way to infuse love and warmth into every dish.
Many store-bought options are loaded with additives and preservatives, but homemade chili flakes are a pure expression of flavor. They capture the essence of vibrant, sun-dried chilies that you pick and blend to your unique taste. This recipe stands apart because it’s all about you—you choose the chilies, the spice level, and even add special ingredients like Makrut lime leaves or lemongrass for a zesty twist.
So if you’ve ever wanted to elevate your culinary game or surprise your guests with a gourmet touch, this is the guide for you! By the end, you’ll master how to craft your own homemade chili flakes that will bring a spark of comfort and nostalgia to your meals.
What Are Homemade Chili Flakes?
Homemade chili flakes have a rich history woven into the fabric of many cuisines around the world. Originating from the vibrant cultures of Central and South America, dried chilies have long been celebrated for their ability to add heat and character to culinary creations. These little flakes are not just spices; they’re a burst of flavor, packed with heat, sweetness, and an earthy undertone that transforms ordinary dishes into extraordinary ones.
The taste of homemade chili flakes is a symphony of flavors: the initial heat from the chilies, followed by a subtle smokiness when toasted just right. The texture is coarse yet fine enough to sprinkle delicately over your favorite recipes, leaving each bite infused with warmth.
So when should you whip up a batch? The best time is whenever you desire a personal touch in your cooking, especially for a cozy evening meal, a potluck gathering, or simply to elevate your everyday dishes.
Why You’ll Love This Recipe
Customizability: The beauty of making your own chili flakes is that you control every ingredient. Want a smokier flavor? Opt for chipotle chilies. Prefer something a bit fruitier? Throw in some ancho chilies. The possibilities are endless!
Cost-Effective: Store-bought chili flakes can cost a pretty penny, especially those with unique mixtures. Not only does making them at home save money, but you’ll also have a never-ending supply at your fingertips.
Quality Ingredients: When you make these flakes, you choose the quality of your chilies. This means fresher flavors and no additives. Plus, if you have leftover chilies from other projects, this is a perfect way to avoid waste.
Easy to Make: I promise you, this isn’t a labor-intensive process. With just a bit of patience (okay, and maybe a little toasting), you’ll have a spicy concoction that’s as easy as it is flavorful.
A Connection to Tradition: Creating your own homemade chili flakes can become an exciting family tradition. Imagine teaching your kids the way you learned, just like I learned from my grandmother. It’s a great way to bond while preparing a meaningful ingredient.
Ingredients Section
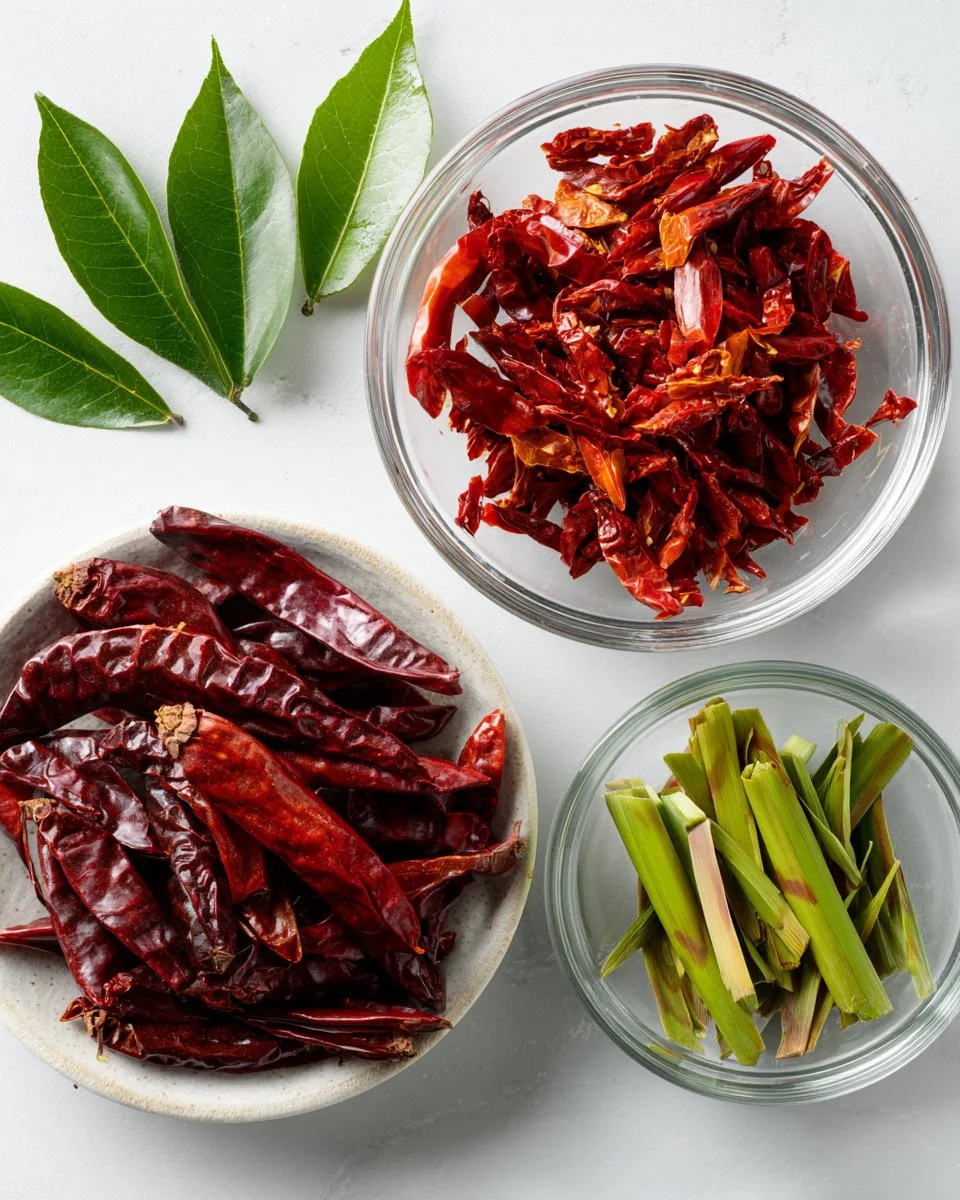
- Dried Spicy Chilies (Thai Birds Eye Chilies, Arbol Chilies, etc.): Opt for high-quality chilies to ensure maximum flavor. Thai birds eye chilies bring searing heat, while arbol chilies offer a more approachable spice level.
- Makrut Lime Leaves (Optional): If you can find these aromatic leaves, they offer a unique, citrusy fragrance that enhances your flakes beautifully. If not, don’t stress!
- Lemongrass (Optional): As a delightful substitute for lime leaves, lemongrass adds a bright note to your flakes. A little goes a long way!
Feel free to mix and match according to your heat tolerance and personal preferences. As for prep, make sure your butter or any other ingredients you might add are at room temperature for the best results.
Step-by-Step Instructions
Wash the Dried Chilies: Start by rinsing the chilies under cold water. Pat them dry thoroughly; if you have time, letting them dry overnight ensures they toast evenly.
Prepare the Chilies: To reduce the heat if desired, cut the chilies open and remove the seeds. This step is crucial; keep in mind the more seeds you leave, the hotter your flakes will be!
Toasting on the Stovetop: Heat a dry pot or skillet over medium heat. Add the chilies (and lime leaves if using) and stir constantly for about 5-7 minutes until you see charred spots appearing. You’ll know they’re done when the kitchen fills with their rich aroma.
Chef’s Tip: Keep an eye on them; burned chilies will give you a bitter taste instead of that sought-after smokiness.
Oven Toasting Option: Prefer this method? Preheat your oven to 300°F (150°C) and bake the chilies for 5-7 minutes until they darken and become aromatic.
Grinding: Once the chilies are cooled, transfer them to a coffee grinder or food processor. Grind until you reach your desired consistency—whether it’s flakes or a finer powder.
Common Mistake: Avoid opening the grinder too soon! Allow the dust to settle for about 15-20 seconds before prying it open to avoid a spicy cloud!
Storage: Finally, store your homemade chili flakes in an airtight container in the fridge or freezer. They can last for up to six months, keeping their fresh flavor intact.
Expert Tips & Tricks
Seal in Flavor: For the best freshness, keep your chili flakes in a dark glass jar and away from direct sunlight.
Make Ahead: Double or triple your batch while you’re at it! The extra effort will pay off, and you’ll have your homemade spice ready for the next few months.
Experiment with Heat Levels: Mix in different chilis for varying flavors. I’ve personally tried combining arbol and pasilla for a smoky twist!
Troubleshooting: If you find your flakes too spicy, consider mixing in some dried herbs or even flaky salt to mellow it out.
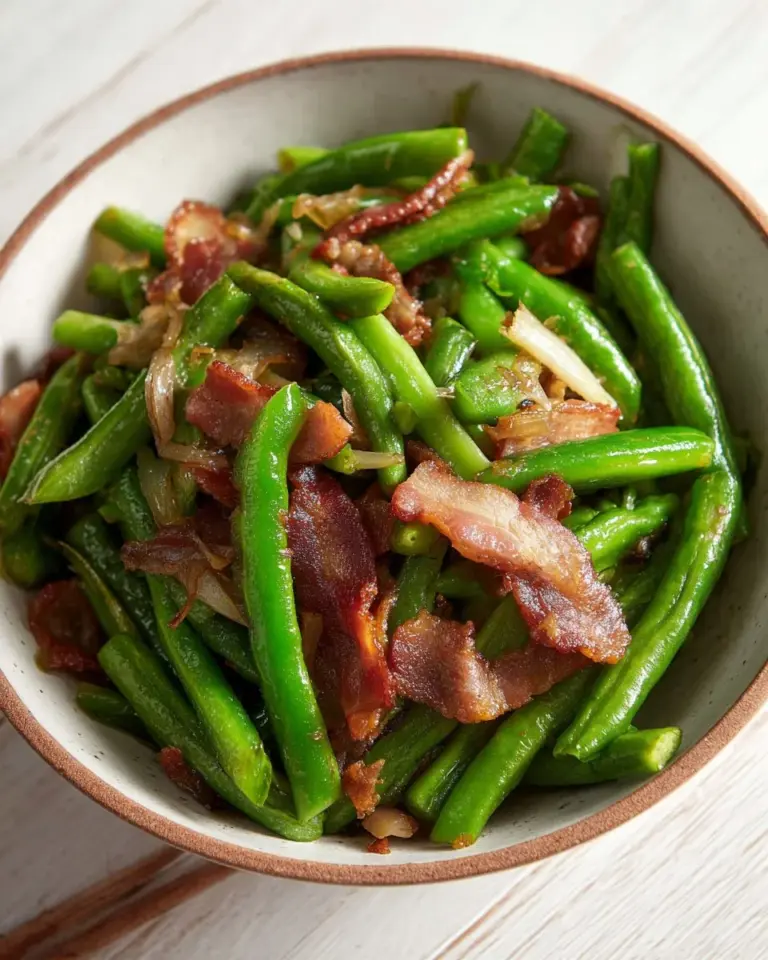
Add to Other Recipes: These chili flakes can accent everything from pizza to popcorn. Don’t be shy about getting creative!
Serving Suggestions
Homemade chili flakes are incredibly versatile! They work wonders as a finishing touch on pizzas, pastas, or grilled veggies. Consider sprinkling them over a simple avocado toast or even mixing them into marinades for meats!
Presentation? Use a small bowl for serving and sprinkle a few flakes on top for that homemade vibe. These chili flakes are a perfect addition to gatherings—spice up your next taco night or potluck!
Variations & Substitutions
- Flavor Combinations: Enhance your flakes with garlic powder or onion powder for an extra layer of flavor.
- Dietary Restrictions: If you’re avoiding gluten or preservatives, rest assured that these homemade flakes fulfill those needs effortlessly.
- Seasonal Adjustments: In fall, consider adding smoked paprika for a warm, autumnal twist or mix in some dried herbs like oregano during spring for a fresh profile.
Nutrition & Storage Info
- Prep Time: 15 minutes
- Cook Time: 15 minutes (varies)
- Total Time: 30 minutes
- Yield: About 1 cup of flakes
- Calories: Approximately 5 calories per teaspoon
- Storage: Keep in room temp for up to a week, or in the fridge/freezer for up to 6 months.
FAQ Section
How can I adjust the heat level of my chili flakes?
- You can adjust heat by choosing milder chilies or removing more seeds before toasting.
Can I use fresh chilies?
- Fresh chilies have high moisture content. This recipe is specifically for dried chilies.
How do I substitute dried chilies for fresh ones?
- Use about 1 tablespoon of dried chili flakes for every fresh chili.
What’s the shelf life of homemade chili flakes?
- Properly stored, they can last up to 6 months.
Can I add herbs to my chili flakes?
- Yes, consider adding dried herbs like oregano or thyme for a unique flair.
Are there any safety tips while grinding?
- Be cautious, especially if sensitive to spicy fumes—wear a mask or do it in a well-ventilated area!
What should I do if my flakes are too coarse?
- Simply grind them again, ensuring that all particles are evenly sized.
Can I mix different types of chilies?
- Absolutely! Combining different chilies can create a unique flavor profile for your flakes.
What’s the best way to use these chili flakes?
- The best way is to sprinkle on dishes like pastas, grilled meats, or veggies just before serving for a flavor boost.
Can kids enjoy homemade chili flakes?
- Adjust the heat level by opting for milder chilies; always monitor how much is added, especially for sensitive taste buds!

Conclusion
With this guide on making your own homemade chili flakes, you’ll never need to reach for that store-bought bottle again. Not only is it a fun and rewarding experience, but it also creates a flavorful addition that celebrates your unique taste. I encourage you to try it out and let me know what you think! Did you make any exciting variations? Your feedback is always welcome!
If you’re interested, check out my other recipes for homemade spice blends or explore comforting chili recipes on the blog. Happy cooking!

Homemade Chili Flakes
Ingredients
Method
- Wash the dried chilies under cold water, then pat them dry thoroughly. If possible, let them dry overnight.
- Cut open the chilies and remove seeds if you prefer a milder flavor.
- Heat a dry pot or skillet over medium heat. Add the chilies and lime leaves (if using) and stir constantly for about 5-7 minutes until you see charred spots appearing.
- Alternatively, preheat your oven to 300°F (150°C) and bake the chilies for 5-7 minutes until they're aromatic.
- Once the chilies have cooled, transfer them to a coffee grinder or food processor. Grind to your desired consistency.
- Allow the dust to settle for about 15-20 seconds before opening the grinder.
- Store your homemade chili flakes in an airtight container in the fridge or freezer, where they can last for up to six months.