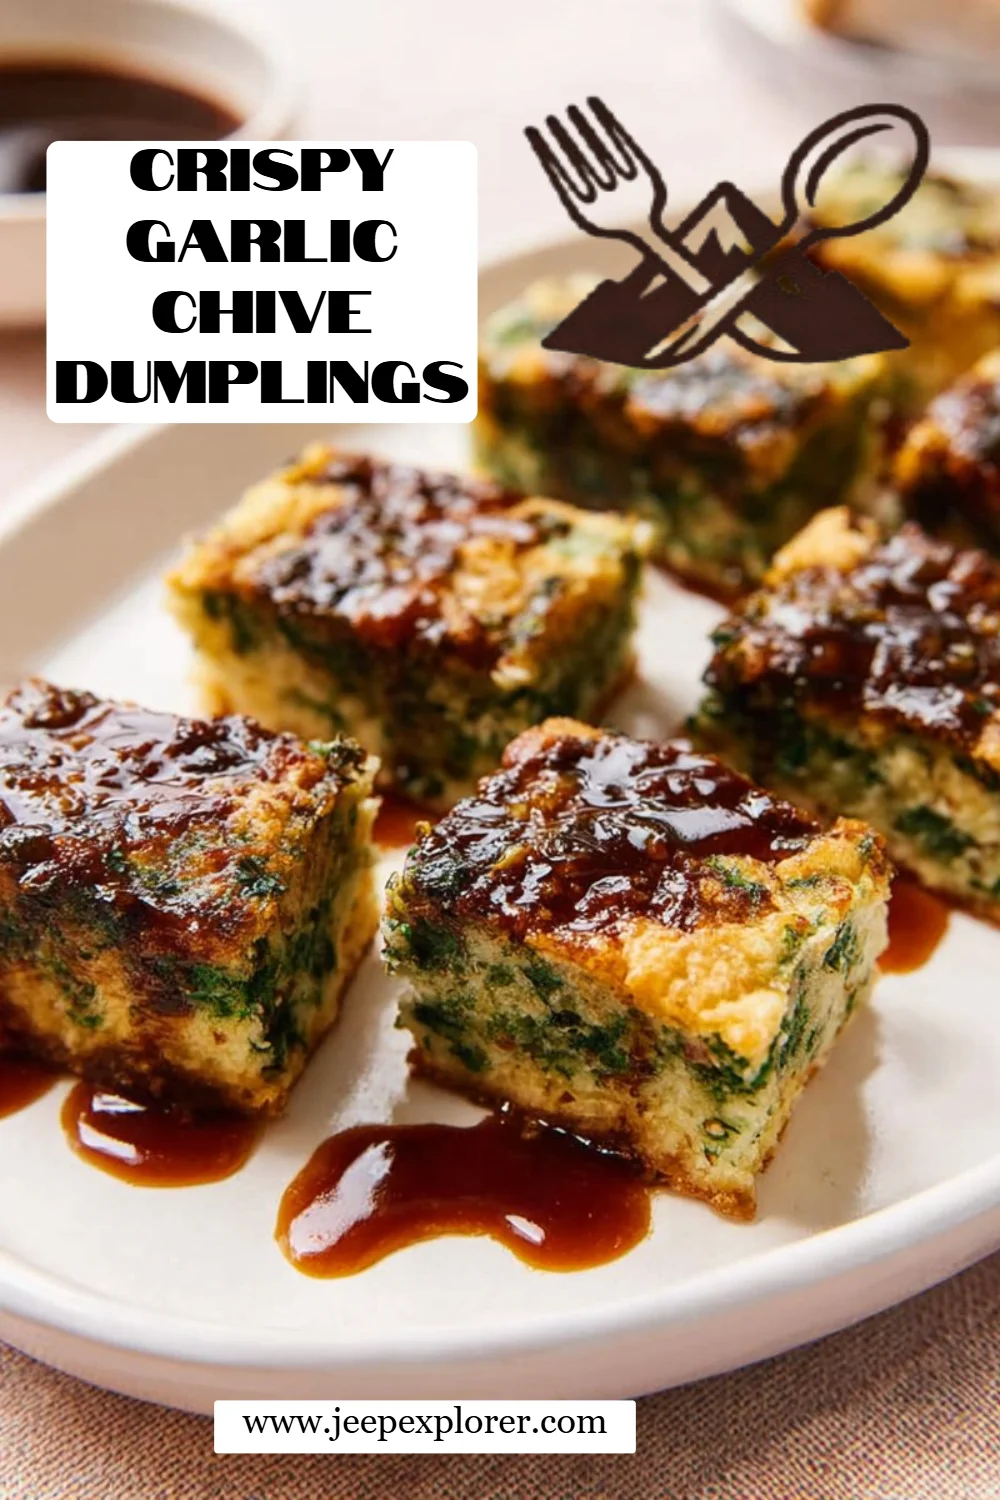
Irresistibly Crispy Garlic Chive Dumplings: A Flavorful Delight!
Imagine walking into your kitchen on a chilly evening, the faint smell of freshly fried dumplings wafting through the air, instantly warming your heart. That’s exactly how I felt the first time I made crispy garlic chive dumplings, and let me tell you, they’ve become a staple in our home ever since. As the fond memories of family gathering around the table started flooding in, I couldn’t help but feel that these delightful dumplings represent so much more than just a recipe—they encapsulate love, comfort, and shared laughs.
What makes crispy garlic chive dumplings stand out from other dumpling recipes out there? Well, it’s all about that perfectly crispy exterior that gives way to a chewy, fragrant center bursting with the flavor of garlic chives. In a world full of ready-made dumplings, I promise you that making these from scratch is not only rewarding but also cost-effective and much more delicious. Plus, you’ll learn how to whip these up quickly, making them perfect for family gatherings or cozy nights in. So, roll up your sleeves and let me guide you through this treasured recipe that’s sure to make you feel a bit nostalgic while introducing something new to your kitchen!
What Are Crispy Garlic Chive Dumplings?
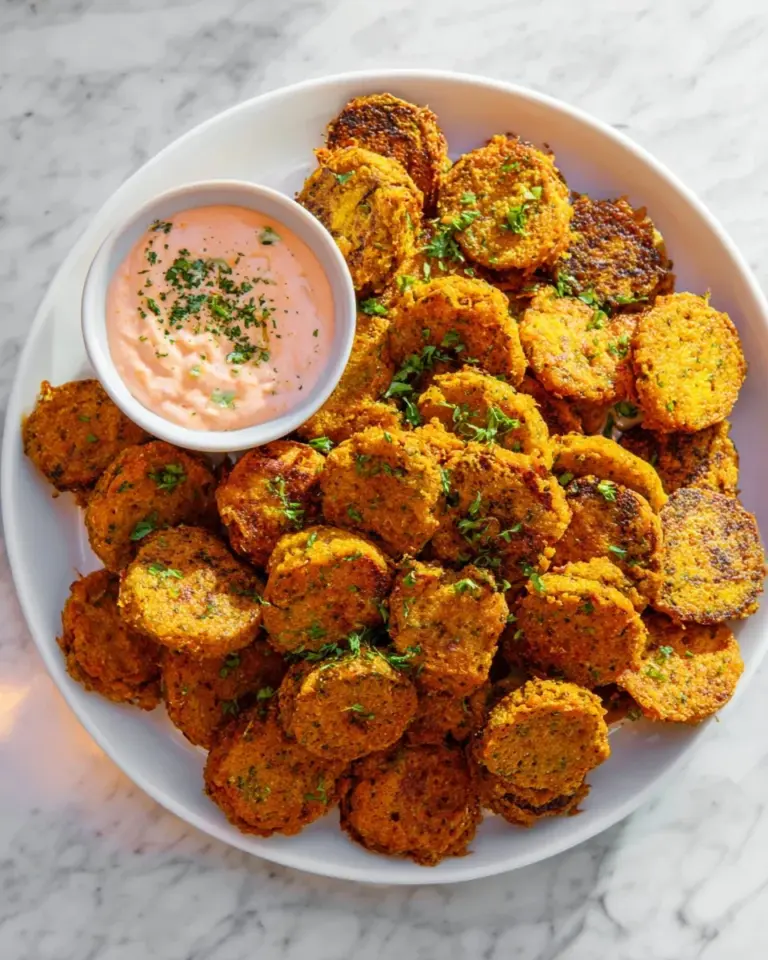
Crispy garlic chive dumplings originate from the heart of Asian cuisine, featuring simple yet deeply satisfying flavors. Traditionally, they are made with garlic chives, a staple ingredient in many Asian dishes renowned for their aromatic qualities and vibrant flavor profile. The dumplings are delicately fried to a golden crisp, making every bite a symphony of textures—from the crunchy exterior to the delightfully chewy insides.
What truly sets these dumplings apart is the combination of garlic chives and the light, slightly chewy batter made from rice flour and tapioca starch. The freshness of the chives perfectly balances the dumpling’s savory filling, creating a delightful experience in your mouth. These dumplings can be enjoyed as an appetizer, a snack, or even a main dish, making them incredibly versatile. Whether you’re hosting a gathering or simply looking to treat yourself, crispy garlic chive dumplings are an excellent choice any time you crave comfort food.
Why You’ll Love This Recipe
1. Unmatched Flavor
You won’t find flavors like this in store-bought dumplings! The combination of fresh garlic chives and perfectly balanced soy sauce brings a burst of umami with every bite, taking your taste buds on a delightful journey.
2. Cost-Effective
Why spend your hard-earned money at a restaurant when you can make these delicious dumplings at home for a fraction of the cost? With affordable ingredients, this recipe suits any budget.
3. Customizable
Feel free to swap ingredients based on your taste preferences. Don’t have garlic chives? You can substitute them with spinach or other herbs. Allergic to gluten? Use gluten-free rice flour and starch for a delightful alternative!
4. Easy to Make
Even if you’ve never made dumplings before, this recipe is straightforward and beginner-friendly. You’ll feel like a culinary expert in no time, impressing family and friends with your cooking prowess!
5. Perfect for Cooking Ahead
These dumplings can be made in batches and refrigerated or frozen for later use. Whenever the craving strikes, simply fry them up, and you’ve got a delicious meal in minutes.
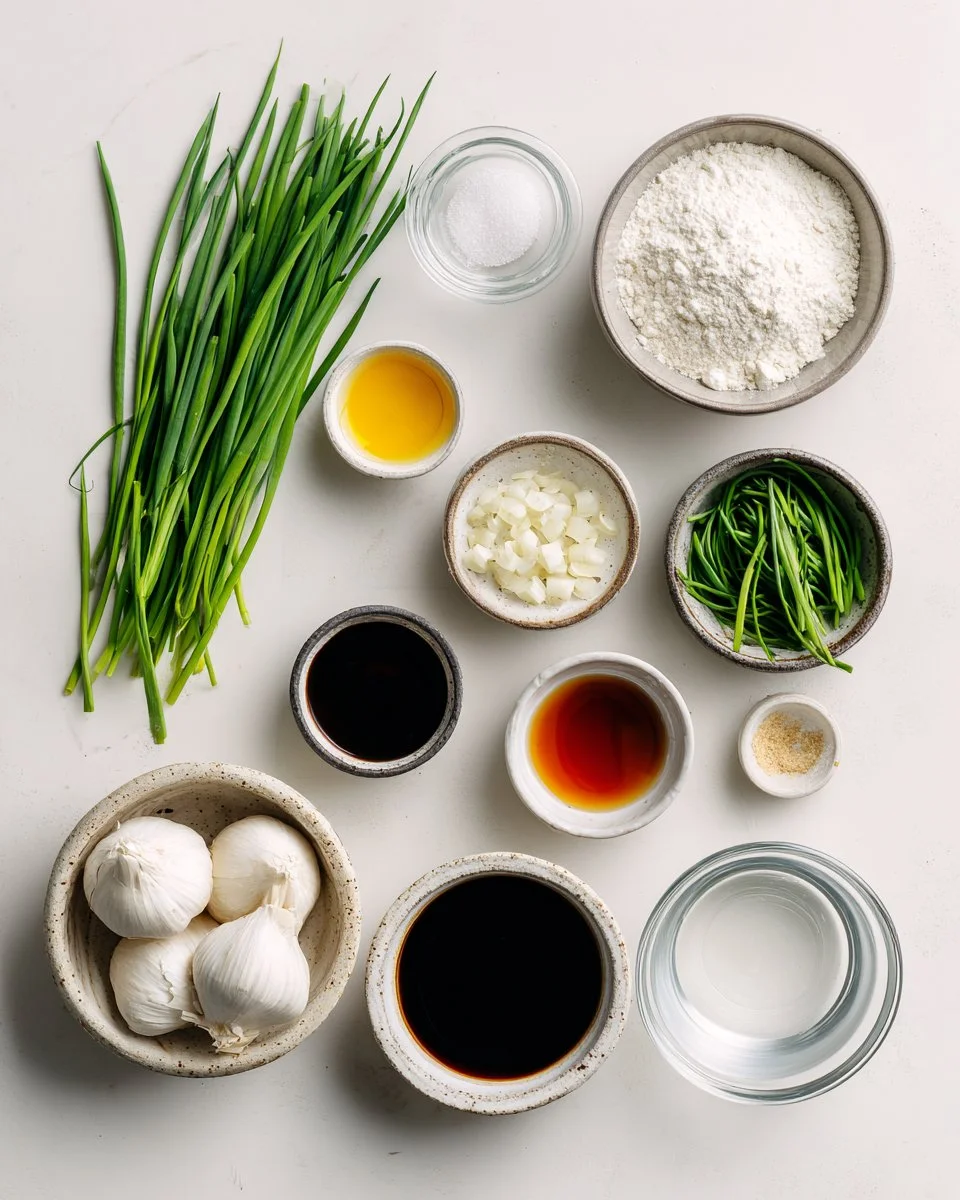
Ingredients
230 g (½ pound) garlic chives: Look for fresh, vibrant chives; they have a delicate garlic-y flavor that’s essential for this recipe. If garlic chives aren’t available, regular chives work too!
2 tsp sugar: This enhances the overall flavor and balances the saltiness from the soy sauce.
½ Tbsp soy sauce: Use a good-quality soy sauce for the best flavor. Consider low-sodium options if you prefer.
½ tsp salt: This will elevate all the flavors in your dumplings.
¼ tsp baking soda (optional): Adds a bit of fluffiness to the batter.
2 tsp neutral oil: Canola, vegetable, or grapeseed oil work well here.
1 clove garlic, finely grated or minced: Fresh garlic brings warmth and an irresistible aroma. In a pinch, use ¼ tsp garlic powder.
¼ tsp white pepper: This adds a subtle heat without overwhelming the other flavors.
100 g rice flour: Essential for the chewy texture—ensure it’s finely milled for best results.
100 g tapioca starch: This helps achieve that desired "bouncy" texture.
1 cup (240 ml) water: Use room temperature water for the batter.
Dipping Sauce Ingredients:
- 1 Tbsp sugar
- 1 Tbsp water
- 1 Tbsp vinegar: Use rice vinegar for a milder taste.
- 1 ½ Tbsp sweet soy sauce (e.g., ABC kecap manis): This adds a touch of sweetness.
- 1 Tbsp soy sauce
- 2-3 tsp sambal oelek or minced Thai chilies to taste: Increases spice level according to your preference.
Prep notes: Ensure your garlic chives are thoroughly washed and dried before you chop them. Room temperature butter is ideal when making the batter.
Step-By-Step Instructions
Prep the Chives: Cut the bottom off the garlic chives, wash them thoroughly, and dry with a towel. Dice them into small pieces and place them in a mixing bowl.
Mix the Seasoning: Add salt, sugar, soy sauce, optional baking soda, white pepper, oil, and minced garlic to the bowl with the chives. Mix well and let sit for 20 minutes—this helps the flavors meld together.
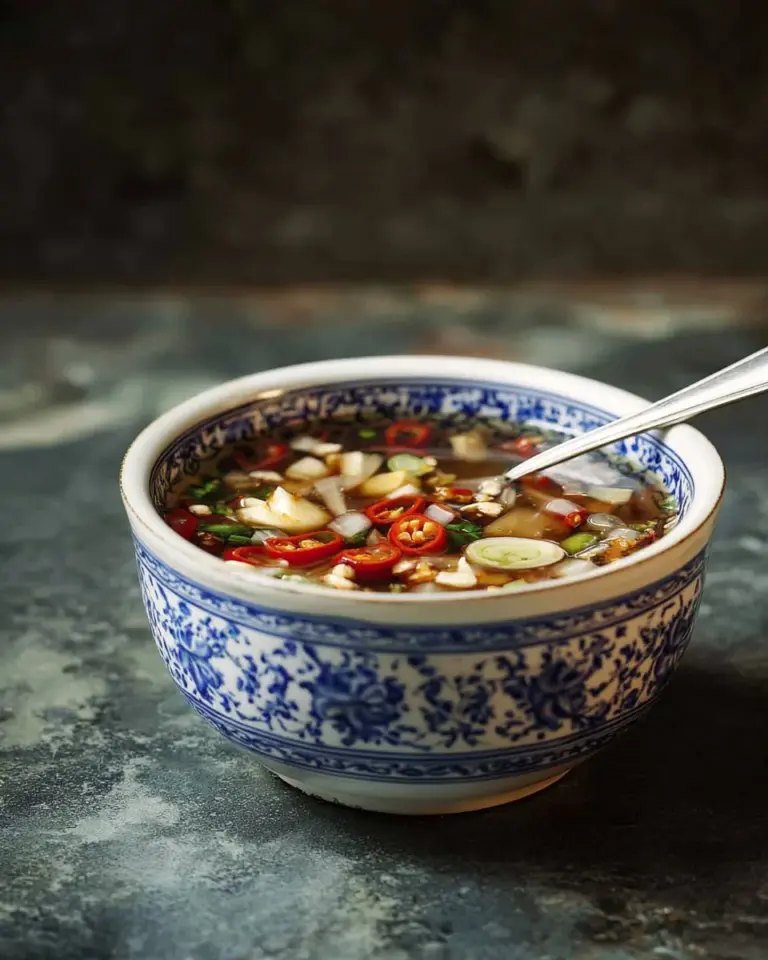
Create the Dipping Sauce: In a separate bowl, combine vinegar, water, and sugar until dissolved. Then, stir in the remaining dipping sauce ingredients and set aside.
Make the Batter: Combine water, rice flour, and tapioca starch in a pot. Stir continuously over low heat until the mixture thickens to a consistency similar to Greek yogurt. This should take about 5-7 minutes. Remove from heat.
Combine Chives and Batter: Stir the prepared chives mixture into the batter until fully combined.
Prepare for Steaming: Grease a 7-inch round cake pan and pour the batter in, smoothing out the top with a spatula.
Steam: Place the pan in a steamer and steam for 15-20 minutes or until the internal temperature reaches 190°F. You’ll know it’s done when the batter is firm to the touch.
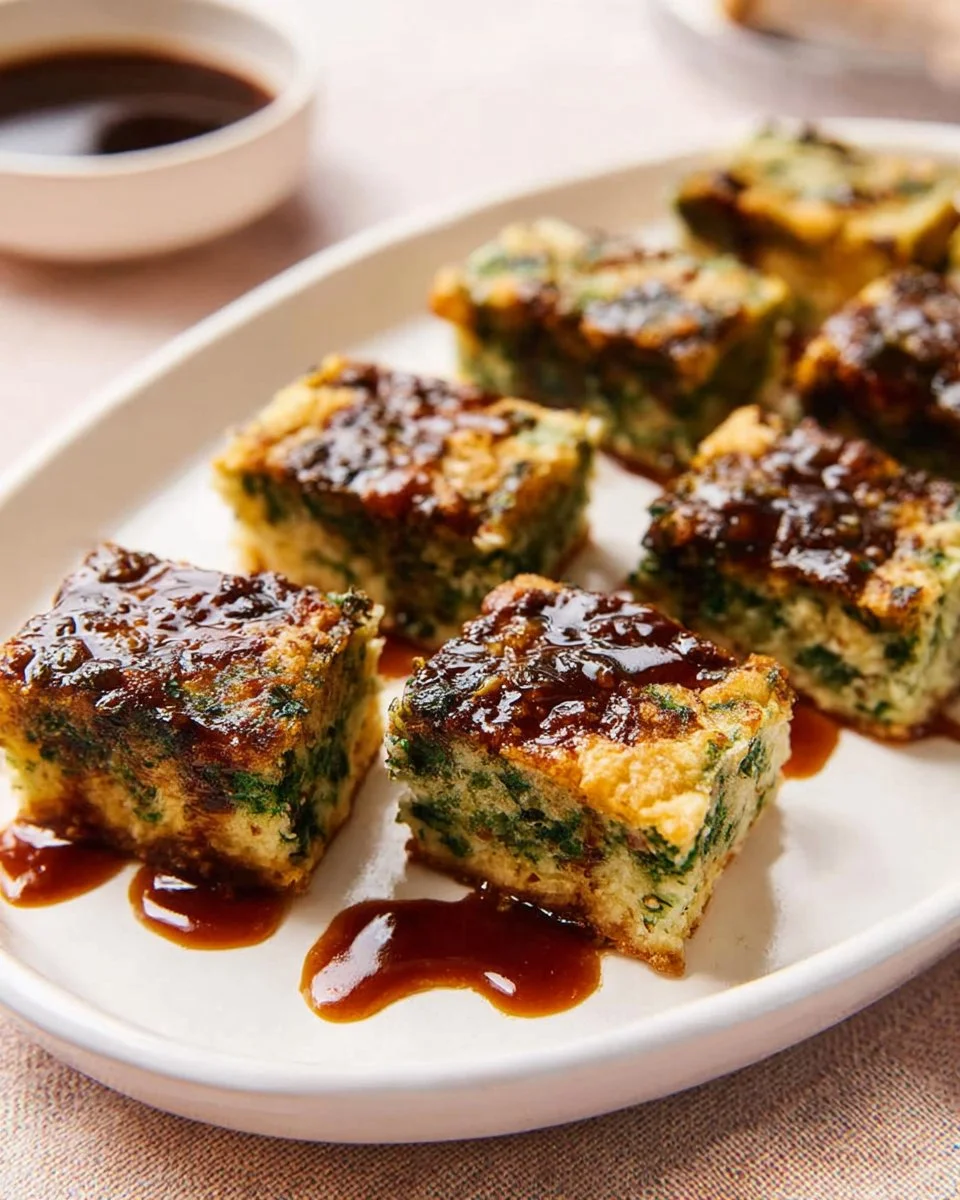
Cool and Fry: After steaming, let the dumpling cool slightly before cutting it into pieces. In a frying pan, heat oil over medium-high heat, then fry the dumpling pieces until golden and crispy on both sides, about 2-3 minutes per side.
Serve: Serve your crispy garlic chive dumplings hot with the dipping sauce on the side for an explosive flavor experience!
Expert Tips & Tricks
- Quality Matters: Always opt for fresh ingredients, especially the garlic chives. Their flavor is unparalleled.
- Make Ahead: You can prepare the batter and filling a day in advance. Just keep them covered in the fridge.
- Storage: These dumplings can be stored in an airtight container in the fridge for up to 3 days or frozen for up to 1 month. Reheat them by frying straight from frozen.
- Troubleshooting: If you notice the batter won’t stick while frying, it may be too thick—add a splash of water to loosen it up.
- Common Mistakes: Make sure not to overcrowd the pan while frying—this will lower the temperature of the oil, resulting in soggy dumplings instead of crispy ones.
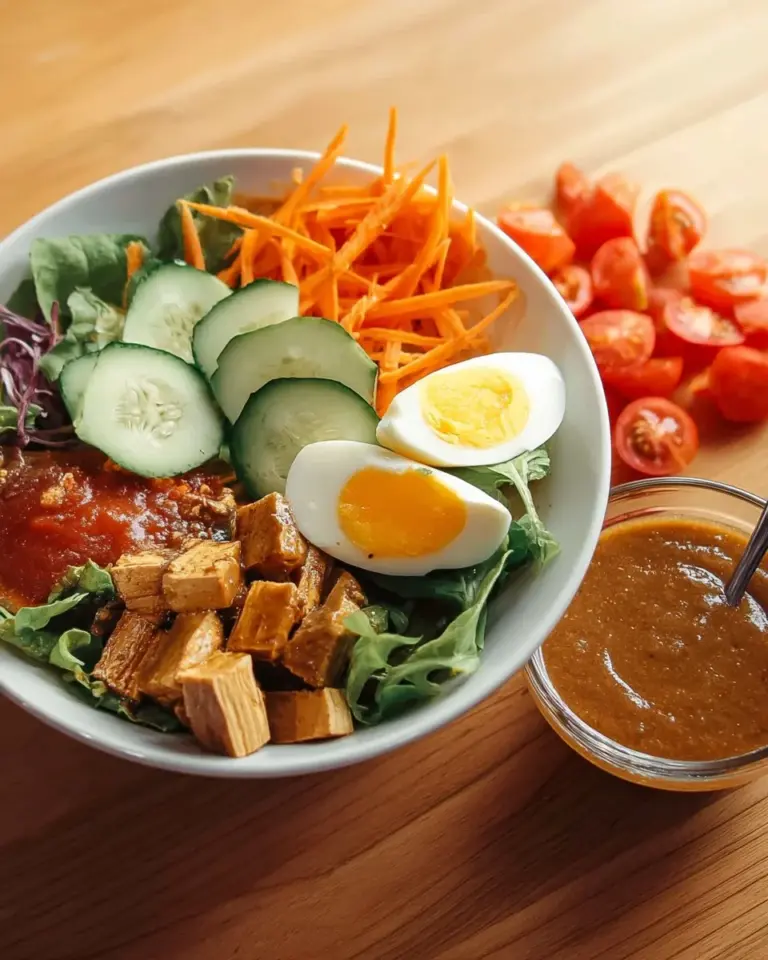
Serving Suggestions
These crispy garlic chive dumplings are delicious on their own but pair beautifully with a variety of sides! Consider serving them alongside a simple Asian slaw or a hot bowl of miso soup for a well-rounded meal. For presentation, arrange them on a decorative platter with a sprinkle of sesame seeds and a few sprigs of fresh herbs for color. They are perfect for casual gatherings, game nights, or even a cozy dinner date at home!
Variations & Substitutions
Feel free to get creative with your dumpling fillings! You can mix in shredded carrots, finely chopped mushrooms, or even ground meat for a heartier option. For dietary restrictions, consider using gluten-free rice flour and omit the soy sauce in favor of tamari for a gluten-free alternative. Seasonal variations could involve adding spinach or even using roasted garlic for a unique flavor twist!
Nutrition & Storage Info
- Prep Time: 30 minutes
- Cook Time: 20 minutes
- Total Time: 50 minutes
- Yield: Approximately 4 servings (10-12 dumplings)
- Estimated Calories: 180 per serving
- Storage Instructions: Store leftovers at room temperature for 1 day or transfer to the fridge for up to 3 days. For longer storage, freeze for up to 1 month.
FAQ Section
What can I substitute for garlic chives?
You can use regular chives, green onions, or even spinach in a pinch!Can I freeze the dumplings before cooking?
Absolutely! Just ensure they are well-sealed to prevent freezer burn.How do I make these vegan-friendly?
This recipe is already vegan! Just ensure you’re using plant-based sauces.What dipping sauces can I try?
You can play around with hot sauces, ponzu, or even a spicy mayo.Can I bake the dumplings instead of frying?
Yes, they may not be as crispy, but you can bake them at 375°F for about 20-25 minutes.How long do they take to cook in a steamer?
Steaming time is around 15-20 minutes, depending on your steamer’s efficiency.Why did my dumplings come out soggy?
This usually occurs from overcrowding the pan while frying or not letting the dumplings cool before frying.What can I serve these dumplings with?
They pair wonderfully with a variety of dipping sauces, salads, and soups.Can I adjust the spice levels?
Definitely! You can reduce the amount of sambal oelek or use a milder chili for less heat.How do I know when they’re done frying?
They should be golden brown and crispy on both sides.
Conclusion
Crispy garlic chive dumplings are more than just a snack; they are a celebration of flavor, comfort, and the nostalgia of home cooking. I truly hope you’ll try making this recipe and experience the joy it brings to your kitchen (and your taste buds!). Don’t forget to share your thoughts and experiences in the comments—I’d love to hear how they turned out for you! And while you’re here, check out some of my other delicious recipes on the blog that are sure to inspire your next cooking adventure!


Crispy Garlic Chive Dumplings
Ingredients
Method
- Cut the bottom off the garlic chives, wash thoroughly, and dry with a towel. Dice into small pieces and place in a mixing bowl.
- Add salt, sugar, soy sauce, optional baking soda, white pepper, oil, and minced garlic to the bowl with the chives. Mix well and let sit for 20 minutes.
- In a separate bowl, combine vinegar, water, and sugar until dissolved. Stir in remaining dipping sauce ingredients and set aside.
- Combine water, rice flour, and tapioca starch in a pot. Stir continuously over low heat until thickened, about 5-7 minutes. Remove from heat.
- Stir the chives mixture into the batter until fully combined.
- Grease a 7-inch round cake pan and pour in the batter, smoothing out the top.
- Place the pan in a steamer and steam for 15-20 minutes or until the internal temperature reaches 190°F.
- Let the dumpling cool slightly before cutting into pieces.
- In a frying pan, heat oil over medium-high heat, fry the dumpling pieces until golden and crispy on both sides, about 2-3 minutes per side.
- Serve the crispy garlic chive dumplings hot with the dipping sauce on the side.