Table of Contents
Table of Contents
Picture this: a hot summer day, the sun blazing down, and all you can think about is a cold, creamy treat to help you beat the heat. Enter the fudgesicle—my childhood favorite that somehow always felt like such a guilty pleasure! I distinctly remember long afternoons spent at my grandma’s house, enjoying homemade fudgesicles with my cousins, laughter echoing around us, and the decadent chocolate flavor melting on our tongues under the warm sun.
What makes this Fudgesicle Recipe so special is not just its rich, chocolatey goodness, but how it brings back those cherished memories of family, laughter, and comfort food. Unlike the store-bought versions packed with additives and sugar, my recipe is made with simple, wholesome ingredients—like creamy coconut milk and protein powder—so you can indulge without the guilt!
So if you’re ready to whip up a batch of nostalgia-inducing fudgesicles that taste amazing and fit your healthy lifestyle, I’m excited to share my insider tips and tricks! You’ll learn not just how to make these delicious frozen treats, but also how to customize them to suit your taste. Your taste buds will thank you!
What Are Fudgesicles?
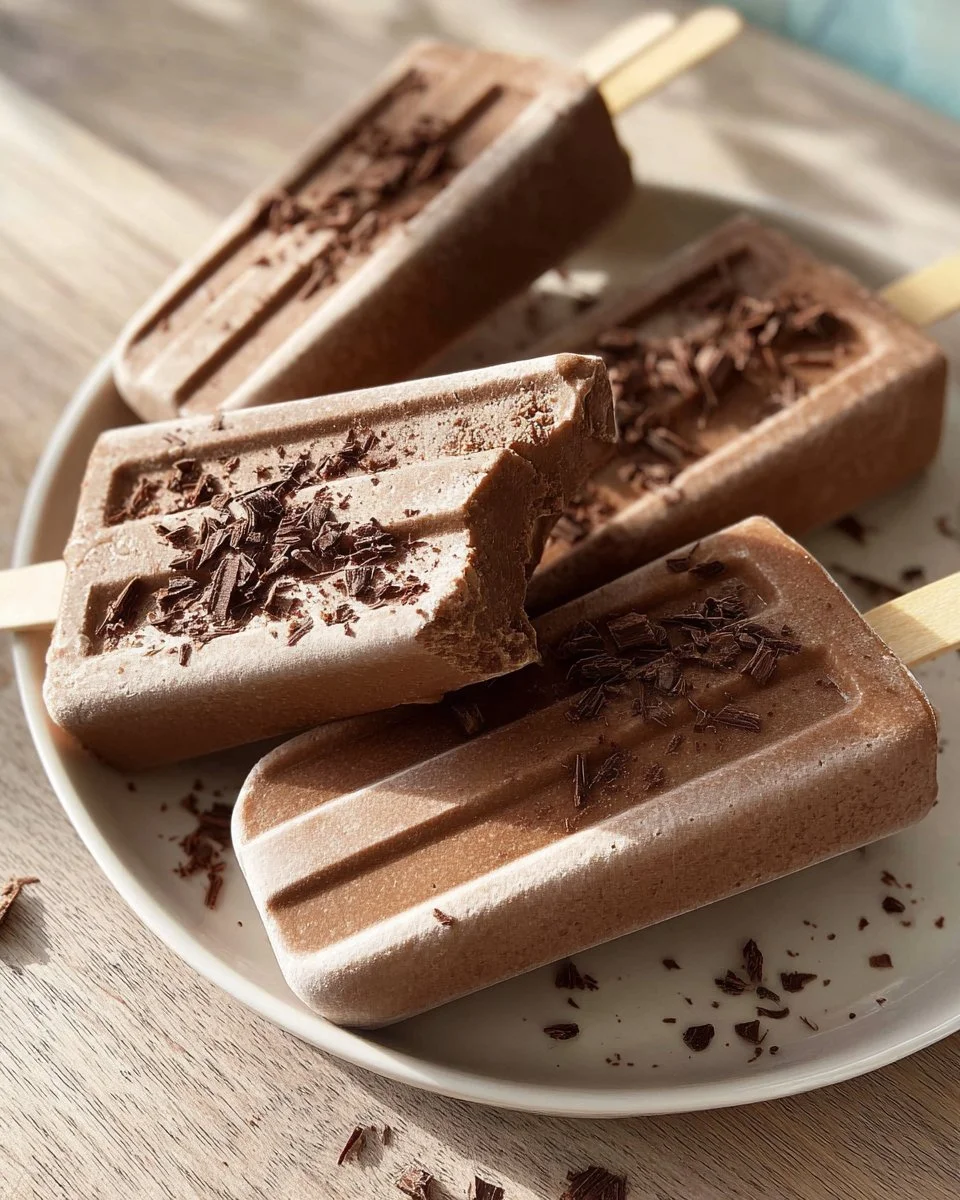
Fudgesicles are a classic American frozen dessert that combines the delight of ice cream with the simplicity of popsicles. Originating in the early 20th century, these frozen treats quickly became a staple in households across the country. What sets them apart is their velvety texture and rich chocolate flavor, almost akin to biting into a frozen chocolate mousse on a stick!
Typically, fudgesicles are made with a blend of cocoa, sugar, and milk—but the best part is that they’re incredibly versatile. You can deck them out with fun flavors or keep them classic. They’re perfect treats for a hot day or after dinner, when you crave something sweet without feeling weighed down. Fudgesicles are an invitation to indulge while still enjoying healthy ingredients that make them a fabulous choice for both kids and adults.
Why You’ll Love This Recipe
Simple Ingredients, Big Flavor: Forget convoluted recipes! This fudgesicle recipe is built on just a can of coconut milk and protein powder, resulting in a decadent treat packed with nutrients. Say goodbye to artificial flavors and hello to wholesome goodness.
Cost-Effective Delights: Making fudgesicles at home is not only a health boost but also a major savings. Store-bought versions can be quite pricey and come with unnecessary ingredients. You can create an entire batch for just a fraction of the cost!
Customizable Creations: Feel free to add your favorite flavors! Want a hint of vanilla or maybe some fresh fruit? Toss in some berries or even a dash of mint for an exciting twist. The possibilities are endless!
Quick Prep Time: The actual blending and assembling of your fudgesicles takes only about 10 minutes! Just allow them to freeze overnight, and you’ve got a delightful treat ready for summer fun or a late-night snack.
Healthy Indulgence: With protein powder and coconut milk, this recipe smartly incorporates nutrients while satisfying your sweet tooth—making it a wonderful alternative to sugary snacks.
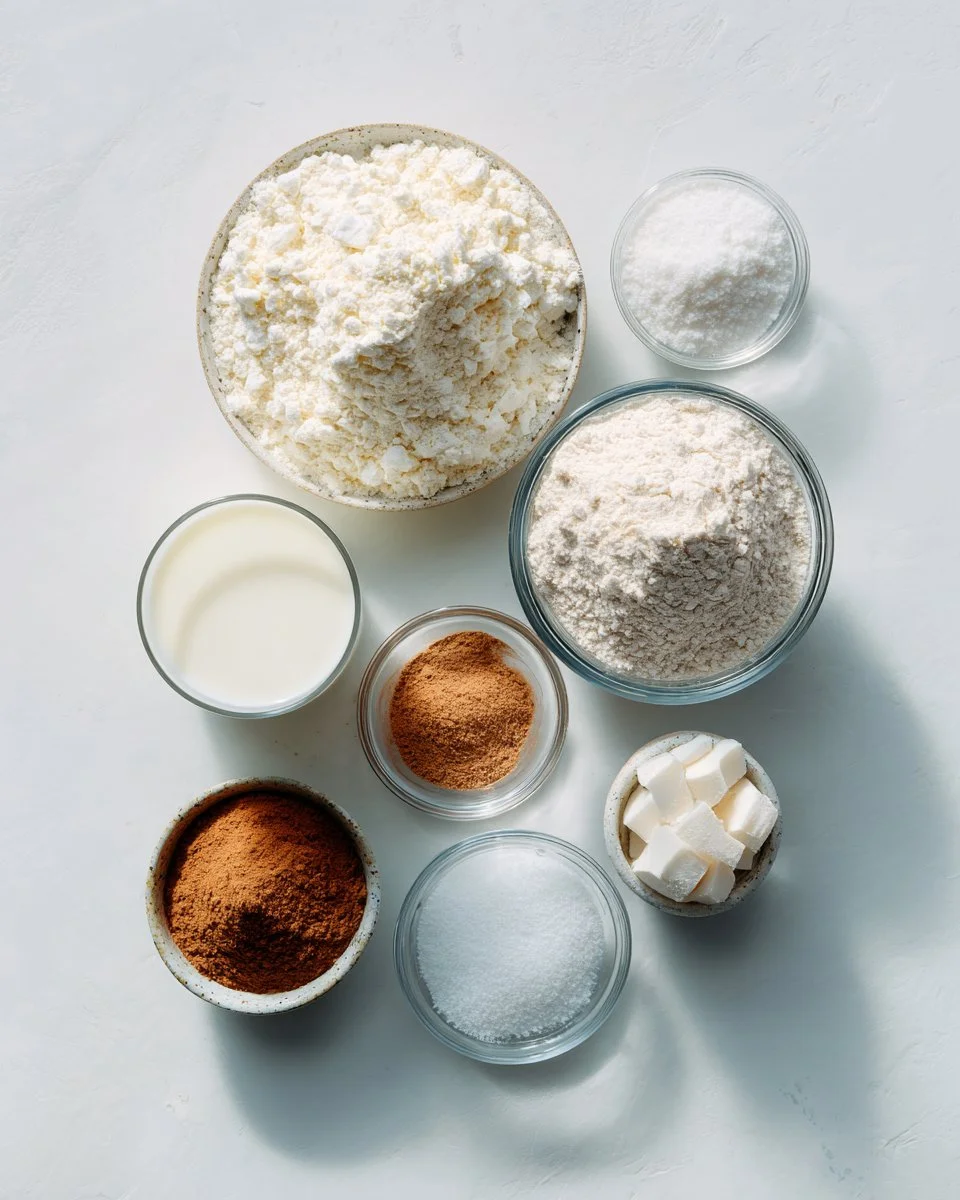
Ingredients
- 1 can coconut milk (look for full-fat for ultimate creaminess or light for a lower calorie option)
- 2 scoops protein powder (vanilla or chocolate works great; I’m a fan of Orgain or Quest for their natural ingredients)
- Optional: 2 tablespoons maple syrup or honey (for an added touch of sweetness)
- Optional: 1 teaspoon vanilla extract (to elevate the flavor)
- A pinch of sea salt (to balance the sweetness)
Prep Notes:
- Ensure your coconut milk is at room temperature for easier blending.
- If using regular protein powder, remember that flavored options can alter the sweetness, so adjust accordingly!
Step-by-Step Instructions
Blend the Base: Add the coconut milk and protein powder to a blender, and blend until fully combined, about 1 minute. The mixture should be smooth and creamy.
Sweeten the Deal: If desired, add maple syrup or honey, along with vanilla extract and a pinch of sea salt. Blend again for a few seconds.
Mold Your Treats: Pour the mixture into popsicle molds, filling them about three-quarters full. Remember to leave space for expansion!
Insert Popsicle Sticks: Place the popsicle stick tops onto each mold.
Freeze Overnight: Pop the molds in the freezer and let them freeze for at least 6-8 hours, preferably overnight.
Ready to Enjoy?: Once frozen, to remove the popsicle from the mold, run warm water over the sides for a few seconds. Gently press up from the bottom, and voilà! Your fudgesicle is ready.
Chef’s Tips:
- Watch for Separation: Blend well to avoid any separation between the layers!
- Avoid Common Mistakes: Make sure your coconut milk is well mixed; any lumps will affect the texture of the popsicles.
Expert Tips & Tricks
Storage Recommendations: Store these fudgesicles in an airtight container or repackage them into zip-top bags to keep them fresh and prevent ice crystals.
Make-Ahead Instructions: You can prepare the fudgesicle mixture a day or two in advance. Blend it up, and store it in the fridge until you’re ready to pour into molds!
Troubleshooting Common Problems:
- If your fudgesicles are too hard, try reducing the freeze time slightly or let them sit at room temperature for a couple of minutes before serving.
- If your popsicles are too soft, simply increase the freezing time.
Experiment with Flavors: Feel free to blend in ingredients like peanut butter or coffee for a sophisticated twist. I’ve tried this with coconut flakes for an island vibe!
Revamp Leftovers: If you happen to have any fudge pops left, toss them in a blender with a scoop of ice for a fudgy smoothie!
Serving Suggestions
These fudgesicles are delightfully refreshing on their own, but consider serving them alongside a bowl of fresh berries or a dollop of yogurt for a fun dessert spread. For special occasions, you can present them in a colorful and festive popsicle holder, perfect for warmer days of play!
Variations & Substitutions
- Mint Chocolate: Add a few drops of peppermint extract for a refreshing twist!
- Fruit-Infused: Layer slices of bananas or strawberries in the molds before pouring in the fudgesicle mixture for a fruity surprise.
- Dairy-Free Adaptation: Swap out coconut milk for almond or oat milk as long as you choose a creamy variety.
Nutrition & Storage Info
- Prep Time: 10 minutes
- Cook Time: Freezing overnight
- Total Time: Approximately 24 hours for full enjoyment!
- Yield: Makes about 6-8 servings
- Estimated Calories per Serving: Approximately 120, depending on added sweeteners.
- Storage Instructions: Keep in the fridge for about a week or in the freezer for up to a month.
FAQ Section
Can I use a different milk type?
Yes! Almond or oat milk can work well, though the creaminess might vary.How do I sweeten my fudgesicles?
Use honey, maple syrup, or even a sugar substitute like stevia to keep it low-cal.Can I add protein to this recipe?
Absolutely! Just make sure to find a protein powder that suits your taste.How long do these last in the freezer?
These can last up to a month in the freezer if stored in an airtight container.Can I make these gluten-free?
Yes! This recipe is naturally gluten-free, just ensure your protein powder is as well.What’s the best way to remove them from the molds?
Run warm water over the outside or dip the mold for a few seconds to loosen them up.Can I use fresh fruit in the recipe?
Definitely—with some adjustments to balance the liquid content!Do these fudgesicles melt quickly?
They have a creamy texture but should hold up for a bit at room temperature.Can I skip the protein powder?
Yes! You can substitute it with cocoa powder or just leave it out, though the nutritional value may change.What else can I make with these?
Try using fudgesicles in smoothies or as dessert toppings. Get creative!
Conclusion
This Fudgesicle Recipe is more than just a delicious treat; it’s a portal to cherished memories and family connections. With its simple ingredients and customizable options, you can indulge in a guilt-free way that fits seamlessly into your lifestyle. I wholeheartedly encourage you to try this recipe—you won’t be disappointed!
I’d love to hear your thoughts and feedback after you’ve made these frozen treats. If you enjoyed this recipe, be sure to check out my other favorites on the blog, like my dreamy strawberry shortcake or creamy banana ice cream.
Happy blending!

Fudgesicles
Ingredients
Method
- Blend the Base: Add the coconut milk and protein powder to a blender, and blend until fully combined, about 1 minute. The mixture should be smooth and creamy.
- Sweeten the Deal: If desired, add maple syrup or honey, along with vanilla extract and a pinch of sea salt. Blend again for a few seconds.
- Mold Your Treats: Pour the mixture into popsicle molds, filling them about three-quarters full. Remember to leave space for expansion.
- Insert Popsicle Sticks: Place the popsicle stick tops onto each mold.
- Freeze Overnight: Pop the molds in the freezer and let them freeze for at least 6-8 hours, preferably overnight.
- Ready to Enjoy?: Once frozen, to remove the popsicle from the mold, run warm water over the sides for a few seconds. Gently press up from the bottom, and voilà! Your fudgesicle is ready.