As a food lover, I’ve always found joy in experimenting with flavors that ignite my dishes and make my family meals memorable. It reminds me of those chilly winter evenings when we would gather around a steaming pot of chili, savoring the rich, smoky aroma wafting through the air. Today, I’m excited to share with you my favorite Chili Seasoning Recipe, a treasure that has been passed down in my family and perfected in my kitchen.
What makes this Chili Seasoning Recipe so special? It’s not just about the blend of spices; it’s about the memories tied to each bite, the comfort it brings, and the satisfaction of knowing you’ve created something delicious from scratch. Unlike store-bought options that often contain preservatives and lack depth of flavor, this homemade mix allows you to tailor it to your family’s taste, ensuring each batch is perfect for your palate. Whether you prefer it spicy, smoky, or herby, I promise you’ll learn how to make it just the way you love. Let’s spice things up and make your next chili night unforgettable!
What Are Chili Seasoning Recipes?
Chili seasoning, a blend of herbs and spices, finds its roots in the diverse culinary traditions of Mexico and the Southern United States. A well-crafted chili seasoning combines sweet and smoky flavors with a kick of heat—perfect for warming your heart on a cold day. Its unique profile captivates your taste buds, making you crave more with each spoonful.
These seasonings are typically a mix of paprika, cumin, garlic, and chili pepper, which come together to create a complex, multidimensional flavor. You can whip up this blend for a cozy family dinner or elevate your next football gathering. Homemade chili seasoning enhances your meals with love and warmth, and it’s sure to become a staple in your spice cabinet.
Why You’ll Love This Recipe
Flavor Balancing: One of the best aspects of making your own chili seasoning is the ability to balance flavors. Make it smokier, add more heat, or take it down a notch – the choice is yours!
Customizable: You can experiment with different spices and adjust the ratio to suit your family’s preferences, creating a personal touch that store-bought mixes often lack.
Cost-Efficiency: Making your own blend is more cost-effective in the long run. You’ll save money by purchasing spices in bulk, allowing you to make large batches to last you for weeks, if not months.
Quality Ingredients: Home blending gives you full control over the quality of your ingredients. No more preservatives or artificial additives—just pure, aromatic spices!
Simplicity: This is an easy recipe that only takes about 10 minutes to prepare. Honestly, you can whip it up while your chili is simmering away on the stove!
Time invested: Just a few minutes of mixing! So, let’s get started on crafting this delightful seasoning mix that will enhance your favorite hearty dishes.
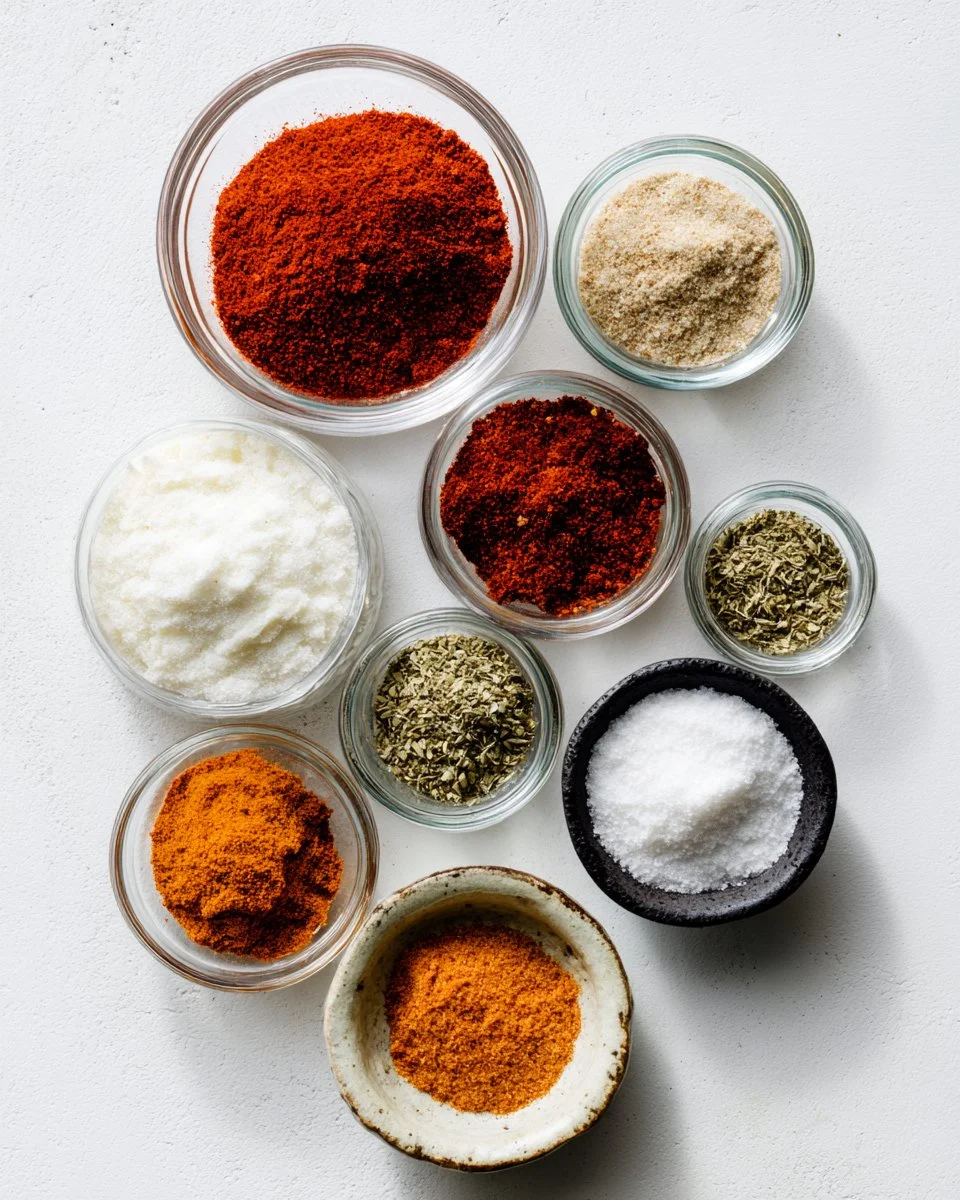
Ingredients
To create the perfect chili seasoning, gather the following ingredients:
- 8 tbsp paprika
- 2 tbsp smoked paprika (if you can’t find smoked, regular paprika works too)
- 1 tbsp cayenne pepper (adjust to taste)
- 2 tbsp onion powder
- 2 tbsp ground cumin
- 1 tbsp garlic powder
- 1 tbsp dried oregano
- 1 tbsp kosher salt
- 2 tsp ground coriander
Ingredient Quality and Substitutions
- Paprika: Choose a high-quality paprika; the flavor can vary significantly based on the brand. I love using Penzeys Spices.
- Smoked Paprika: This ingredient adds a subtle smokiness. If you’re out, you can use an additional tablespoon of regular paprika, or even a dash of liquid smoke for that smoky essence.
- Cayenne Pepper: Spice things up with additional cayenne or go milder by using paprika instead.
- Salt: Kosher salt is my go-to for this mix, but feel free to use sea salt or table salt meticulously.
Preparation Notes
Ensure all ingredients are at room temperature to promote even blending. If you’re making a larger batch, you can store it in an airtight container, which helps preserve the flavor.
Step-By-Step Instructions
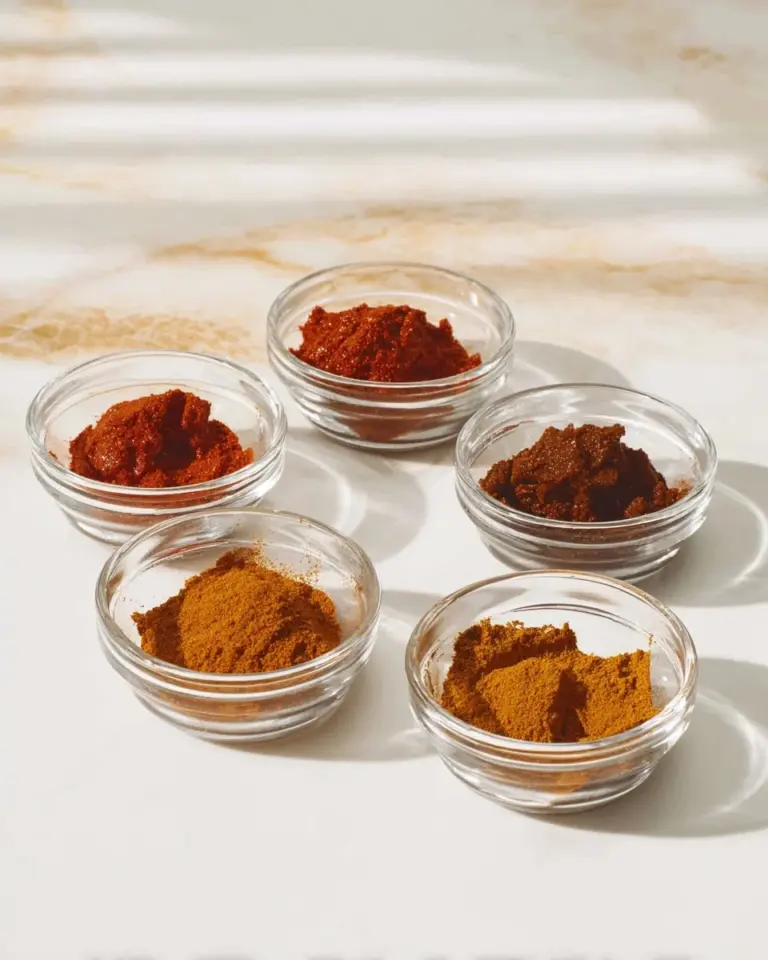
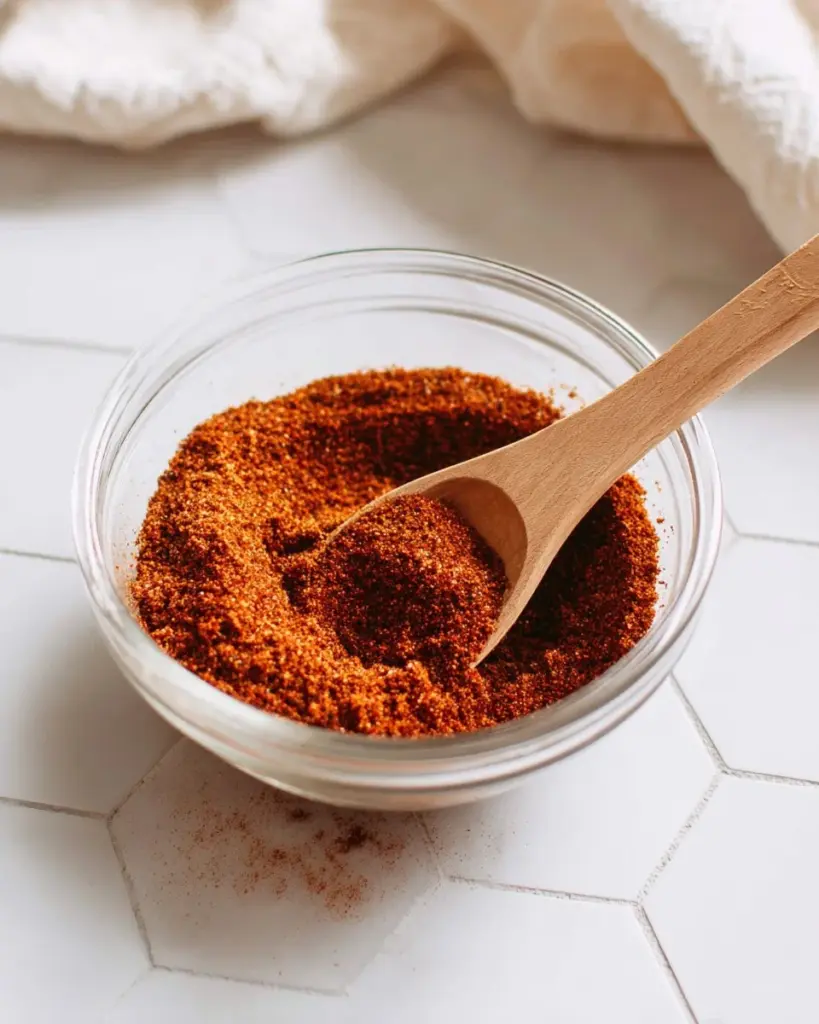
Mix the Spices: In a large mixing bowl, combine all the ground spices. Whisk them together thoroughly to ensure an even flavor distribution—this makes a notable difference in the final flavor. You’ll see the vibrant colors swirl together, and the aroma will begin to fill your kitchen!
Taste and Adjust: Once everything is well blended, take a small spoonful and give it a taste. This step is crucial! You might want to add a smidge more salt or an extra pinch of cayenne pepper for heat. Remember, it’s all about finding that perfect balance.
Chef’s Tips:
- Use fresh spices whenever possible; they have more potent flavors.
- Store the spices in a cool, dry place to maintain their freshness.
Storage: Transfer the spice mix to an airtight container. Label it with the date and keep it away from sunlight. This seasoning mix can last for up to six months if stored correctly.
Use: Add this seasoning mix to your favorite chili recipe, or sprinkle it on roasted vegetables, grilled meats, or even popcorn for an unexpected kick.
Common Mistakes to Avoid
- Not mixing thoroughly can lead to uneven flavor distribution; ensure the spices are well combined.
- Tasting with a wet spoon will introduce moisture into your mix, potentially reducing its shelf-life.
Expert Tips & Tricks
Make-Ahead Magic: This chili seasoning is a fabulous make-ahead option! Whip it up and have it ready to go for your next family gathering.
Storage Recommendations: Store your seasoning in a glass jar or an airtight container away from light and heat. It will stay fresher longer that way.
Spice Up Your Life: Try adding different spices like chipotle powder or even herbs like thyme for a taste twist! Don’t hesitate to experiment; every version is uniquely delightful!
Avoid Clumping: If you notice clumping, use a small sifter or a whisk to break it up again.
Pair with Other Dishes: This seasoning is not only for chili. Use it to season tacos, fajitas, or even mix it into a cornbread batter for an unexpected delightful surprise!
Flavor Infusion: For a deeper flavor, consider toasting your spices lightly in a dry skillet before mixing them. It enhances their aroma and brightness.
Serving Suggestions
This chili seasoning elevates more than just chili! Consider serving it alongside:
- Homemade cornbread for a delightful dipper.
- A crisp, refreshing salad with avocado to balance the heat.
- Cheese and sour cream to create a creamy contrast to the spices.
Presentation is key! Try adding fresh herbs over your chili and a sprinkle of cheese right before serving. It’ll not only taste great, but it will look stunning on your dinner table!
Variations & Substitutions
- Sweet and Smoky: Add brown sugar for a hint of sweetness.
- Herb Substitutes: Replace dried oregano with dried thyme or basil to change the flavor profile.
- Heat Variations: Try using different types of chili powders or even curry powder for a unique twist!
For those with dietary restrictions, check for gluten-free options with your spices, or you could even make it salt-free if you’re watching your sodium intake.
Nutrition & Storage Info
- Prep Time: 10 minutes
- Total Time: 10 minutes
- Yield: Generally yields enough for 8-10 servings of chili.
- Estimated Calories: About 10 calories per teaspoon (calories may vary depending on specific ingredient brands).
Storage Instructions
- Store the seasoning in an airtight container at room temperature for up to 6 months.
- For longer storage, consider refrigeration.

FAQ Section
Can I use fresh herbs instead of dried?
While fresh herbs can add a vibrant flavor, they aren’t recommended for this seasoning mix as they have higher moisture content. Stick to dried for shelf stability.Can I adjust the spice level?
Absolutely! Increase the cayenne for more heat or decrease it if you’re sensitive to spice.What can I use this seasoning for besides chili?
It works beautifully as a dry rub for meats, a flavor enhancer for roasted vegetables, or even as a seasoning for popcorn!How long does homemade chili seasoning last?
Stored properly in an airtight container, it should last about 6 months.Do I need to grind the spices?
No need to grind anything, as all the included ingredients are already ground. Just blend, store, and use!Can I use this seasoning in other cuisines?
Yes! This versatile seasoning can work great in various dishes, especially in Tex-Mex or barbecue cuisine.What brand of spices do you recommend?
I recommend Penzeys or McCormick for their quality and flavor consistency.Is this recipe gluten-free?
Yes, all the listed spices are gluten-free. Always check labels to be sure!How do I know if my spices are fresh?
Sniff your spices! If the aroma is weak or nonexistent, it might be time to replace them.Can I make a bigger batch?
Yes! This recipe is easily scalable. Just keep the ratios the same, and it’ll last longer!
Conclusion
This Chili Seasoning Recipe isn’t just a blend of spices; it’s an invitation to create beautiful, delicious meals that warm the heart and soul. Homemade spices not only enhance every bite but also bring a piece of you to every dish you create. I encourage you to try it out, sprinkle a little love in your kitchen, and enjoy the compliments from your family and friends! Don’t forget to leave your thoughts and feedback in the comments below, and check out Bavarian Cream let it be your next dessert! Happy cooking!
Chili Seasoning
Ingredients
Method
- In a large mixing bowl, combine all the ground spices. Whisk them together thoroughly to ensure an even flavor distribution.
- Taste the mixture and adjust the seasoning according to your preference, adding more salt or cayenne pepper as desired.