One summer afternoon, I found myself alone in the kitchen, nostalgia flooding my senses as I prepared cherry juice reminiscent of my grandmother’s kitchen. The tantalizing aroma of sun-ripened cherries simmering on the stove instantly transported me back to my childhood, where I would sit cross-legged at her kitchen table, the sound of laughter and chatter filling the air as we crafted delicious recipes together. Her cherry juice was nothing short of divine, bursting with flavor and memories.
There are countless recipes for cherry juice out there, but I promise this one stands out. It’s not just about following a recipe; it’s about creating an experience that wraps you in warmth and familiarity. This cherry juice concoction is the epitome of comfort—a perfect blend of sweet, tart, and nostalgia, made with fresh cherries, red plums, apples, and the evidence of love shown through every careful step.
By the end of this post, you’ll not only have access to the easiest cherry juice recipe ever but also a deeper understanding of how simple ingredients can create magic in a glass. So, grab a seat and let’s embark on this delicious journey together!
What Are Cherry Juices?
Cherry juice has an intriguing origin steeped in the traditions of folk remedies and family gatherings. Cherries, once regarded as luxury fruits reserved for royal palates, have a history that spans centuries. Whether you’re biting into a sweet Bing or a tart Montmorency, each cherry variety brings its own unique taste and vibrant color to the table.
The taste of cherry juice is a delightful dance of sweet and tart that almost tickles your tongue. It’s smooth yet refreshing, offering a beautiful balance that makes it perfect over ice in the summer or warmed with spices in the colder months. The pulpy texture adds richness, making each sip feel like a cozy hug.
Cherry juice is perfect for celebrations, lazy summer afternoons, or simply when you need a dose of nostalgia. It serves as both a refreshing beverage and a versatile ingredient for cocktails, smoothies, and even as a syrup for drizzles and marinades!
Why You’ll Love This Recipe
This cherry juice recipe is more than just another drink; it’s a celebration of flavors and memories that offers several compelling reasons to whip up a batch today:
Quality You Can Taste: Homemade cherry juice beats store-bought versions hands down. With the ability to choose fresh, organic ingredients, you’ll taste the difference in every sip. No artificial flavors or preservatives, just pure fruity goodness!
Cost-Effective: When cherries are in season, they’re often abundant and relatively inexpensive. Plus, with just a handful of ingredients, making your own cherry juice is not only budget-friendly but also incredibly satisfying.
Complete Customization: Want it sweeter? Add a touch of honey or agave syrup. Looking for a unique twist? Experiment with different fruits or spices, such as ginger or mint, to create your personalized concoction.
Time Investment: This recipe is easy and relatively quick! With just a little over an hour of cooking time, you’ll have a flavorful cherry drink ready to serve—perfect for unexpected visitors or a last-minute refreshment.
Healthy & Nutritious: Packed with antioxidants, vitamins, and minerals, cherry juice is not only delicious but also contributes to your health. It can provide relief from muscle soreness, help with sleep quality, and even support heart health!
With my guide, you’ll find the entire process seamless and enjoyable. Let’s make that refreshing cherry juice together!
Ingredients Section
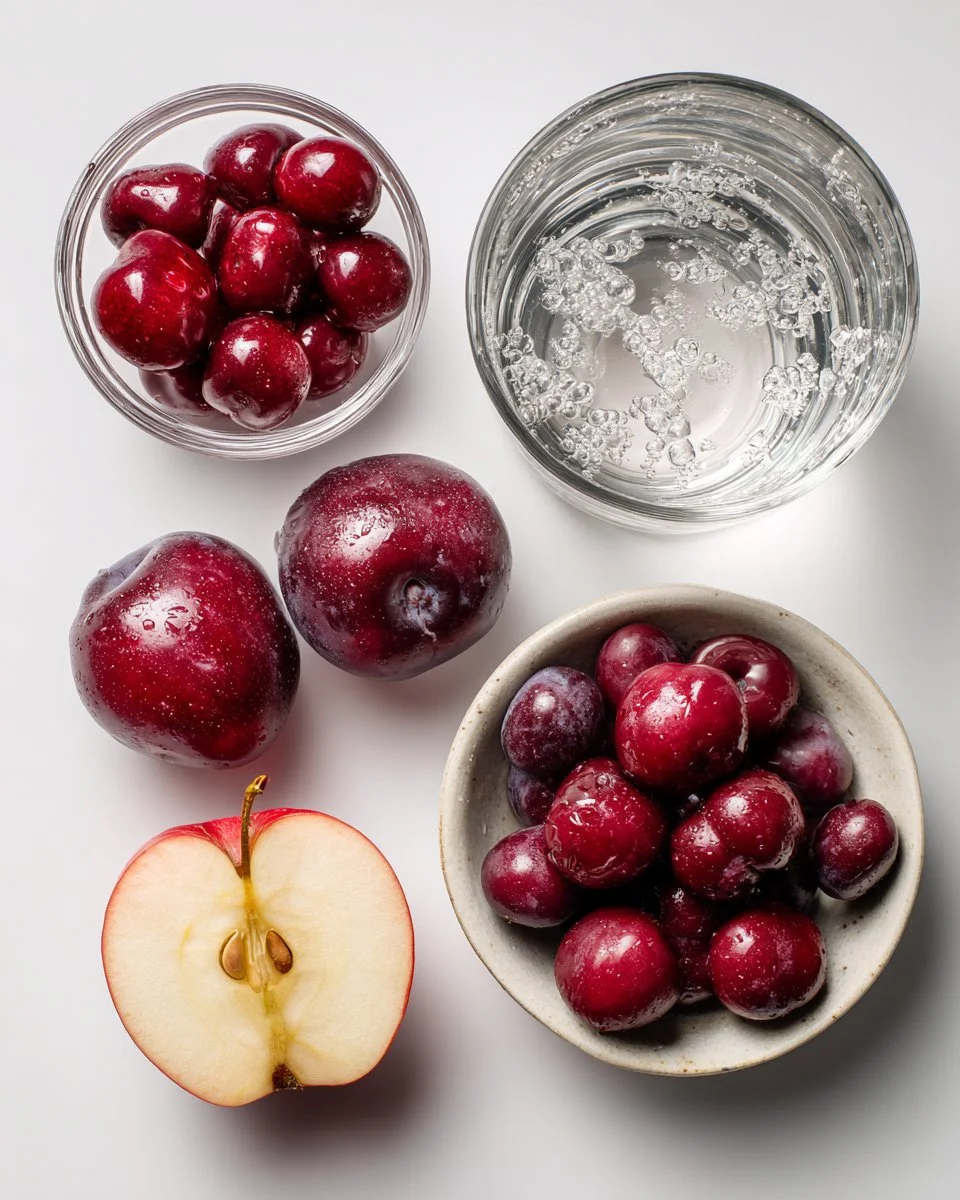
3.5 litres filtered water – Always opt for filtered water; it makes a noticeable difference in the flavor of the juice.
8 cups fresh cherries, pitted (optional) – Choose ripe, sweet cherries for the best flavor. If they’re in season, buy them from your local farmers’ market!
6 red plums, pits removed – Plums add depth and complexity to the flavor. You can use different stone fruits if you like!
1 cup golden raisins – These will introduce a subtle sweetness and a touch of chewiness. Make sure they’re fresh for the best results.
1 apple, cored and halved – Apples add body and sweetness. I recommend using a sweet variety, like Fuji or Honeycrisp.
Prep Notes: Make sure your fruits are room temperature before starting. Wash them thoroughly to ensure a clean, fresh juice.
Brand Recommendations
- For fresh cherries and plums, look for local farms. They often carry varieties not found in supermarkets, plus they’re fresher!
- When choosing raisins, consider brands with no added sugars or preservatives, like Sun-Maid or organic options from local co-ops.
Step-by-Step Instructions
Add 3.5 litres of filtered water to a large pot.
- Make sure your pot is large enough; it should hold all the fruits comfortably without overflowing.
Add the fruit to the pot and bring to a boil.
- Stir occasionally; this helps to release the juices from the fruits faster. Semi-cover the pot with a lid and reduce the heat to medium low. Let the mixture boil for about 60 minutes.
After one hour, remove the fruit with a sieve or kitchen spider and set aside.
- Take your time here—let those succulent juices drip back into the pot!
If cherries are pitted, process the fruits with a touch of sweetener for a delicious fruit puree or compost it.
- Enjoy the stewed fruit on toast with mascarpone or creamy cheese and honey on top for a gourmet treat!
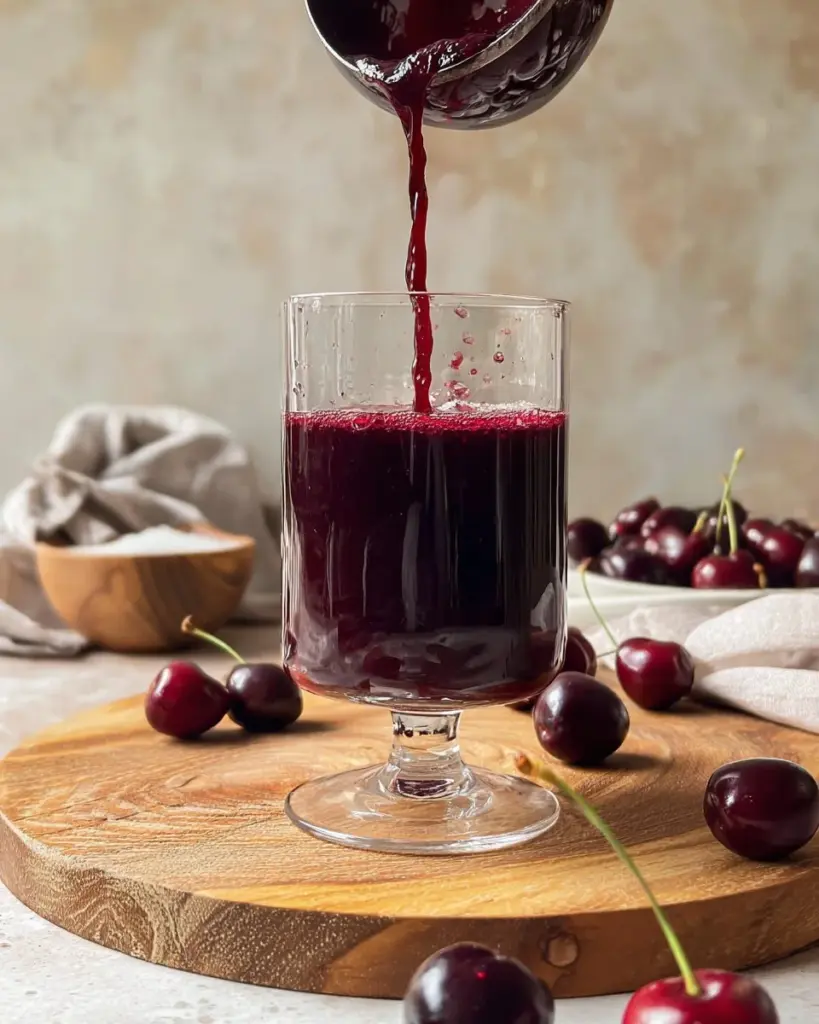
Cool the liquid to room temperature, strain it into a bowl or mason jars, and chill in the fridge.
- Here’s a chef’s tip: If you prefer a silky-smooth juice, strain it multiple times through a fine mesh sieve or cheesecloth to remove any remaining pulp.
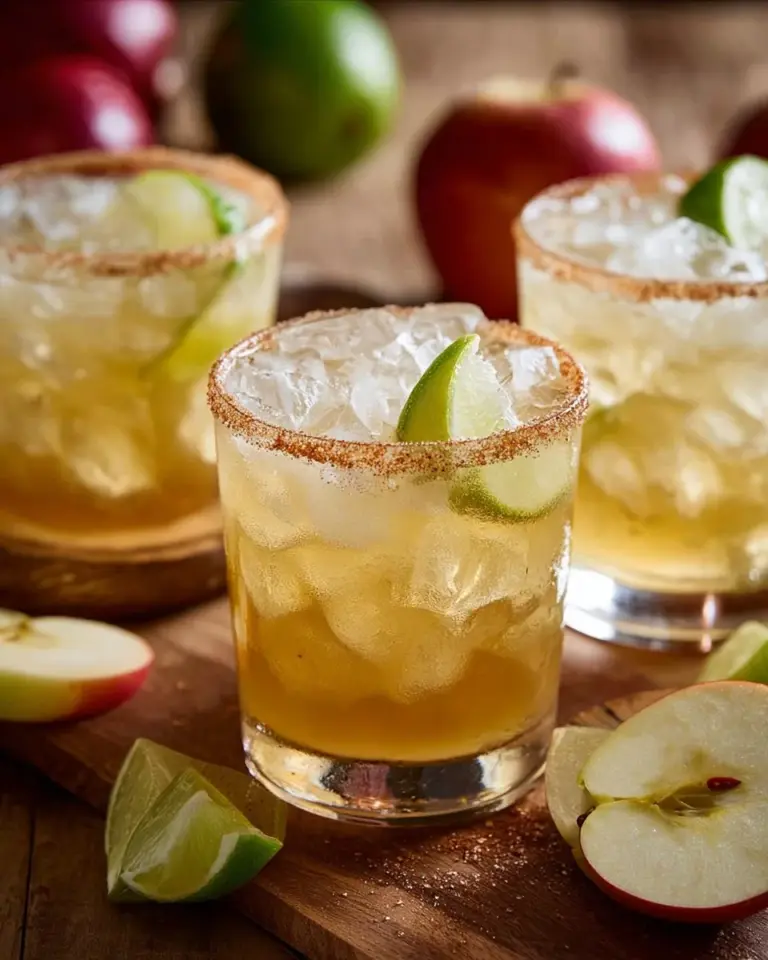
Serve over ice and enjoy!
- Pour into chilled glasses, and don’t forget garnishes like mint sprigs or fresh cherries for that extra wow factor!
Common Mistakes to Avoid:
- Don’t forget to keep an eye on the temperature; boiling too hard can evaporate the flavors and concentrate the juices.
- Ensure your fruits are well-washed to avoid any bitterness.

Expert Tips & Tricks
Storage Recommendations: Store leftover cherry juice in airtight mason jars in the refrigerator. It will keep for up to a week.
Make-Ahead Instructions: You can prepare this juice a few days in advance. Just give it a good shake or stir before serving.
Troubleshooting Common Problems: If your juice tastes too tart, try adding a natural sweetener gradually until it reaches your desired flavor. If it’s too sweet, a slight splash of lemon juice or a pinch of salt can help balance it.
Using Leftover Fruit: Don’t waste that cooked fruit! Blend it into smoothies, use it as a topping for yogurt, or even make fruit leather in the dehydrator!
Serving Suggestions
Pair this delicious cherry juice with homemade scones or warm muffins for breakfast, or serve it at your next garden party as a refreshing drink. As a unique cocktail mixer, it shines when combined with sparkling water, gin, or even as a base for a summer sangria. Fancy a creative presentation? Use hollowed-out fruit halves as serving vessels for a springtime brunch!
Variations & Substitutions
Flavor Combinations: Think cran-cherry or berry blends! Try mixing with raspberries or blackberries for an earthy twist.
Dietary Adaptations: This recipe is naturally gluten-free and vegan. If you’re looking for sugar substitutes, experiment with stevia or agave.
Seasonal Variations: Make a fall version by adding warm spices like cinnamon, or in winter, infuse with rosemary or mint for a holiday touch.
Nutrition & Storage Info
- Prep time: 15 minutes
- Cook time: 60 minutes
- Total time: 1 hour 15 minutes
- Yield: Approximately 12 servings (based on a 200ml serving)
- Estimated calories per serving: Approximately 50 calories
- Storage instructions: Refrigerate for up to 7 days, or freeze for up to 3 months.
FAQ Section
Can I use frozen cherries?
Absolutely! Frozen cherries work well; just ensure they’re fully thawed and drained before using.Is it necessary to pit the cherries?
While it’s not mandatory, pitting them will help avoid any bitter flavors in your juice.What can I sweeten cherry juice with?
You can sweeten it with honey, maple syrup, agave nectar, or even a touch of stevia.Does cherry juice contain any health benefits?
Yes! Cherry juice is high in antioxidants and can aid recovery from exercise, improve sleep, and help reduce inflammation.How can I use leftover fruit pulp?
Blend it into smoothies, make fruit leather, or mix it into yogurt for added flavor and texture.Can I carbonate the cherry juice?
Absolutely! Mixing it with sparkling water makes for a delicious and refreshing fizzy treat!How do I know if the juice is concentrated enough?
It should have a rich color and intense flavor. If it tastes too diluted, continue simmering to reduce it further.What’s the best way to serve cherry juice?
Serve it chilled over ice with slices of fresh fruits or herbs for garnishing.Is this cherry juice suitable for kids?
Yes! It’s a fantastic alternative to sugary drinks; just be cautious about sugar levels when sweetening.Can cherry juice be used in cocktails?
Definitely! It can be a flavorful mixer for cocktails or mocktails, adding a unique twist to drinks.
Conclusion
This cherry juice recipe is more than just a drink; it’s a way to create cherished memories and indulge in deliciousness. Each sip embodies the essence of love, family, and nostalgia, reminding us of summer days bygone. I encourage you to give it a try, and I can’t wait to hear your experiences and twists on this recipe! And if you enjoy this sweet gem, check out my other refreshing beverages on the blog, where you can find everything from zingy lemonade to Blueberry Cream Cheese French Toast Casserole. Happy juicing!
Cherry Juice
Ingredients
Method
- Add 3.5 litres of filtered water to a large pot.
- Add the fruit to the pot and bring to a boil. Stir occasionally; this helps to release the juices from the fruits faster. Semi-cover the pot with a lid and reduce the heat to medium-low. Let the mixture boil for about 60 minutes.
- After one hour, remove the fruit with a sieve or kitchen spider and set aside.
- If cherries are pitted, process the fruits with a touch of sweetener for a delicious fruit puree or compost it.
- Cool the liquid to room temperature, strain it into a bowl or mason jars, and chill in the fridge.
- Serve over ice and enjoy!