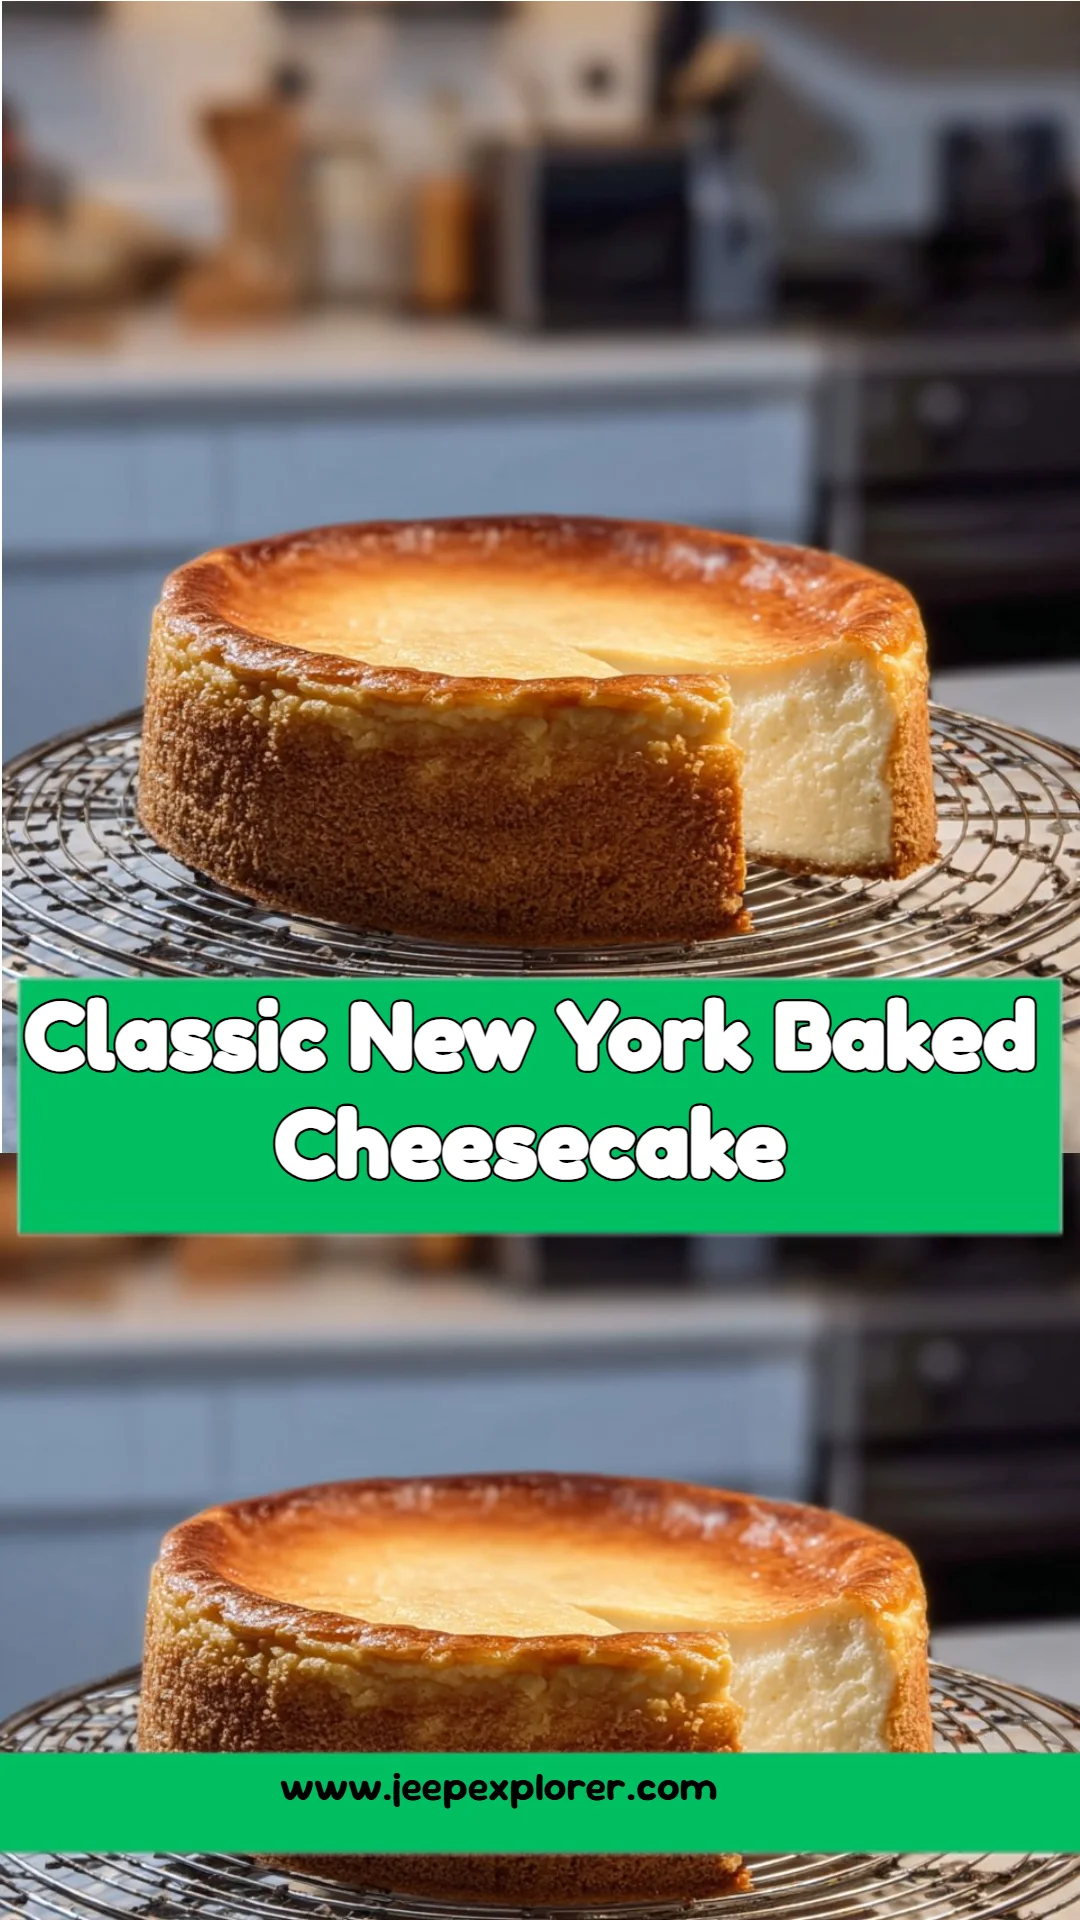
When I think of comforting desserts, a slice of Classic New York Baked Cheesecake always springs to mind. Growing up in an Italian-American household, cheesecake wasn’t just a dessert; it was a tradition. I fondly remember my grandmother, with her worn-out apron and twinkling eyes, sharing stories as she whipped up her signature cheesecake for family gatherings. Each bite of her creamy, rich creation felt like a warm hug, seamlessly blending the tang of cream cheese with the slight sweetness of the crust.
What makes my Classic New York Baked Cheesecake recipe stand out? It’s not just about following a set of instructions; it’s about infusing love and family memories into every layer, balancing that unmistakable velvety texture with a buttery graham cracker crust. Unlike many store-bought versions, which can often miss the mark, this recipe provides creamy perfection that melts in your mouth. Plus, it’s incredibly easy to make, whether you’re a beginner or a seasoned baker!
By the end of this post, you’ll learn the secrets to achieving the perfect cheesecake, including tips and tricks I’ve picked up over the years. So grab your apron, and let’s get started!
What Are Classic New York Baked Cheesecakes?
Classic New York Baked Cheesecake occupies a special place in the dessert world, known for its dense yet creamy texture and rich flavor profile. Originating in the early 1900s, this cheesecake was favored by immigrants in New York, who sought to perfect the balance between sugar, cream cheese, and eggs.
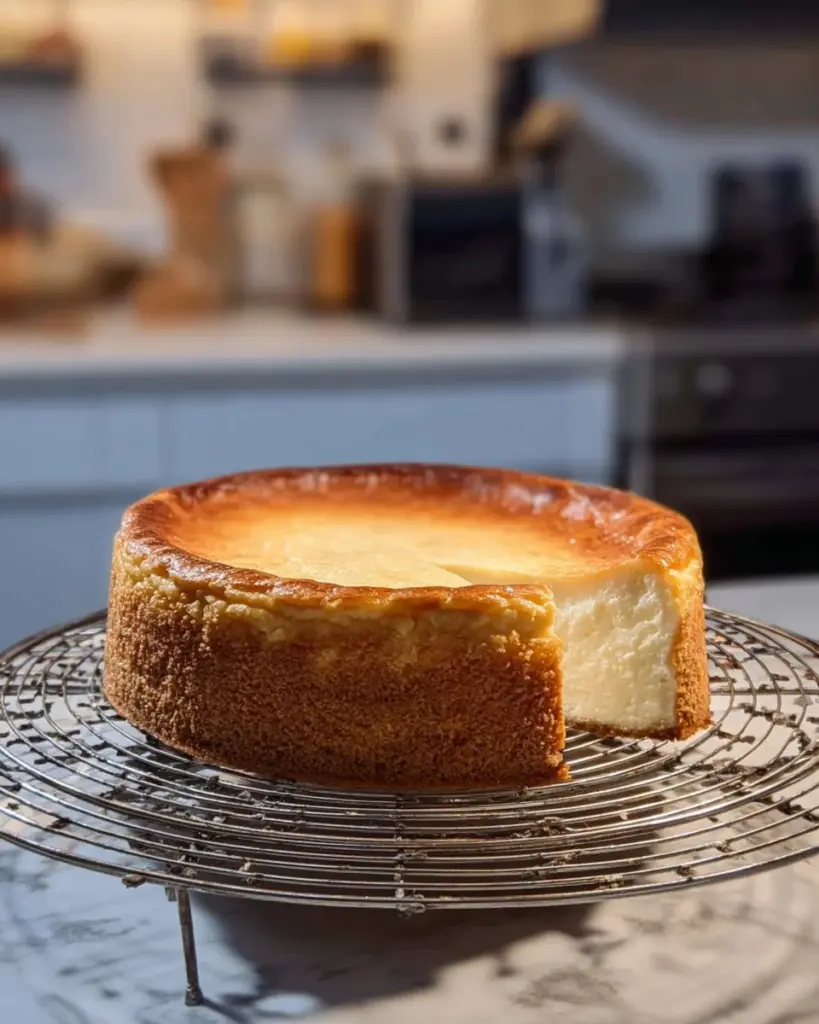
What distinguishes a Classic New York Baked Cheesecake from others is its simple yet luscious filling—made with ample cream cheese, rich sour cream, and a splash of heavy cream for added depth. It boasts a buttery graham cracker crust that provides a delightful contrast to the creamy center. You’re likely to enjoy this dessert during special occasions or family gatherings—it’s truly the perfect finale to any meal!
Why You’ll Love This Recipe
Unmatched Flavor: This recipe results in an exceptionally creamy cheesecake that’s much richer than what you’d find in stores. The combination of cream cheese and sour cream adds a depth of flavor that’s hard to resist.
Cost-Effective: Making cheesecake at home is usually far less expensive than purchasing it from a bakery. With a few staple ingredients, you can create an incredible dessert that tastes gourmet.
Customization Options: This recipe serves as a fantastic base for creativity. Want to add a swirl of chocolate or a hint of lemon? You can easily adapt the ingredients to match your taste.
Easy to Follow: Whether you’re an experienced baker or just getting started, the clear, step-by-step instructions will guide you through the process with ease.
Time Investment: While it does take a bit of time to bake and cool, most of that is hands-off. The chilling time only makes the flavors meld together more beautifully.
Ingredients
- 1 ½ cups graham cracker crumbs (homemade or store-bought)
- ¼ cup granulated sugar
- 6 tablespoons unsalted butter, melted
- 4 packages (8 oz each) cream cheese, softened (I recommend Philadelphia for its rich texture)
- 1 cup granulated sugar
- 1 teaspoon vanilla extract (always use pure vanilla for the best flavor)
- 3 large eggs, at room temperature
- 1 cup sour cream (look for full-fat for extra creaminess)
- ½ cup heavy cream
- 2 tablespoons all-purpose flour (this helps stabilize the filling)
- Fresh fruit or fruit compote (optional for serving)
Prep Notes: Make sure your cream cheese and eggs are at room temperature for a smooth filling. Use high-quality ingredients for the best results!
Step-by-Step Instructions
Preheat Your Oven: Set it to 325°F (163°C) to ensure that it’s just right when your cheesecake is ready to bake.
Prepare the Crust: In a mixing bowl, combine the graham cracker crumbs, granulated sugar, and melted butter until the mixture resembles wet sand. Press it firmly into the bottom of a 9-inch springform pan. Bake for 10 minutes and let it cool completely.
Make the Filling: In a large bowl, use an electric mixer to beat the softened cream cheese until smooth. Gradually add the granulated sugar and vanilla extract, mixing until combined. Add the eggs one at a time, beating well after each addition. Next, mix in the sour cream, heavy cream, and flour until just combined.
Combine and Bake: Pour the cream cheese filling over the cooled crust. Bake in the preheated oven for 55-60 minutes. The edges should be set, while the center should still have a slight jiggle.
Cool Properly: Turn off the oven and crack the door open, letting the cheesecake cool in the oven for about 1 hour. This gentle cooling helps prevent cracks in the surface. Afterward, let it cool to room temperature before refrigerating for at least 4 hours (or overnight for best results).
Serve with Toppings: When ready to serve, you can top your cheesecake with fresh fruit or a lovely fruit compote if desired.

Expert Tips & Tricks
Avoid Cracks: For the smoothest cheesecake, mix the filling just until combined to prevent air pockets; they lead to cracks.
Storage: Store leftovers in an airtight container in the fridge for up to 5 days. You can also freeze slices for about 2 months—just wrap them well in plastic wrap and foil!
Make Ahead: This cheesecake is perfect for making ahead and letting it chill overnight—flavors meld beautifully!
Troubleshooting: If your cheesecake puffs up in the oven, it may have been overmixed—always mix on low speed and stop as soon as combined.
Bring to Room Temperature: For the best texture and flavor, let your cheesecake sit out at room temperature for 30 minutes before serving.
Serving Suggestions
Serve alongside a dollop of freshly whipped cream for extra indulgence or pair with a cup of espresso to complement the rich flavors. For special occasions, consider garnishing with chocolate shavings or a drizzle of caramel sauce for added flair!
This Classic New York Baked Cheesecake is perfect for birthdays, holidays, or family gatherings—just slice, serve, and watch the smiles light up!
Variations & Substitutions
Flavor Combos: Try adding lemon or orange zest to the filling for a zesty twist, or swirl in some raspberry puree for a fruity explosion!
Gluten-Free: Substitute the graham cracker crumbs with gluten-free graham crackers, or use almond flour mixed with any gluten-free sugar for the crust.
Dairy-Free: Use suitable cream cheese and sour cream alternatives to make it dairy-free but maintain that luscious texture.
Nutrition & Storage Info
- Prep Time: 20 minutes
- Cook Time: 60 minutes
- Chill Time: 4 hours or overnight
- Total Time: 5 hours 20 minutes
- Yield: 12 servings
- Estimated Calories: 400 per slice
- Storage: Refrigerate up to 5 days or freeze for 2 months.
FAQ Section
Why is my cheesecake cracked?
- Cracks are often a result of overmixing or baking at too high of a temperature. Follow mixing instructions closely and use a very gentle hand.
Can I make this ahead of time?
- Absolutely! Cheesecakes keep beautifully in the fridge and are perfect for making ahead.
How do I remove the cheesecake from the springform pan?
- Leave the cheesecake in the pan until you’re ready to cut it. Gently run a knife around the edge before releasing the springform.
Can I bake this in a water bath?
- Yes, using a water bath can help produce a creamier cheesecake and minimize cracks. Wrap the springform with foil and place it in a larger pan filled with water as it bakes.
Can I add fruit to the filling?
- Yes! Fresh fruits can be folded into the mixture, but ensure they are well-drained to prevent the filling from becoming too watery.
How long can I keep leftovers?
- Store in the fridge for 5 days or freeze for up to 2 months, ensuring it’s well-wrapped.
What’s the best way to serve cheesecake?
- Let the cheesecake come to room temperature for about 30 minutes before slicing. This enhances the flavor and texture.
Can I use powdered sugar instead of granulated?
- Yes, but measuring can vary, so often it’s best to stick with granulated sugar for texture.
Can I swap any of the fillings for alternatives?
- Feel free to experiment! Just keep in mind that ingredients like ricotta or mascarpone will alter both taste and texture.
Is there a low-calorie option?
- While this cheesecake is indulgent, using reduced-fat cream cheese and cutting back on sugar can help lower the calorie count.
Conclusion
This Classic New York Baked Cheesecake is not just a dessert; it’s a piece of my heart, a slice of family tradition, and an unforgettable experience with every bite. I hope you try it and that it brings as much joy to your table as it has to mine. I would love to hear your thoughts or any tweaks you made. Check out Triple Chocolate Mousse Cake and let’s keep the baking traditions alive together! Happy baking!
Classic New York Baked Cheesecake
Ingredients
Method
- Preheat Your Oven to 325°F (163°C).
- In a mixing bowl, combine the graham cracker crumbs, granulated sugar, and melted butter until the mixture resembles wet sand. Press it firmly into the bottom of a 9-inch springform pan. Bake for 10 minutes and let it cool completely.
- In a large bowl, use an electric mixer to beat the softened cream cheese until smooth.
- Gradually add the granulated sugar and vanilla extract, mixing until combined.
- Add the eggs one at a time, beating well after each addition.
- Next, mix in the sour cream, heavy cream, and flour until just combined.
- Pour the cream cheese filling over the cooled crust.
- Bake in the preheated oven for 55-60 minutes. The edges should be set, while the center should still have a slight jiggle.
- Turn off the oven and crack the door open, letting the cheesecake cool in the oven for about 1 hour.
- Afterward, let it cool to room temperature before refrigerating for at least 4 hours (or overnight for best results).
- When ready to serve, top with fresh fruit or a lovely fruit compote if desired.