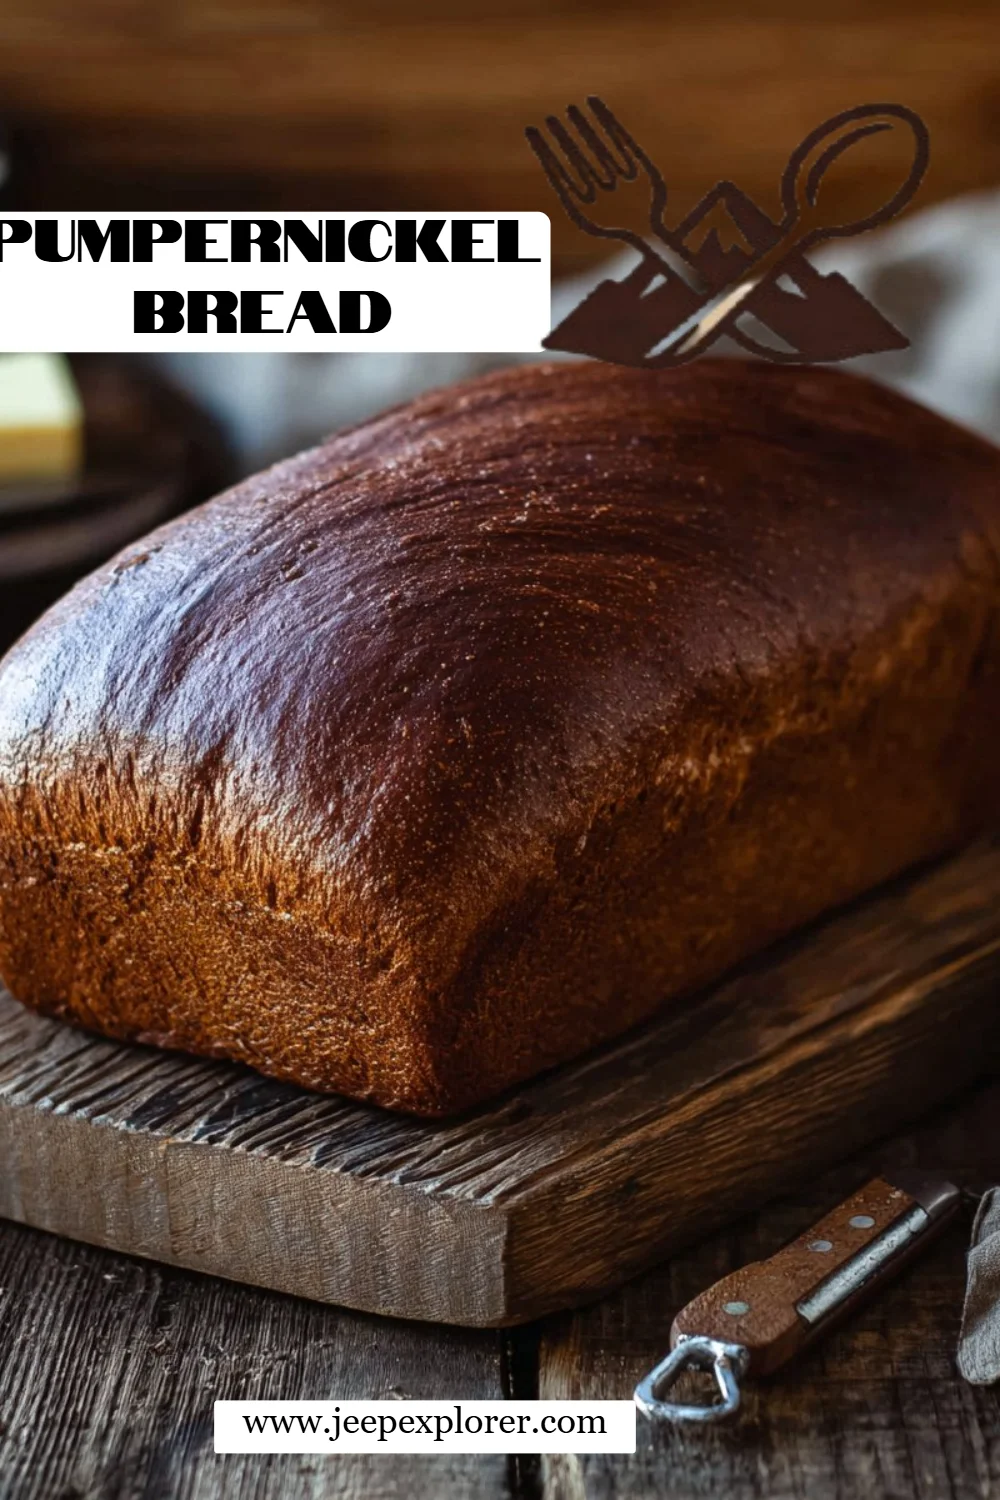
Pumpernickel bread might just seem like a quiet little loaf sitting on the shelf in your local bakery, but let me tell you, it packs a flavor punch that is anything but ordinary. I can still remember the first time I stepped into my grandmother’s kitchen, where she weaved her culinary magic. The air was thick with the earthy, slightly sweet aroma of freshly baked Pumpernickel bread, and it filled my heart with comfort and joy. It’s more than just a meal; it’s a memory, a warm embrace I carry with me, year after year.
This recipe is special because unlike the store-bought varieties that often lack depth and character, my homemade Pumpernickel bread uses high-quality ingredients and traditional methods to bring you an authentic taste that tells a story. You’ll soon discover the allure of its rich, dark crust combined with its slightly nutty, complex flavors.
I promise you, this isn’t just another bread recipe; this is a journey into a world of flavor, nostalgia, and sheer bliss. So, roll up your sleeves, and let’s get started on crafting your very own batch of hearty Pumpernickel bread that’ll make you the star of your kitchen!
What Are Pumpernickel Breads?
Pumpernickel bread has its origins steeped in Germanic traditions, where it was originally made from coarsely ground rye and traditionally baked slowly, allowing its deep, dark color to develop over time. The name “Pumpernickel” is said to derive from the German words “pumpern” (to fart) and “Nickel” (a nickname for the devil) – a humorous reference to the bread’s heavy and dense texture!
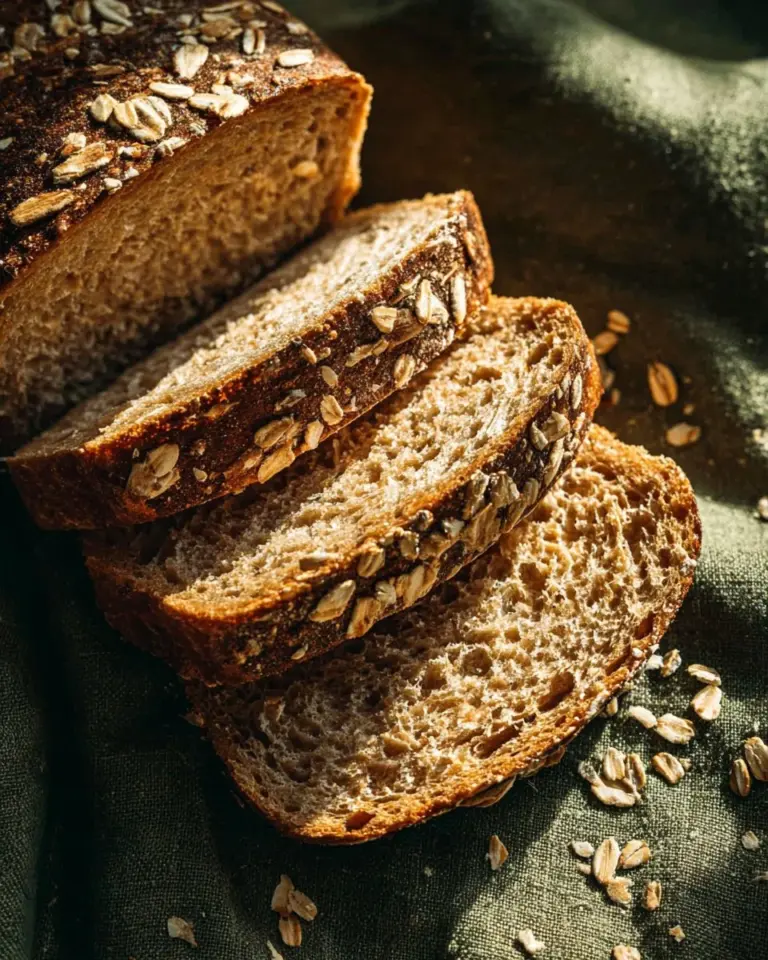
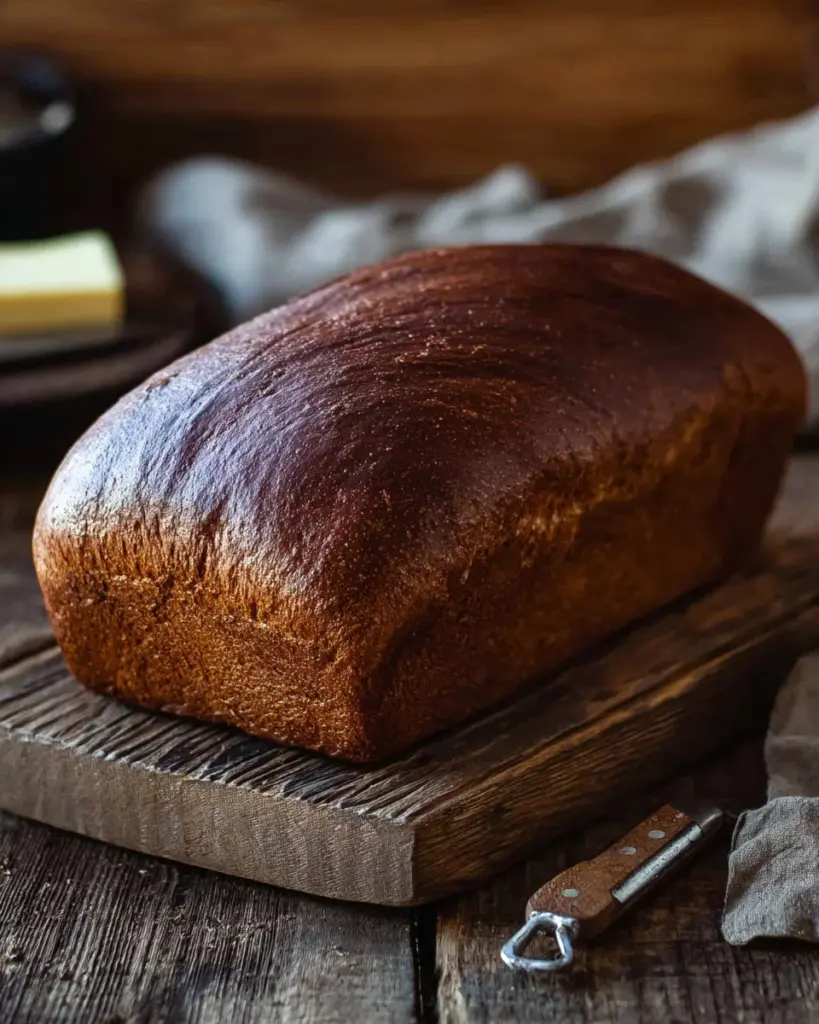
This artisan loaf stands out for its unique, dark, and moist crumbliness paired with a slightly sweet and earthy flavor profile. What’s fascinating is how its taste changes with age; after a few days, Pumpernickel bread develops an even richer flavor, making it perfect for sandwiches, toasting, or enjoyed plain.
Planning a cozy evening at home? This hearty bread feels like a warm hug, perfect for slathering on some creamy butter or pairing with cheeses and cured meats.
Why You’ll Love This Recipe
This Pumpernickel bread recipe is one you’ll want in your repertoire for so many reasons:
Depth of Flavor: Forget about factory-made versions! This homemade bread will amaze you with a depth of flavor not found in store-bought options. The combination of rye and cocoa powder adds a touch of sweetness that is simply irresistible.
Budget-Friendly: Making your own Pumpernickel bread is a fraction of the cost of buying artisanal loaves. Plus, it’s worth every moment spent.
Customization Galore: Want to add seeds or grains? Go for it! Love a little spice? Toss in some caraway seeds. The options are endless based on your preferences.
Simple yet Rewarding: While we often hear that baking bread is intimidating, this recipe is surprisingly straightforward. Don’t worry — if I can do it, I promise you can too!
Homemade Happiness: Seriously, there’s nothing quite like the smell of fresh bread wafting through your home. It creates an inviting atmosphere that makes any occasion feel extra special.
By the time you’re done, you’ll not only have a stunning loaf of Pumpernickel bread to savor, but also the confidence to tackle your future baking adventures!
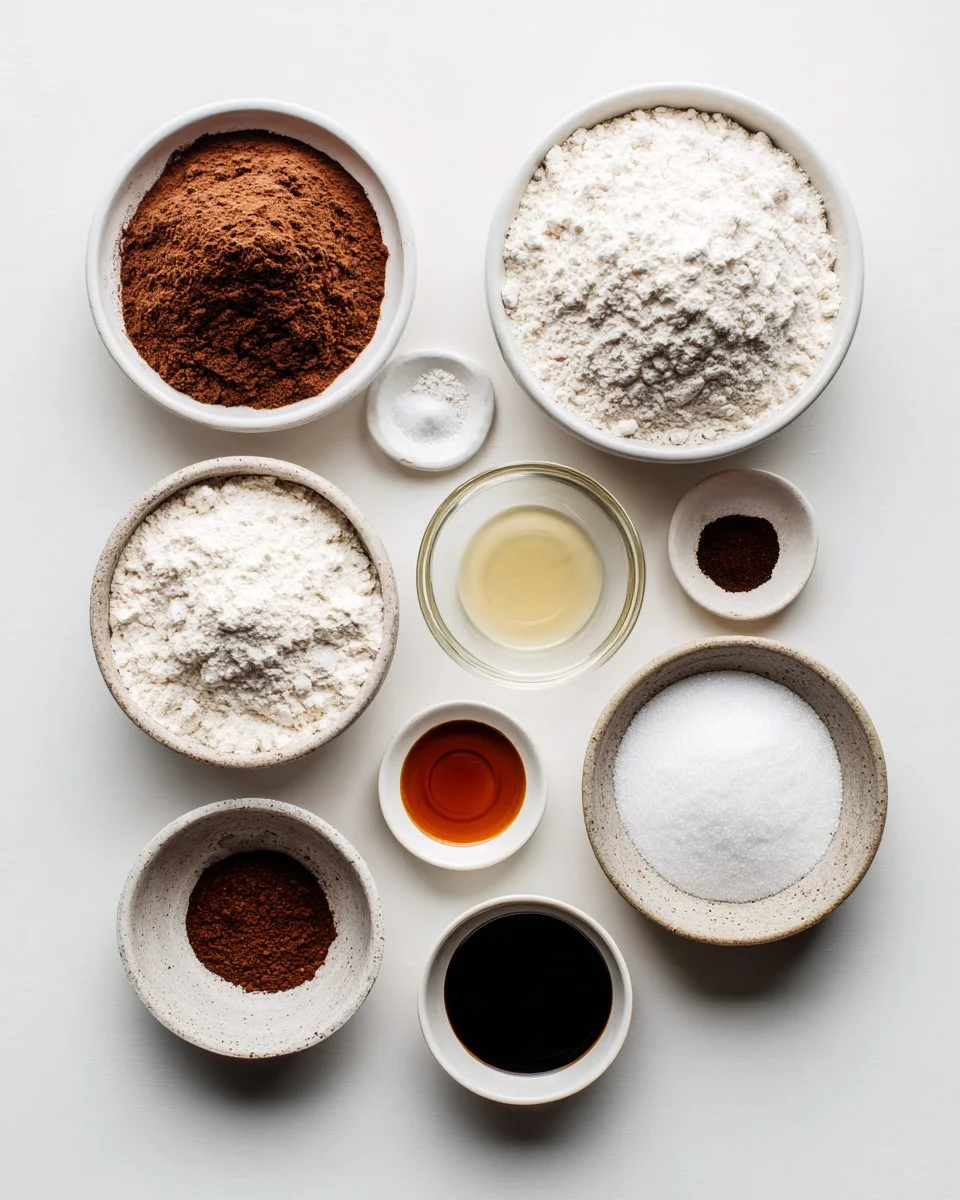
Ingredients
- 2 1/2 cups (312.5 g) all-purpose flour: Use a good-quality all-purpose flour for a strong structure.
- 1 cup (127 g) bread flour: If available, go for high-gluten or bread flour for a chewier texture.
- 1 cup (102 g) medium rye flour: A must for that signature Pumpernickel flavor. Whole rye flour can also be used for a richer taste.
- 2 tablespoons unsweetened cocoa powder: This is key for the traditional dark color.
- 5 teaspoons instant yeast: No need for proofing; just mix it in!
- 1 tablespoon granulated sugar: Helps activate the yeast and balance the flavors.
- 1 tablespoon kosher salt: Essential for enhancing the overall taste.
- 1 1/2 cups warm water (105°F to 115°F): Check the temperature to help the yeast activate properly.
- 1/2 cup (168.5 g) molasses: Adds moisture and depth; dark or light molasses works!
- 2 tablespoons vegetable oil: Or swap for melted butter for a richer flavor.
Notes on Ingredient Quality/Substitutions:
- Use organic or locally sourced ingredients where possible for the best results.
- For a gluten-free version, try a gluten-free flour blend — just ensure you add xantham gum if your blend doesn’t include it.
Prep notes: Ensure any dairy used is at room temperature for optimal mixing.
Step-by-Step Instructions
Prepare the Pan: Spray a 9×5-inch loaf pan with nonstick cooking spray and set aside.
Mix the Dry Ingredients: In a large bowl, combine 2 1/2 cups all-purpose flour, 1 cup bread flour, 1 cup medium rye flour, 2 tablespoons cocoa powder, 5 teaspoons instant yeast, 1 tablespoon sugar, and 1 tablespoon kosher salt. Whisk together and set aside.
Prepare Wet Ingredients: In a stand mixer bowl fitted with a dough hook, mix 1 1/2 cups warm water, 1/2 cup molasses, and 2 tablespoons vegetable oil until well combined.
Combine Ingredients: Gradually add the dry mixture to the wet ingredients and mix on low speed until a dough forms, about 1-2 minutes.
Knead the Dough: Knead for 5-8 minutes until the dough is smooth and elastic. If it’s too sticky, you can add a bit more all-purpose flour, but avoid making it too dry.
First Rise: Transfer the dough to a lightly oiled bowl, cover with a clean towel or plastic wrap, and let it rise until it has doubled in size (about 60-90 minutes). Look for the dough to be puffy and slightly domed.
Shape the Dough: Turn the risen dough onto a floured surface and roll it out into a rectangle, about 1/2 inch thick.
Form the Log: Starting from the short end, roll the dough tightly into a log, pinching the seams to seal.
Second Rise: Place the log seam-side down in your prepared pan, cover it again, and let it rise until doubled in size, about 45 minutes.
Preheat Oven: During this final rise, preheat your oven to 375°F (190°C).
Bake the Bread: Bake the bread for 50-55 minutes, or until it sounds hollow when tapped. You want a beautiful dark crust.
Cool Before Slicing: Allow the bread to cool completely on a wire rack before slicing. This helps set the texture. You can store at room temperature for up to 3 days or freeze for up to 8 weeks.
Chef’s Tips:
- For a deeper flavor, consider adding caraway seeds to the dough.
- Don’t rush the rising process; it’s what gives your Pumpernickel bread that delightful texture.
Expert Tips & Tricks
Storage: To keep your Pumpernickel bread fresh longer, wrap it in parchment paper followed by plastic wrap and store it in a cool, dry place. For longer storage, freeze it after slicing.
Make-Ahead: You can prepare the dough up to the first rise, punch it down, and refrigerate for up to 24 hours — just let it come back to room temperature before shaping!
Troubleshooting: If your dough doesn’t rise well, check your yeast! Fresh yeast is essential for a successful loaf.
Ingredient Swaps: Don’t be afraid to play around! I often substitute molasses with honey or maple syrup for a different flavor profile.
Invest in Good Equipment: A reliable kitchen scale can help with precise measurements & ensure baking success; trust me, it’s worth it!
Make it Seasonal: In the fall, consider adding a pinch of nutmeg or cinnamon for a warm spice note that pairs beautifully with savory spreads.
Serving Suggestions
This robust Pumpernickel bread is perfect for serving alongside a hearty soup or salad. Try it with a rich, creamy cheese and a spoonful of tangy chutney for a delightful appetizer. I love to slice it thin for sandwiches, matched with deli meats or a vibrant vegetable spread. Presentation-wise, slice it and serve it on a wooden board with some olives or pickles for a rustic feel.
Perfect for holidays, gatherings, or just a cozy evening at home, Pumpernickel bread is sure to impress!
Variations & Substitutions
Feel free to get creative with your Pumpernickel bread! Consider adding:
- Seeds: Flaxseeds, sunflower seeds, or pumpkin seeds for a delightful crunch.
- Fruits: Dried fruits like figs or raisins can complement the earthy flavors beautifully.
- Herbs: Adding fresh herbs like rosemary or thyme can give it a unique twist.
If you have dietary restrictions to consider, try replacing the all-purpose flour with a gluten-free blend. Just be sure to adjust the proportions accordingly!
Nutrition & Storage Info
- Prep Time: 20 minutes
- Cook Time: 55 minutes
- Total Time: Approx. 2-3 hours (including rising times)
- Yield: 1 loaf (approximately 12 slices)
- Estimated Calories per Serving: 150 calories
- Storage Instructions: At room temperature for up to 3 days; freeze for up to 8 weeks.
FAQ Section
Can I use whole wheat flour instead of rye flour?
Yes, but it will change the flavor and texture significantly. For the best results, stick to medium rye flour.What can I use instead of molasses?
Honey or agave syrup can be substituted, but they’ll alter the flavor slightly.Is it necessary to knead the dough by hand?
No! A stand mixer with a dough hook does the job just as well.How do I know when the bread is done?
It should sound hollow when tapped on the bottom and have a rich, dark crust.Can I double the recipe?
Absolutely! Just use two pans and keep the rise times in mind.What is the best way to slice Pumpernickel bread?
Use a serrated knife for clean slices, and slicing while the bread is still slightly warm helps.Why is my bread so dense?
This could be due to over-kneading or not allowing it enough time to rise. Patience is key!How do I refresh stale Pumpernickel bread?
Spritz the bread with a little water and bake at 300°F (150°C) for about 10 minutes.Can I add other flours?
Yes! You can experiment with spelt or oat flour for a different taste, but adjust the liquid ratios.What are some good toppings for Pumpernickel bread?
Cream cheese, smoked salmon, or avocado make for delicious pairings!

Conclusion
This homemade Pumpernickel bread recipe is a labor of love, but the rewards are immeasurable. The combination of ingredients creates a loaf that not only tastes fantastic but also evokes warmth and comfort. I wholeheartedly encourage you to give it a try and experience the joy of baking your own bread.
I would love to hear how your baking adventure goes! Please share your thoughts in the comments below. And if you enjoyed this recipe, check out my other delightful bread recipes on the blog for more culinary inspiration.
Irresistibly Delicious Healthy Carrot Cake Oatmeal Cookies Recipe
Happy baking!
Pumpernickel Bread
Ingredients
Method
- Spray a 9×5-inch loaf pan with nonstick cooking spray and set aside.
- In a large bowl, combine all the dry ingredients and whisk together. Set aside.
- In a stand mixer bowl fitted with a dough hook, mix the warm water, molasses, and vegetable oil until well combined.
- Gradually add the dry mixture to the wet ingredients and mix on low speed until a dough forms, about 1-2 minutes.
- Knead for 5-8 minutes until the dough is smooth and elastic. If too sticky, add a bit more all-purpose flour.
- Transfer the dough to a lightly oiled bowl, cover, and let it rise until doubled in size (about 60-90 minutes).
- Turn the risen dough onto a floured surface and roll it out into a rectangle, about 1/2 inch thick.
- Starting from the short end, roll the dough tightly into a log, pinching the seams to seal.
- Place the log seam-side down in the prepared pan, cover, and let rise until doubled in size, about 45 minutes.
- Preheat your oven to 375°F (190°C) during the final rise.
- Bake the bread for 50-55 minutes, or until it sounds hollow when tapped.
- Allow the bread to cool completely on a wire rack before slicing.