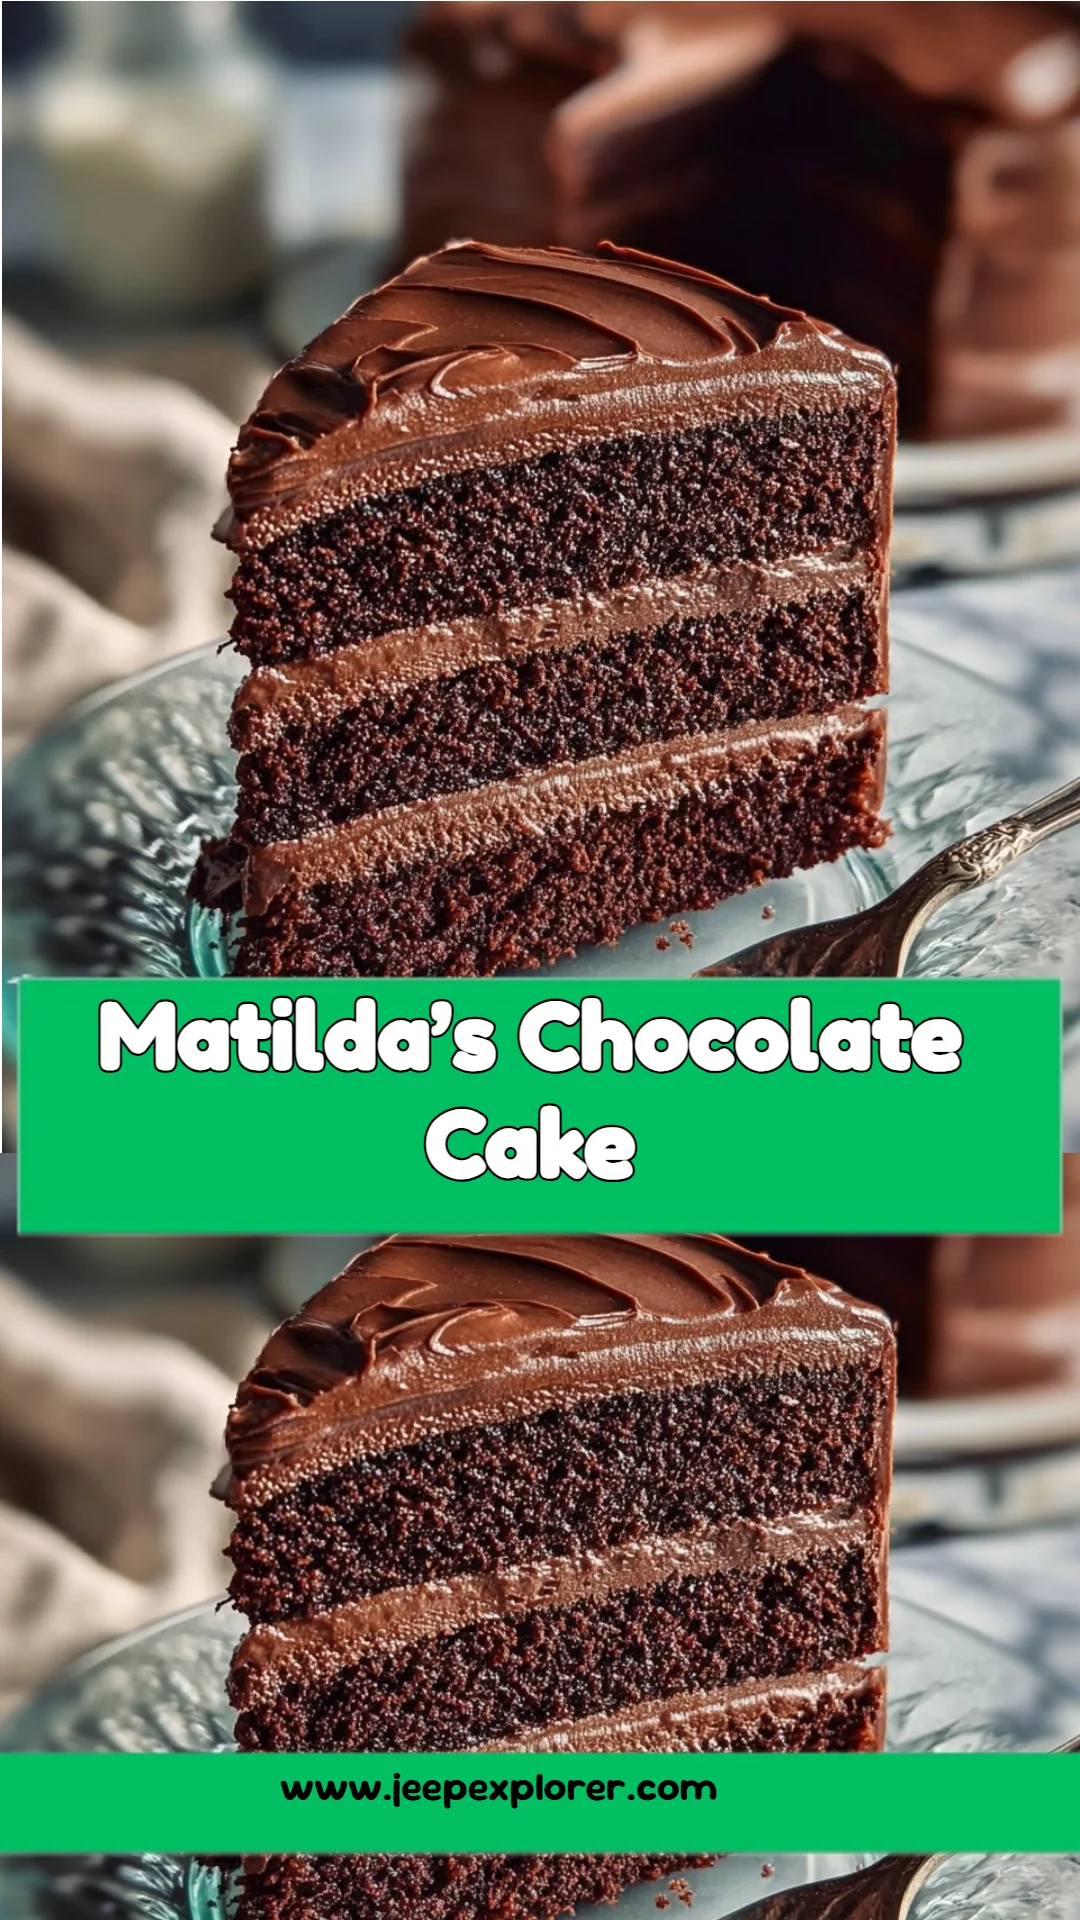
Ah, the enchanting world of chocolate cake! When I think of Matilda’s Chocolate Cake, I can’t help but recall the magic of childhood—a time when indulging in a slice of rich, velvety chocolate cake felt like hitting the jackpot. The kind that made birthdays unforgettable and family gatherings a feast for the senses. My introduction to baking came through the pages of Roald Dahl’s whimsical tales, inspired by Matilda’s adventures. This recipe has become a family tradition over the years, a cherished staple that brings everyone together.
What sets Matilda’s Chocolate Cake apart? It’s not just the intense chocolate flavor or the melt-in-your-mouth texture; it’s the memories we’ve created around the dining table—laughter, joy, and those moments of pure happiness. Unlike store-bought cakes that can sometimes be dry or overly sweet, this cake strikes that perfect balance of deep chocolate flavor and a delectable crumb that makes every bite a celebration.
Join me on this delicious journey! In this post, I promise you will learn how to create not just a cake, but a centerpiece for your kitchen that will have your family longing for a slice at every occasion!
What Are Matilda’s Chocolate Cake?
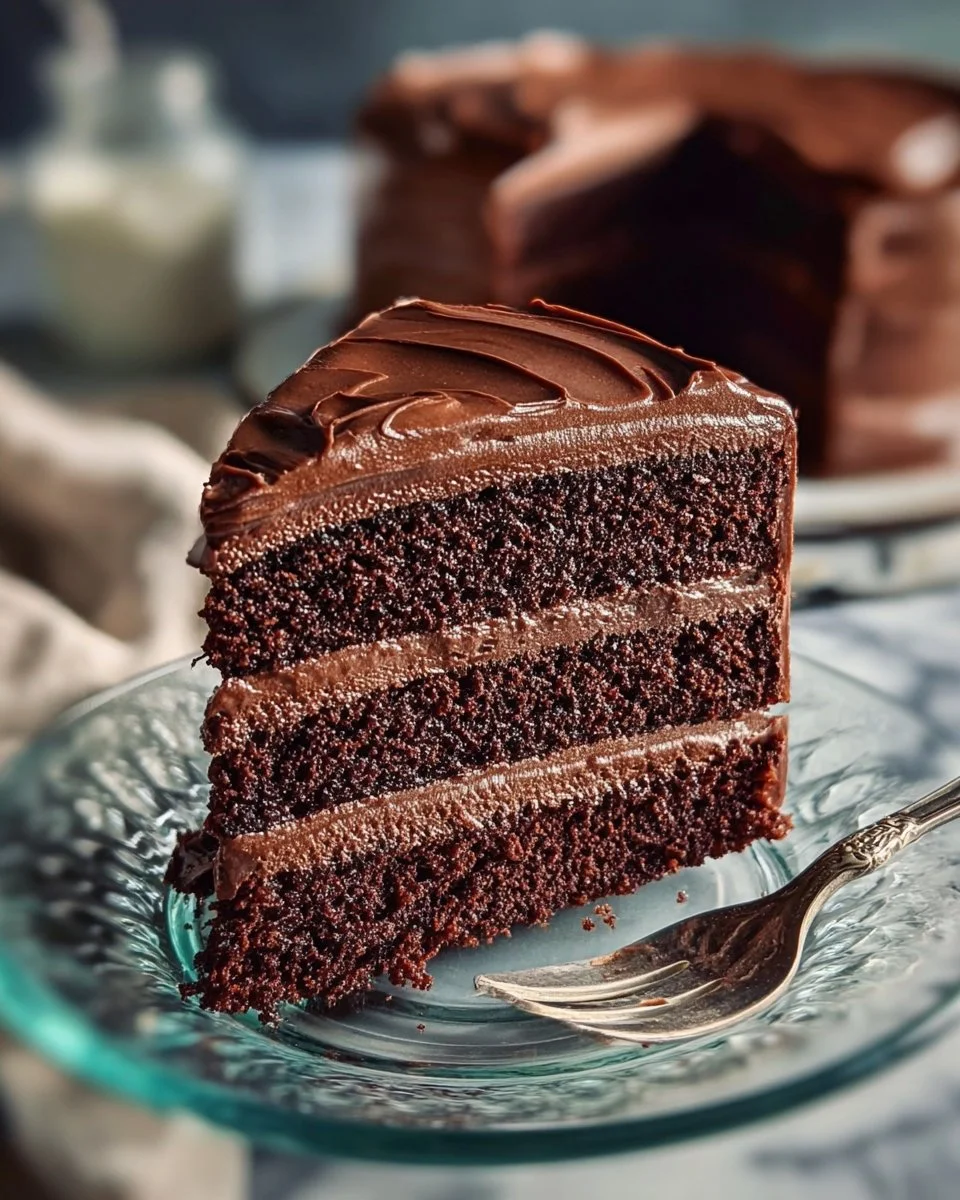
Matilda’s Chocolate Cake is more than just a dessert; it’s a culinary experience rooted in nostalgia and decadence. Originating from the fascinating works of Roald Dahl, this cake embodies the joy and richness of chocolate, delivering a taste that can turn even the dullest day into a celebration. With its moist and airy texture complemented by a silky, chocolatey frosting, every bite is a nod to the indulgence of childhood.
What makes this cake unique isn’t just its flavor, but the memories it brings. Picture this: gathering in the kitchen, the chocolate scent wafting through the air and everyone eagerly waiting to dig in. It’s perfect for birthdays, anniversaries, or simply a Tuesday night when you need a little pick-me-up. Make it for someone you love, or simply treat yourself—you deserve it!
Why You’ll Love This Recipe
There are countless reasons to fall in love with Matilda’s Chocolate Cake, starting with its unbelievably moist texture and rich flavor that far surpasses any store-bought confection. Here’s why this recipe is a must-try:
Simplicity: With straightforward ingredients, this cake is as easy to whip up as it is to enjoy. You don’t need to be a pro baker to conquer this classic chocolate cake.
Cost-Effective: Why spend a fortune on fancy cakes at a bakery when you can create this masterpiece for a fraction of the price?
Customizable: Want it a bit more decadent? Feel free to layer in some chocolate ganache between the cake layers or swap out the vanilla for almond extract for a delightful twist.
Quick Preparation: With only about 15 minutes of prep time and less than an hour to bake, you can have this enticing cake on the table in no time.
Family Favorites: Everyone will be begging for seconds, and the smile on their faces as they enjoy the rich, indulgent chocolate flavor will be worth every minute spent baking.
So why settle for anything less? Get ready to impress your guests and family with this fantastic recipe!
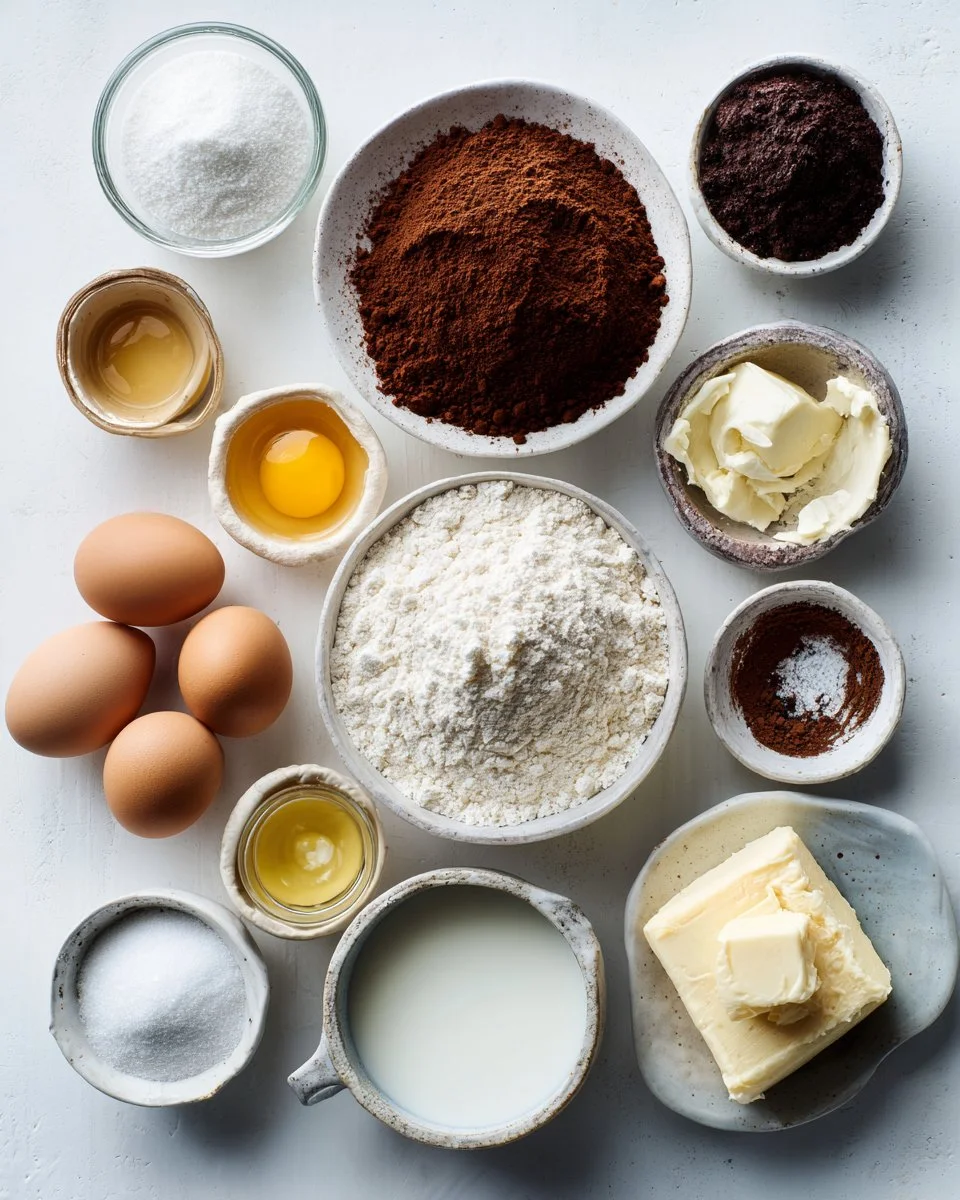
Ingredients
Let’s gather everything you need for this heavenly Matilda’s Chocolate Cake:
- 1 3/4 cups all-purpose flour (For best results, choose a good quality brand like King Arthur Flour.)
- 1 1/2 cups granulated sugar (Granulated for sweetness—avoid brown sugar here to keep the cake’s texture.)
- 3/4 cup unsweetened cocoa powder (A rich dark cocoa, like Dutch-processed, will enhance the chocolate flavor.)
- 1 1/2 teaspoons baking powder (Ensure it’s fresh for the best rise!)
- 1 1/2 teaspoons baking soda (Essential for a light texture.)
- 1/2 teaspoon salt (Balances the sweetness.)
- 2 large eggs (Room temperature helps in better mixing.)
- 1 cup buttermilk (Or mix 1 cup milk with 1 tablespoon of lemon juice or vinegar.)
- 1/2 cup vegetable oil (For moisture.)
- 2 teaspoons vanilla extract (Real vanilla extract adds a deeper flavor.)
- 1 cup boiling water (This is key for a moist crumb—don’t skip it!)
- 1/2 cup unsalted butter, softened (Let it sit out until creamy.)
- 2 cups powdered sugar (For that sweet, glossy frosting.)
- 1/4 cup milk (more as needed) (Adjust for your ideal frosting consistency.)
- 1 teaspoon vanilla extract (adds to the frosting flavor.)
Chef’s Note: Ensure your butter is at room temperature for easier creaming and a smoother frosting.
Step-by-Step Instructions
Preheat your oven to 350°F (175°C). Grease and flour two 9-inch round cake pans or line them with parchment paper for easy removal.
Mix Dry Ingredients: In a large bowl, sift together the flour, granulated sugar, cocoa powder, baking powder, baking soda, and salt. Set aside.
Mix Wet Ingredients: In another bowl, whisk together the eggs, buttermilk, vegetable oil, and vanilla extract until well combined.
Combine Mixtures: Gradually add the wet ingredients to the dry ingredients, mixing just until incorporated—don’t overmix!
Add Boiling Water: Carefully stir in the boiling water. The batter will be thin, which is perfectly normal.
Bake: Pour the batter evenly into the prepared cake pans. Bake in the preheated oven for 30-35 minutes, or until a toothpick inserted into the center comes out clean.
Visual cue: The edges should pull away slightly from the sides of the pan.
Cool the Cakes: Allow the cakes to cool in their pans for about 10 minutes before transferring them to a wire rack to cool completely.
Make the Frosting: In a medium bowl, beat the softened butter until creamy. Gradually add the cocoa powder and powdered sugar, beating well after each addition. Then mix in the milk and vanilla extract until the frosting is smooth and spreadable. If you need to thin it out, add a bit more milk.
Assemble the Cake: Once the cakes are completely cooled, spread a layer of frosting on top of one cake layer. Place the second layer on top and spread the remaining frosting over the top and sides of the cake.
Serve: Slice and enjoy your masterpiece at room temperature. The rich, indulgent chocolate will melt in your mouth with each bite.
Chef’s Tip: To avoid a crumby frosting surface, I like to do a thin “crumb coat” first—spread a light layer of frosting to catch any crumbs, refrigerate for about 30 minutes, and then frost completely!
Expert Tips & Tricks
Storage Secrets: Keep your cake fresh by covering it with a cake dome or plastic wrap at room temperature for 2-3 days. It can also be refrigerated for up to a week!
Make-Ahead Magic: You can bake the cakes a day in advance. Just wrap them well in plastic wrap once they are cooled and store them in the fridge.
Troubleshooting: If your cake comes out too dry, make sure not to overbake. If you’re unsure, err on the side of underbaking slightly; the residual heat will finish cooking it.
Experiment with Frosting: Feel free to whip up a cream cheese frosting or add a splash of coffee to your chocolate frosting for an extra layer of flavor.
Gluten-Free Option: Substitute the all-purpose flour with a 1:1 gluten-free baking flour to cater to dietary restrictions.
Serving Suggestions
Serve your Matilda’s Chocolate Cake with a dollop of freshly whipped cream or a scoop of vanilla ice cream for an extra indulgent treat. A sprinkle of fresh berries on the side not only adds a pop of color but balances out the richness with a touch of tartness.
This cake is perfect for all occasions—from celebrating birthdays to impressing your dinner guests. There’s something about its luscious chocolatey goodness that makes it an instant crowd-pleaser!
Variations & Substitutions
Flavor Combinations: Add espresso powder to the dry ingredients for a mocha twist or substitute a layer of raspberry jam for a fruity surprise.
Dietary Adaptations: Make it dairy-free by using plant-based milk and oil; also look for vegan butter for the frosting.
Seasonal Spice: During the holidays, try incorporating spices like cinnamon or nutmeg into your batter for a warm, festive flavor.
Nutrition & Storage Info
- Prep Time: 15 minutes
- Cook Time: 30-35 minutes
- Total Time: Approximately 1 hour
- Yield: 12 servings
- Estimated Calories: 350 calories per serving
- Storage Instructions: Best kept at room temperature for up to 3 days or refrigerated for a week. This cake also freezes well for up to 3 months!
FAQ Section
Can I use whole wheat flour instead of all-purpose flour?
- While you can, be aware that the texture will differ—your cake may be denser.
What can I use instead of buttermilk?
- Mixing milk with a tablespoon of lemon juice or vinegar works perfectly as a substitute.
How can I ensure my cake rises perfectly?
- Ensure your baking powder and baking soda are fresh, and avoid overmixing the batter to retain air.
Can I make this recipe as cupcakes?
- Absolutely! Pour the batter into cupcake liners and bake for about 18-20 minutes.
How long does the cake last?
- Stored properly, your cake can last up to a week in the fridge or several months in the freezer.
Can I make the cake ahead of time?
- Yes! Bake and cool the cakes a day ahead, wrap and store in the fridge, and frost when ready to serve.
What’s the best way to frost the cake?
- Start with a thin crumb coat to catch any wandering crumbs, chill for 30 minutes, then frost generously.
How do I know when the cake is done?
- A toothpick inserted into the center should come out clean. Also, look for a slight pull from the edges.
What’s the difference between cocoa powder and Dutch-processed cocoa?
- Dutch-processed cocoa is treated to neutralize acidity, offering a smoother flavor, while natural cocoa has a more intense chocolate taste.
Can I freeze leftover cake?
- Yes! Wrap tightly in plastic wrap and foil; it can stay frozen for up to 3 months.
Conclusion
Matilda’s Chocolate Cake is not just a dessert—it’s a celebration of joy, nostalgia, and connection. Each bite whisks you away on a delicious adventure that brings families and friends together. I hope you take the plunge and try this recipe that holds a special place in my heart, turning simple ingredients into something extraordinary.
Don’t hesitate to share your experiences, and let me know how this recipe turns out for you! And if you loved this, check out some of my other indulgent recipes on the blog.
Happy baking!

Matilda’s Chocolate Cake
Ingredients
Method
- Preheat your oven to 350°F (175°C). Grease and flour two 9-inch round cake pans or line them with parchment paper.
- In a large bowl, sift together the flour, granulated sugar, cocoa powder, baking powder, baking soda, and salt. Set aside.
- In another bowl, whisk together the eggs, buttermilk, vegetable oil, and vanilla extract until well combined.
- Gradually add the wet ingredients to the dry ingredients, mixing just until incorporated—don’t overmix!
- Carefully stir in the boiling water. The batter will be thin, which is normal.
- Pour the batter evenly into the prepared cake pans. Bake for 30-35 minutes, or until a toothpick inserted comes out clean.
- Allow the cakes to cool in their pans for about 10 minutes before transferring them to a wire rack to cool completely.
- In a medium bowl, beat the softened butter until creamy. Gradually add the cocoa powder and powdered sugar, mixing well after each addition. Then add milk and vanilla extract until smooth.
- Once the cakes are completely cooled, spread frosting on top of one cake layer, place the second layer on top and frost the top and sides.
- To avoid a crumby frosting surface, do a thin ‘crumb coat’, chill for 30 minutes, then frost completely.
- Slice and enjoy the cake at room temperature.