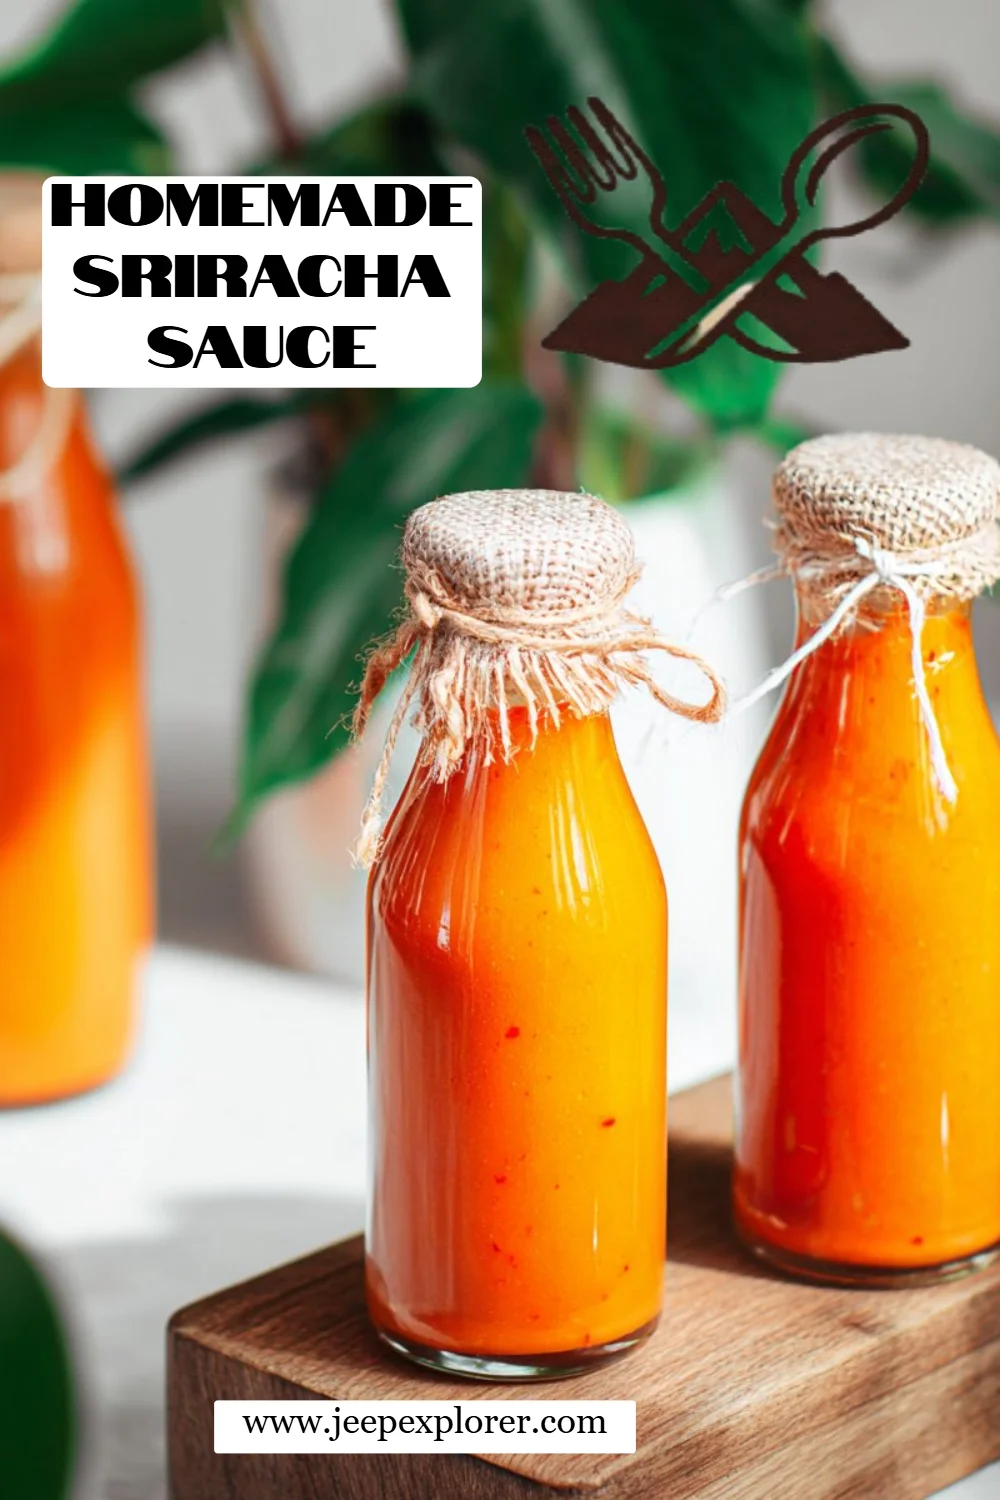
Spicy Love: How to Create Your Own Homemade Sriracha Sauce
It was an unseasonably warm Saturday morning when I first decided to take matters into my own hands and make Homemade Sriracha Sauce. I vividly remember sitting in my kitchen, the air thick with the mesmerizing aroma of sautéing garlic and chilis. That day, I wanted to replicate the fiery goodness I’d experienced at a local Thai restaurant, but I wasn’t just looking for any hot sauce; I wanted the bold, rich taste of true homemade sriracha.
What makes this particular recipe so special, you might ask? It’s not just about the heat; it’s about the secret ingredient: love. I found that when you make homemade sauces, you pour a little part of yourself into it, capturing memories and flavors from the heart. Unlike store-bought varieties, which often contain preservatives and artificial flavorings, my version is perfectly balanced—in flavor, heat, and that irresistible garlicky kick.
This recipe has become a staple in our home, often bringing back cherished memories of family dinners. Imagine a summer barbecue, laughter echoing, as everyone reaches for their homemade sriracha to add a spicy flair to their grilled veggies and skewers. In this post, I’ll walk you through the steps to craft your very own homemade sriracha sauce, along with tips, tricks, and delightful stories to inspire you in the kitchen!
What are Homemade Sriracha Sauce?
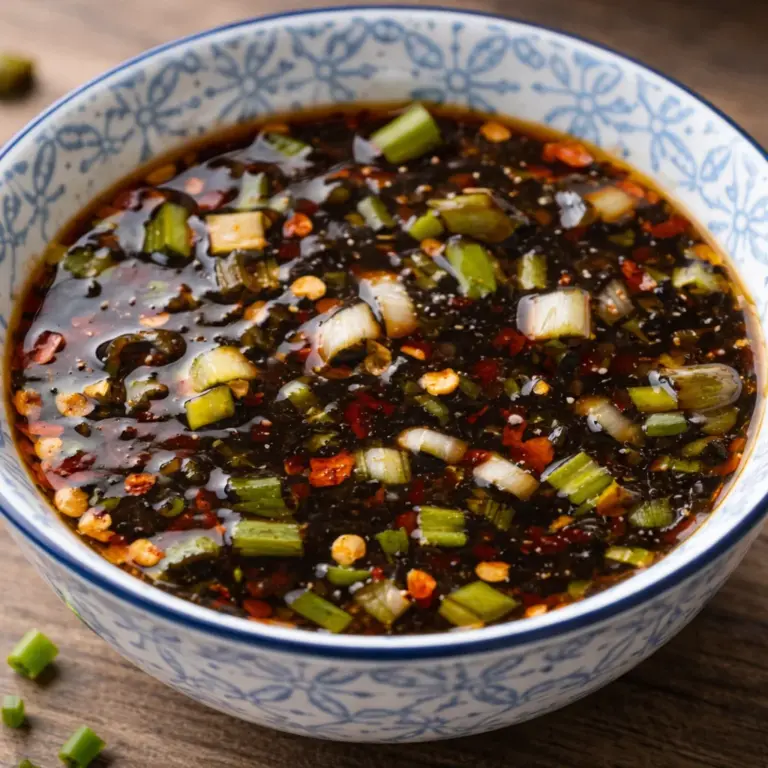
Sriracha originated in the coastal town of Si Racha in Thailand, where it started as a simple chili sauce. However, through a delightful blend of chilis, garlic, and vinegar, it has morphed into a worldwide sensation. The sauce is typically thick, velvety, and packed with a vibrant red color that promises a kick.
Homemade sriracha sauce offers a unique balance of sweetness, spice, and acidity. Unlike its commercially bottled cousins, which can sometimes be overly sweet or just plain bland, homemade sriracha allows you to play with flavors and adjust them according to your personal preference. It’s the perfect time to whip up a batch—whether you need a culinary companion for your Thai dishes, tacos, or simply want to add an umami punch to your soup.
Why You’ll Love This Recipe
Flavor Fusion: This homemade sriracha sauce is bursting with vibrant flavors that outshine store-bought versions any day. The combination of fresh chilis, garlic, and just the right amount of vinegar creates a depth of flavor that will elevate any dish.
Cost-Effective: Making your own homemade sriracha saves you money in the long run! Think about it: a couple of dollars spent on fresh ingredients can yield multiple bottles of homemade sauce compared to expensive store-bought varieties.
Customization Options: Not a fan of overly spicy? No problem! You can easily adjust the heat by using milder chilis or even experimenting with sweeter pepper varieties to create a sauce that speaks to your taste buds.
Simple Yet Satisfying: For those intimidated by hot sauce-making, fear not! This recipe is surprisingly straightforward and can be completed in under an hour.
A Crowd-Pleaser: Imagine hosting your next gathering with your very own homemade sriracha. Friends and family will rave about the bold flavors, and you’ll earn the title of "sauce wizard" at your next potluck!
With these enticing reasons, I assure you that this homemade sriracha sauce will soon become your go-to condiment. Let’s get started on this tantalizing journey!
Ingredients Section
Here’s what you’ll need to recreate this delightful Homemade Sriracha Sauce:
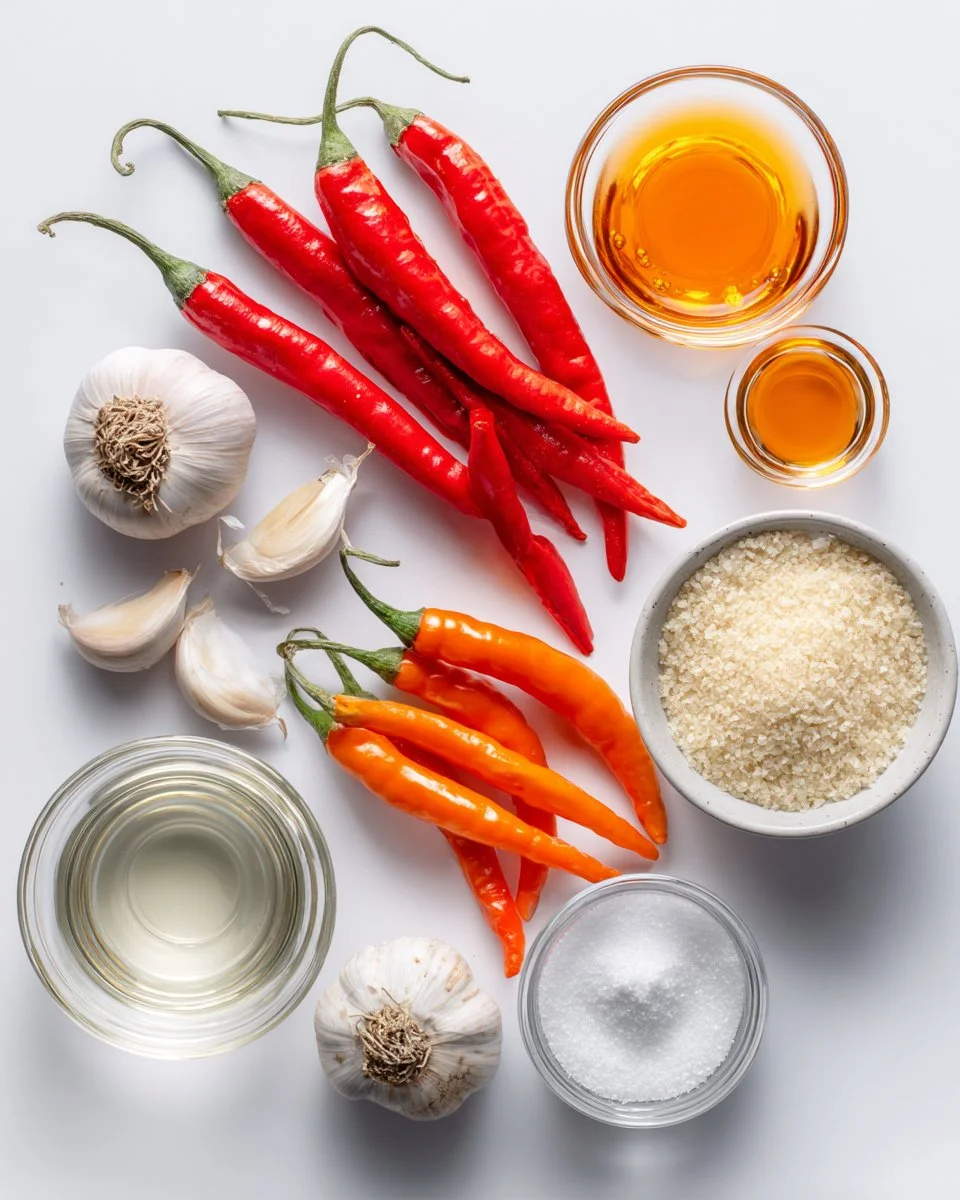
3 1/2 cups water
Use filtered water for the best flavor.400 grams large red Thai chili (prik chi fah)
These provide the heat; feel free to adjust the quantity based on your spice tolerance.100 grams large orange Thai chili (prik chi fah)
Adds a subtle sweetness to the mix.150 grams garlic (peeled)
Fresh garlic is a must; it adds a robust flavor to the sauce, enhancing the overall taste.5 tablespoons distilled vinegar
This balances the sweetness of the chilis. A higher-quality vinegar can elevate the taste further—experiment with rice or apple cider vinegar for a twist!1 1/2 tablespoons salt
Helps in preserving the sauce and accentuating its flavors. Use kosher salt if available for the best results.4 tablespoons granulated sugar
This helps to round out the flavors beautifully. Adjust the sugar depending on your desired sweetness level.
Make sure your ingredients, especially the chilis and garlic, are fresh. If you have a trusted local source for fresh produce, I highly recommend visiting them for the best flavors!
Step-by-Step Instructions
Ready to make some magic? Let’s dive into the step-by-step process of creating your homemade sriracha sauce:
Prepare the Base: Pour the water into a medium saucepan set over medium heat.
Tip: Using a wide saucepan helps the ingredients cook evenly.Chop the Chilis: While the water heats, chop all the chilis into pieces about 1 cm wide.
Pro Tip: Wearing gloves might help if you’re sensitive to chili oils!Combine Ingredients: Add the chopped chilis and peeled garlic to the saucepan.
Simmer: Bring the mixture to a boil, then reduce to a simmer. Let it gently simmer for about 10-15 minutes, or until the chilis and garlic are soft. You’ll know they’re done when the garlic turns a golden color and the chilis become tender.
Blend: Carefully transfer the mixture (water, chilis, and garlic) to a blender or food processor. Blend until smooth; this usually takes about 30 seconds to a minute.
Strain the Sauce: Place a large stainless steel strainer over the saucepan. Pour the blended mixture into the strainer and stir it in a circular motion to strain the sauce down into the saucepan, discarding the seeds.
Chef’s Tip: Be patient here! Straining takes time, but it results in a silky smooth sauce.Finish the Sauce: Put the saucepan back on medium heat. Add the vinegar, salt, and sugar to the strained sauce, stirring to dissolve.
Final Boil: Bring the sauce to a gentle boil for about 5 minutes, then remove it from heat. Let it cool completely.
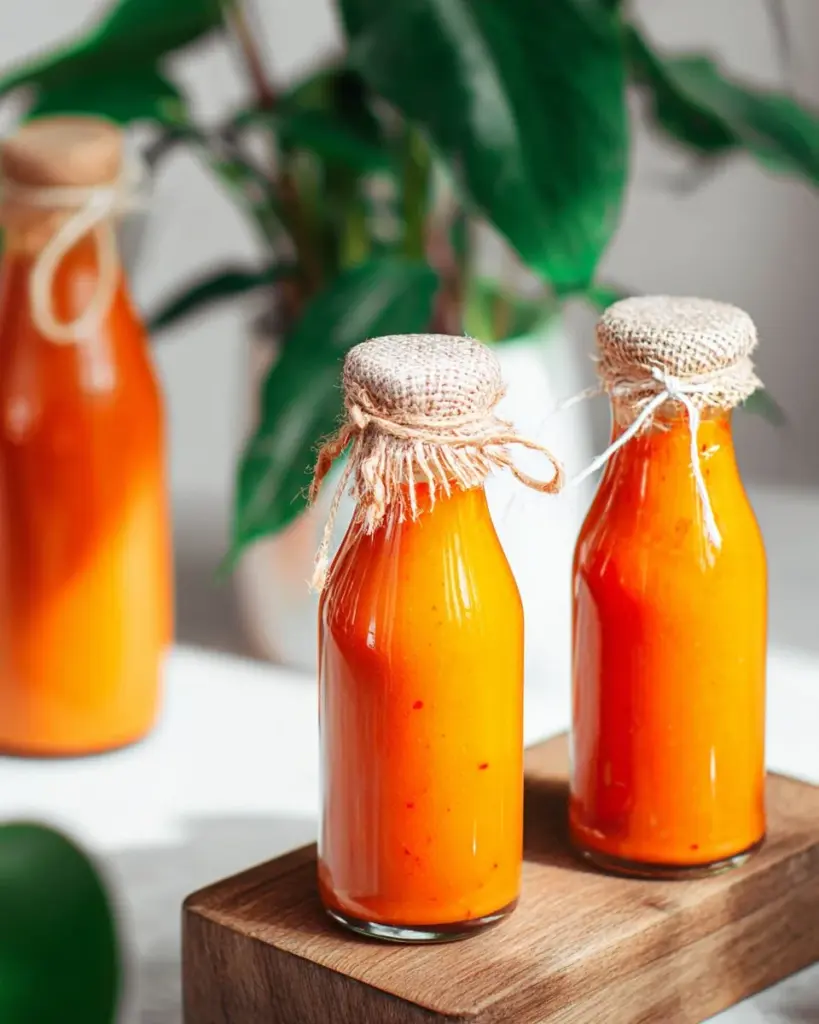
Bottle It Up: Pour the cooled sauce into sterile glass bottles or jars for storage.
Storage Tip: It’s best to store this homemade sriracha sauce in the refrigerator, where it will last for several weeks. Enjoy the spicy goodness!
Expert Tips & Tricks
Adjustment Options: If you find your sriracha too spicy, try adding extra sugar or a pinch of baking soda to balance the heat, but do so sparingly!
Storage: Store in a glass jar with an airtight lid in the fridge; this should keep it fresh for a month. You can also freeze it in ice cube trays for easy portions.
Make-ahead Instructions: Want to get a jump on things? You can prepare the base sauce a week in advance; just remember to add the vinegar, salt, and sugar right before bottling.
Troubleshooting: If your sauce turns out too thin, reduce it by simmering it longer after straining, or if too thick, add a splash of water to reach your desired consistency.
Stir Often: When simmering your sauce, stir occasionally to prevent it from sticking to the bottom of the saucepan.
Fermentation Option: For the adventurous cook, consider fermenting the base sauce for a week before adding the vinegar. A little fermentation can add depth to flavors.
Serving Suggestions
This homemade sriracha sauce pairs beautifully with various dishes. Drizzle it over grilled chicken, slather it on sandwiches, or mix it with mayo for a spicy dip. For a special presentation, serve it in a small ramekin alongside an assortment of grilled meats and vegetables, allowing your guests to spice up their plates. It’s excellent for taco night or Asian-inspired stir-fry evenings!
Variations & Substitutions
Don’t hesitate to get creative! Here are some fun variations to try:
- Smoky Kick: Add a few smoked chilis to the mix for a deliciously smoky flavor.
- Garlic Lovers Edition: Amp up the garlic by adding a tablespoon or two of roasted garlic for a sweet, caramelized twist.
- Honey Sriracha: Stir in some honey for a natural sweetness that pairs exceptionally well with spicy dishes.
- Herb-Infused Sriracha: Add freshly chopped herbs like cilantro or basil for a fragrant twist to the classic sauce.
Nutrition & Storage Info
- Prep Time: 10 minutes
- Cook Time: 30 minutes
- Total Time: 40 minutes
- Yield: About 1 pint of sauce (8 servings)
- Estimated Calories: Approximately 25 calories per tablespoon
Storage Instructions:
Store the sauce in an airtight glass jar in the refrigerator for up to 4 weeks. For longer storage, it can be frozen for up to 6 months.
FAQ Section
Can I use different types of chilis?
- Absolutely! While Thai chilis provide the classic flavor, you can experiment with jalapeños, Fresno peppers, or even mini bell peppers for milder options.
What if I can’t find Thai chilis?
- If Thai chilis aren’t available, opt for other fresh, hot chilies but keep taste and heat levels in mind!
Is homemade sriracha gluten-free?
- Yes, this recipe is gluten-free! Always double-check your vinegar and other ingredients to ensure no hidden gluten.
How can I make a vegan version?
- This recipe is naturally vegan. Just ensure all your ingredients, especially the sugar, are vegan-certified.
What’s the best way to use homemade sriracha?
- Use it on everything! From eggs to pizza, adding a dollop to soups or marinades can make all the difference.
Can I ferment the sriracha?
- Yes! Allowing it to ferment brings out deeper flavors. Just be sure to leave out the vinegar during the fermentation stage!
What’s the ideal consistency for homemade sriracha?
- You want it to be thick enough to coat the back of a spoon but not overly chunky; a smooth, pourable sauce is the goal.
Will it continue to ferment in the fridge?
- It will slow tremendously, but some people enjoy slight fermentation for enhanced flavor profiles.
What are the best storage containers?
- Use sterilized glass bottles or airtight jars—this maintains freshness and helps prevent any off-flavors.
What if it’s too spicy for my taste buds?
- Add more sugar or vinegar to balance the heat to your liking; a touch of cream can also help mellow it!

Conclusion
Your journey to making Homemade Sriracha Sauce is more than just creating a condiment; it’s about crafting memories and flavors that you’ll cherish forever. Friends and family will not only love the twist you’ve added to their meals, but they’ll also appreciate the love that you poured into each batch.
So, roll up your sleeves and get started on this flavorful adventure! I’d love to hear your thoughts, tips, or even your variations. Don’t forget to check out some of my other spicy recipes on the blog; your taste buds will thank you! Happy cooking!
Homemade Sriracha Sauce
Ingredients
Method
- Pour the water into a medium saucepan set over medium heat.
- Chop all the chilis into pieces about 1 cm wide.
- Add the chopped chilis and peeled garlic to the saucepan.
- Bring the mixture to a boil, then reduce to a simmer. Let it gently simmer for about 10-15 minutes, or until the chilis and garlic are soft.
- Carefully transfer the mixture to a blender or food processor. Blend until smooth.
- Place a large stainless steel strainer over the saucepan. Pour the blended mixture into the strainer and stir to strain the sauce down into the saucepan, discarding the seeds.
- Put the saucepan back on medium heat. Add the vinegar, salt, and sugar to the strained sauce, stirring to dissolve.
- Bring the sauce to a gentle boil for about 5 minutes, then remove it from heat. Let it cool completely.
- Pour the cooled sauce into sterile glass bottles or jars for storage.