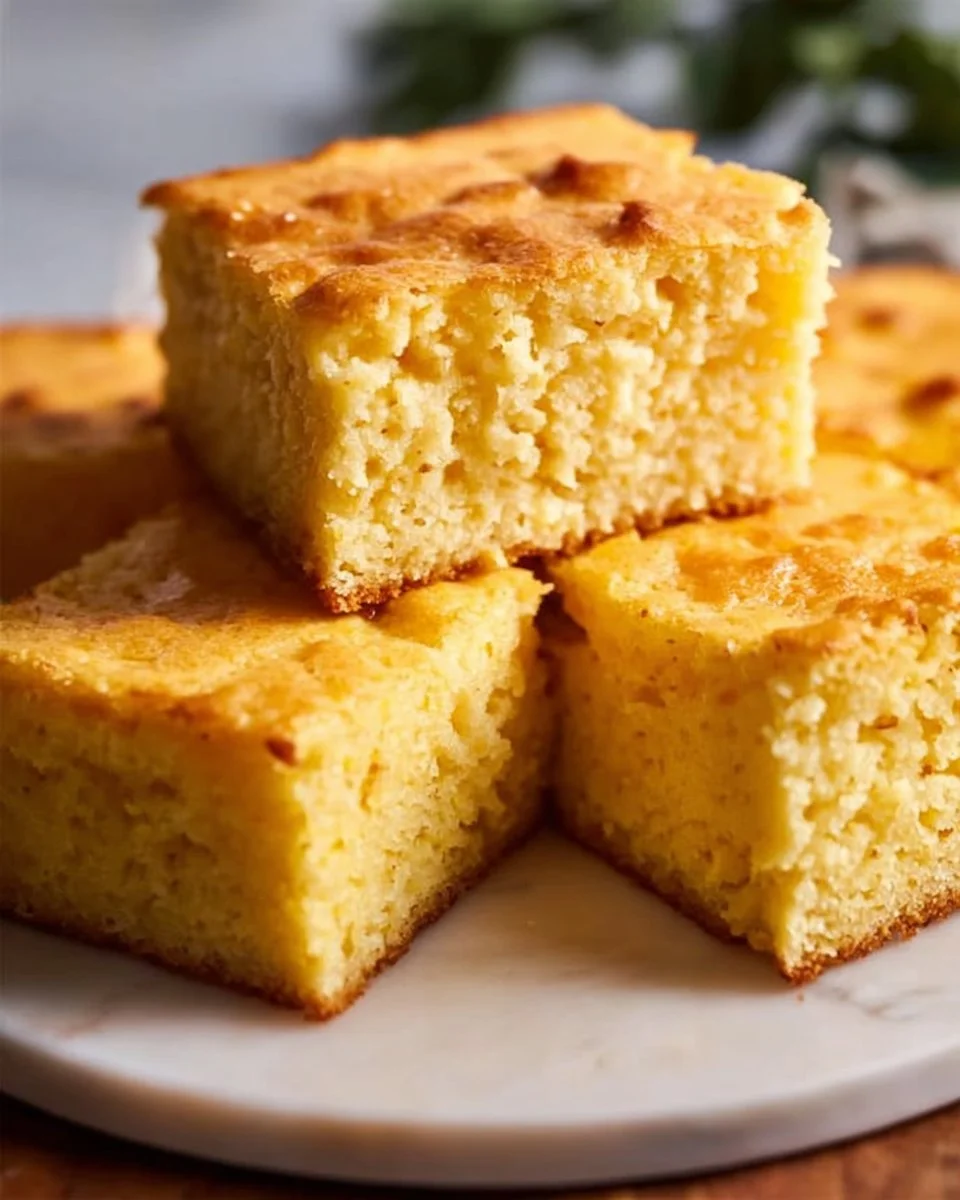
There’s something about the aroma of freshly baked cornbread wafting through the house that feels like a warm embrace. Growing up, my family always gathered around the kitchen for Sunday dinners, and a golden, fluffy cornbread was the shining star on our dining table. My mom’s cornbread was baked to perfection, but as I navigated the world of gluten-free baking, I was determined to recreate that cherished comfort food without any compromise on flavor or texture. Enter my beloved gluten free cornbread recipe—the best version I’ve ever crafted!
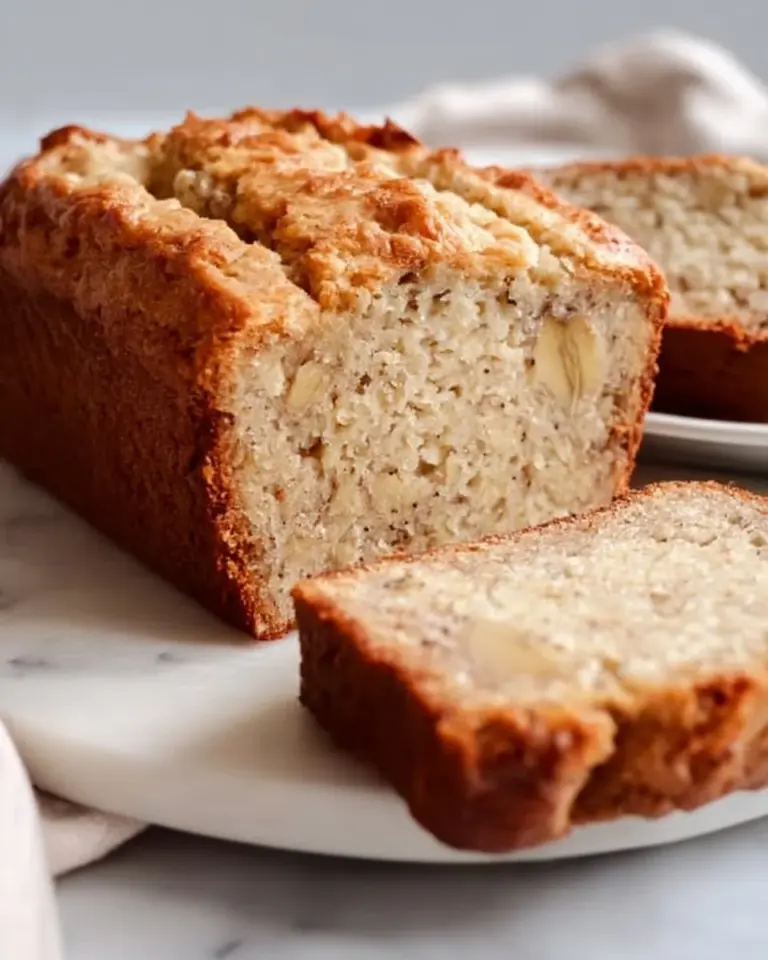
What makes this gluten free cornbread truly special is its moistness and subtle sweetness, thanks to the blend of almond flour and a touch of honey. Unlike many gluten free recipes that fall flat, this gem rises beautifully and slices like a dream. It’s not just food; it’s a connection to my memories, my family, and that feeling of belonging. Whether you’re celebrating a holiday or just want a taste of home, this cornbread will wrap you in nostalgia and warmth.
In this post, I’ll take you through step-by-step instructions and tips, ensuring your experience is as delightful as mine. Let’s bring that nostalgic flavor back into your kitchen. Are you ready to bake some magic?
What Are Gluten Free Cornbread?
Originating from Native American cuisine, cornbread has been a cherished staple in many households, particularly in Southern cooking. Traditionally made with cornmeal, this gluten free alternative uses almond flour to capture that beloved taste while catering to those with gluten sensitivities. The unique combination results in a slightly sweet and nutty flavor—perfectly complemented by a rich, fluffy texture.
Imagine biting into a warm piece of cornbread, the crunchy crust giving way to a tender, moist interior. This gluten free cornbread is both satisfying and versatile, making it an ideal accompaniment to savory chili, soups, or even as a side for a fancy holiday meal. You can whip it up in no time, bringing the warmth of homemade comfort food to your next gathering.
Why You’ll Love This Recipe
Moist and Flavorful: Unlike store-bought gluten free cornbread, which often has a gritty texture, this homemade version is incredibly moist and bursting with flavor. I promise, one bite will take you back to Grandma’s kitchen!
Customizable to Your Taste: Want to spice it up? You can easily add jalapeños, cheddar cheese, or even cranberries for a seasonal twist. The options are endless!
Cost-Effective and Budget-Friendly: If you’ve ever stared at the price tags of gluten-free baked goods, you know they can be pricey. This recipe allows you to create a delicious baked good at a fraction of the cost.
Easy and Quick to Make: This recipe requires minimal ingredients and can be whipped up in under an hour from start to finish. Even baking novices will find it easy!
Make Ahead and Store: It’s perfect for meal prepping or making in advance for gatherings. You can store it and reheat, and it tastes just as good!
Ingredients
Here’s what you’ll need to create your delicious gluten free cornbread:
- 2 cups almond flour (for a nutty flavor and moist texture)
- 1 teaspoon baking powder (make sure it’s gluten free)
- 1/2 teaspoon salt (to enhance the flavors)
- 3 large eggs (room temperature for better mixing)
- 1/4 cup unsweetened almond milk (or regular milk, if preferred)
- 1/4 cup honey (or a low-carb sweetener of your choice)
- 1/4 cup melted coconut oil (or unsalted butter, melted)
Note on Ingredients: Opt for high-quality almond flour for the best results. I love using Bob’s Red Mill for its fine texture. If you have a nut allergy, consider trying sunflower seed flour as an alternative.
Step-by-Step Instructions
- Preheat your oven to 350°F (175°C). This ensures even baking and a beautifully golden crust.
- Grease an 8-inch square baking dish to prevent sticking.
- In a bowl, mix the almond flour, baking powder, and salt until well combined.
- In another bowl, whisk together the eggs, almond milk, honey, and melted coconut oil until you have a smooth mixture. Make sure the coconut oil has cooled slightly—hot oil can cook the eggs!
- Combine the wet and dry ingredients, mixing until just combined. Avoid overmixing—lumps are okay!
- Pour the batter into the prepared dish, smoothing the top with a spatula.
- Bake for 25-30 minutes or until the top is golden brown and a toothpick inserted comes out clean. Keep an eye on it after the 25-minute mark for perfect results!
- Allow to cool slightly before slicing and serving. Letting it rest enhances its texture.
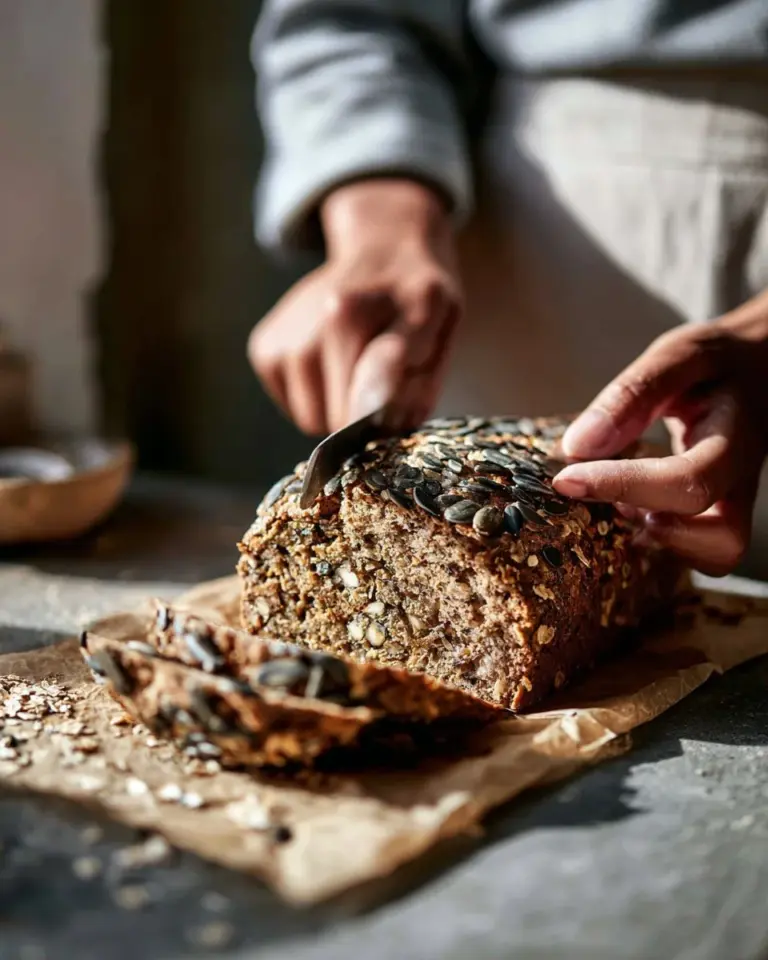
Chef’s Tip: If you want a slight crunch on top, turn on the broiler for the last 2-3 minutes of baking, keeping a close watch to prevent burning!
Expert Tips & Tricks
- Storage Recommendations: Leftovers can be stored in an airtight container in the fridge for 3-4 days or at room temperature for about 2 days. For longer storage, freeze slices for up to 3 months.
- Make-Ahead Instructions: You can prepare the dry ingredients ahead of time and simply mix in the wet ingredients when you’re ready to bake.
- Troubleshooting Common Problems: If your cornbread is too dense, it might be due to overmixing or too much almond flour. Adjust your measurements accordingly the next time.
Serving Suggestions
This gluten free cornbread pairs wonderfully with a hearty chili, warming soups, or even as a part of a festive holiday meal. For presentation, try slicing it into triangles and serving with a pat of butter and a drizzle of honey on top—a perfect treat for any occasion!
Variations & Substitutions
Feeling adventurous? Here are some flavor variations:
- Cheddar Jalapeño Cornbread: Stir in shredded cheddar and finely diced jalapeños for a zesty twist.
- Autumn Pumpkin Spice: Add 1/2 cup of pumpkin puree and a teaspoon each of cinnamon and nutmeg for a seasonal flavor.
- Dairy-Free Option: Use a plant-based butter and coconut milk for a completely dairy-free version.
Nutrition & Storage Info
- Prep Time: 10 minutes
- Cook Time: 25-30 minutes
- Total Time: Approximately 40 minutes
- Yield: 9 servings
- Estimated Calories: About 180 calories per serving (exact values may vary based on ingredients).
- Storage: Keep in an air-tight container. Lasts up to 4 days at room temp or in the fridge, and up to 3 months in the freezer.
FAQ Section
Can I use regular flour instead of almond flour?
- Since this is a gluten free recipe, regular flour will not work. Almond flour provides the necessary moisture and texture.
How can I make this recipe sugar-free?
- You can substitute honey with a low-carb sweetener like erythritol or stevia, adjusting to taste.
What can I serve this cornbread with?
- It pairs wonderfully with chili, soups, and even barbecue!
Is this cornbread vegan?
- To make it vegan, replace the eggs with flax eggs (1 tablespoon ground flaxseed mixed with 2.5 tablespoons water per egg and let sit) and use plant-based milk and oil.
Why did my cornbread turn out gummy?
- This could be due to overmixing. Make sure to mix until just combined to avoid a dense texture.
Can I make this in advance?
- Absolutely! You can bake it a day ahead, store it, and reheat before serving.
What can I substitute for almond flour?
- If you have nut allergies, sunflower seed flour works well as an alternative.
How do I know when it’s done baking?
- A toothpick inserted in the center should come out clean, and the top should be golden brown.
Can I add other ingredients like corn or cheese?
- Definitely! Just be mindful of extra moisture and don’t overmix.
How long does it last in the freezer?
- It keeps well for up to 3 months; just wrap slices tightly to prevent freezer burn.

Conclusion
This gluten free cornbread recipe is more than just a dish; it’s about creating connections, memories, and perhaps a new family tradition in your home. With its unique texture and delightful flavor, it’s bound to impress both gluten-free and gluten-loving guests alike. I encourage you to give it a try, and I would love to hear what you think! Share your thoughts and experiences in the comments, and don’t forget to check out other gluten free recipes on my blog to complement your meal.
Irresistible Monster Cookie Cheesecake: Your New Favorite Dessert Adventure!
Happy baking!