Picture this: the aroma of melting butterscotch wafting through my kitchen as I prepare to whip up a batch of Butterscotch Marshmallow Bars. I remember the first time I made these delightful treats; it was a rainy afternoon, my kids were busy building a pillow fort, and I was searching for something to bring a little sunshine into our home. As soon as those gooey bars came out of the fridge, the smiles on my children’s faces said it all—they are pure joy wrapped in a sweet, chewy package!
These Butterscotch Marshmallow Bars aren’t just a treat; they’re a memory in the making, a bit of nostalgia infused into each bite. Unlike store-bought snacks that often leave me feeling unsatisfied, these bars are rich and decadent, with a perfect chewy texture that’s just hard to beat. Plus, they’re incredibly simple to make! With just a handful of ingredients, you’ll discover how easy it is to bring this comfort food into your own home. So, roll up your sleeves and get ready to learn how to make these unforgettable bars that are sure to become a cherished family favorite!
What Are Butterscotch Marshmallow Bars?
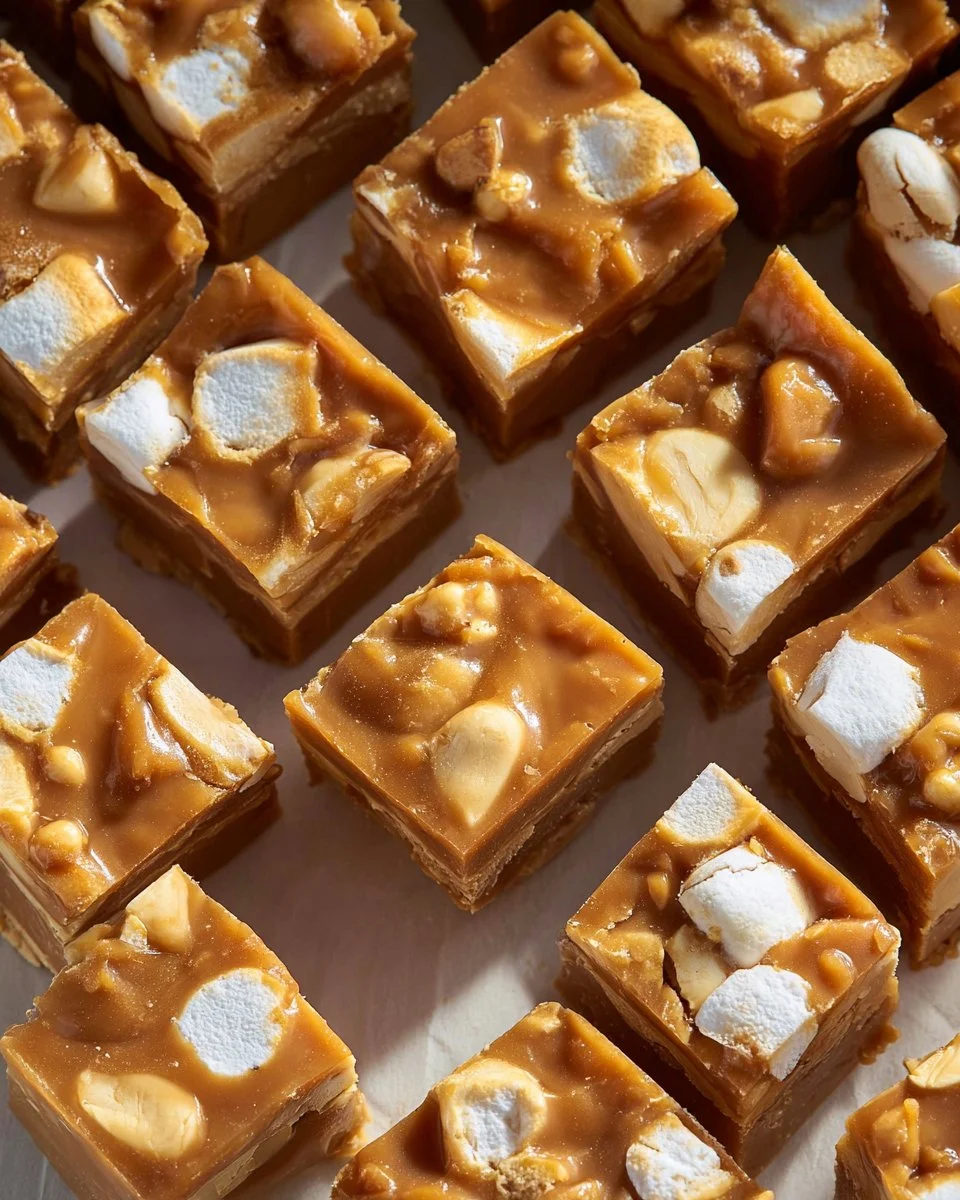
Butterscotch Marshmallow Bars are a delightful no-bake dessert that combines the warm, buttery flavor of butterscotch chips with the soft, fluffy texture of miniature marshmallows. Originating from the classic American dessert scene, these bars offer a nostalgic reminder of childhood treats.
When you take a bite, the sweet butterscotch envelops your taste buds while the peanut butter adds a creamy richness. Each marshmallow brings a delightful chewiness, making every mouthful a heavenly experience. What sets them apart from other sweets is that they are incredibly easy to customize. Whether you’re adding a handful of nuts or drizzling some chocolate on top, the possibilities are endless.
These bars are perfect for parties, gatherings, or even just a heartfelt treat at home. They’re an instant crowd-pleaser that can turn any ordinary day into something special!
Why You’ll Love This Recipe
Here are a few reasons why I know you’ll fall head over heels for these Butterscotch Marshmallow Bars:
Simplicity in Ingredients: You only need four main ingredients—unsalted butter, butterscotch chips, creamy peanut butter, and miniature marshmallows. That’s it! No complicated steps or unusual pantry items.
Quick & Easy: This recipe takes little time to prepare. You can have the mixture ready in less than 10 minutes, and then it just chills while you get on with your day!
No Baking Required: No ovens, no timers, no messes to manage. It allows you to focus on other things while these bars set in the fridge.
Cost-Effective Treat: With the ingredients being so readily available and affordable, you won’t break the bank while creating something delicious. Plus, you’ll have plenty to share—or keep for yourself (no judgment here!).
Customization Galore: Want to add some crunch? Toss in chopped nuts! Feel like jazzing things up? Drizzle some chocolate over the top. Whatever your flavor preferences, these bars can easily adapt to suit your taste.
The combination of ease, flavor, and nostalgia makes these Butterscotch Marshmallow Bars a standout treat that beats anything from the store. Trust me; once you try them, you’ll see why they’re a beloved recipe in my family.
Ingredients Section
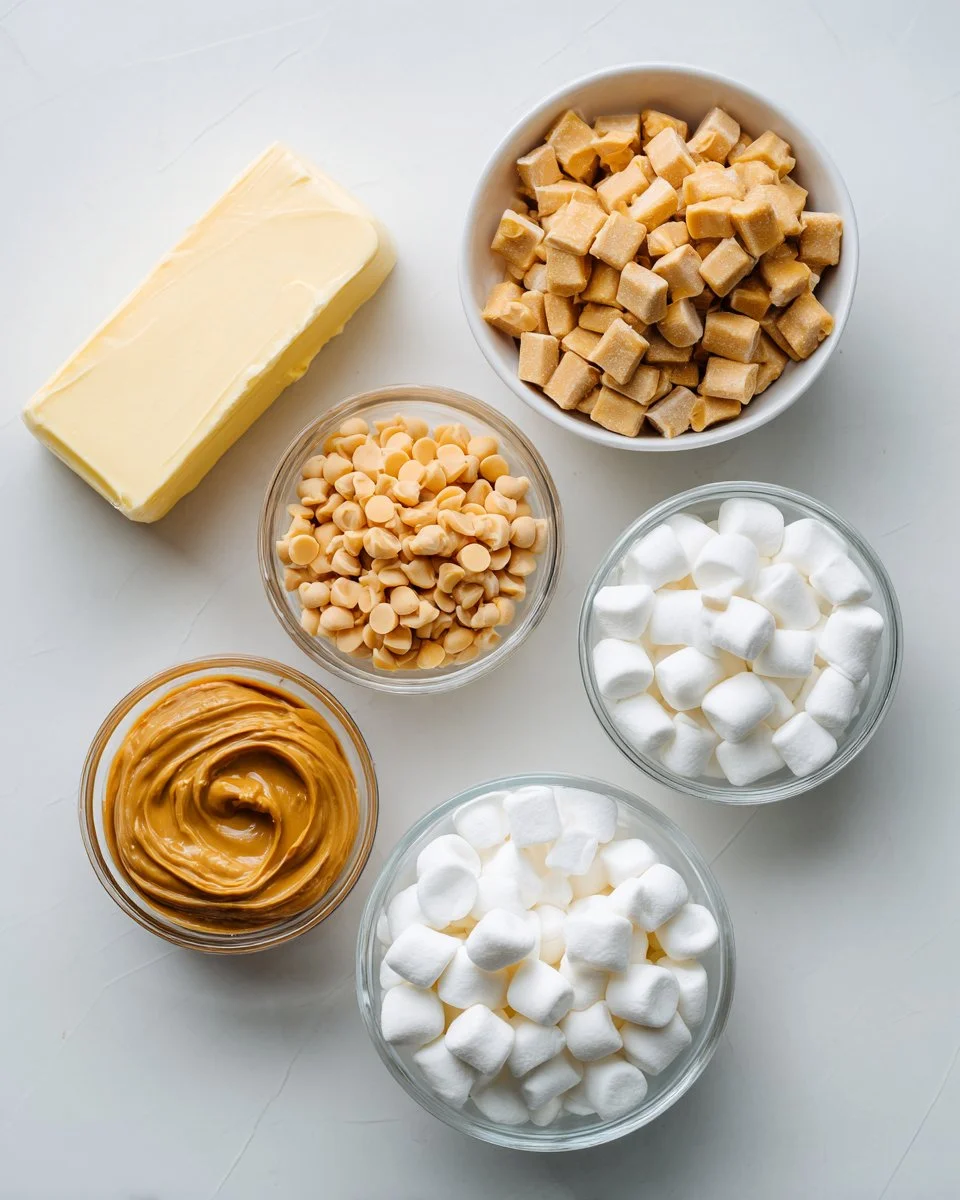
Here’s everything you’ll need for your Butterscotch Marshmallow Bars:
1/2 cup (1 stick / 113 g) unsalted butter: Be sure it’s at room temperature for easier mixing. I love using high-quality butter for a richer flavor—Kerrygold works fabulous here!
2 cups (340 g) butterscotch chips: Go for a good brand like Ghirardelli or Nestle for that classic, rich butterscotch flavor.
3/4 cup (190 g) creamy peanut butter: Smooth peanut butter works best so that it blends beautifully; I prefer Jif or Skippy.
4 cups (200 g) miniature marshmallows: Use fresh marshmallows; stale ones can be too chewy. The mini marshmallows add the perfect chewy texture!
Prep Notes: Make sure your butter is at room temperature to ensure smooth melting. Gather all your ingredients before beginning to make the process seamless!
Step-by-Step Instructions
Follow these easy steps to create your Butterscotch Marshmallow Bars:
Prepare the Pan: Line an 8×8-inch baking pan with parchment paper, leaving some overhang on the sides for easy removal later.
Melt Ingredients: In a large microwave-safe bowl, combine the 1/2 cup (1 stick / 113 g) unsalted butter, 2 cups (340 g) butterscotch chips, and 3/4 cup (190 g) creamy peanut butter. Microwave in 30-second intervals, stirring after each, until smooth and fully melted (this should take about 1-1.5 minutes total).
- Chef’s Tip: The mixture should be glossy and fully incorporated; don’t rush it!
Cool Down: Let the mixture sit at room temperature for about 10-15 minutes. This cooling step is crucial; it prevents the marshmallows from melting into a gooey mess.
Fold In Marshmallows: Gently fold in 4 cups (200 g) miniature marshmallows until they are fully coated in the butterscotch-peanut butter mixture.
- Common Mistake to Avoid: Do not overmix—fold gently so your marshmallows maintain their shape.
Transfer to Pan: Transfer the mixture to the prepared pan. Use a spatula to press it into an even layer.
Refrigerate: Chill the pan in the refrigerator for at least 2 hours, or until firm and set.
Cut Into Bars: Once they’re set, lift the bars out using the parchment overhang, and cut them into squares.
- Professional Technique: Warm your knife slightly with hot water for a clean cut!
Expert Tips & Tricks
To ensure your Butterscotch Marshmallow Bars come out perfectly every time, here are some expert tips:
Storage Recommendations: Store the bars in an airtight container at room temperature for up to 3 days. They also last about a week in the fridge.
Make-Ahead: You can make these bars a day in advance; just be sure they are completely chilled before cutting.
Troubleshooting: If your bars are too soft after refrigerating, try placing them back in the fridge for a bit longer.
Tweak the Sweetness: If you want a less sweet flavor, use natural peanut butter with no added sugars or try dark chocolate chips instead of butterscotch.
Add More Flavor: Feel free to add a teaspoon of vanilla extract to the mixture for that extra depth of flavor.
Serving Suggestions
Butterscotch Marshmallow Bars can stand alone in their sweet glory, but if you’re looking to elevate your dessert game, consider the following:
Serve them alongside some freshly brewed coffee or a tall glass of milk for a little bit of nostalgic magic.
Dress up the bars by drizzling melted chocolate over the top or sprinkling with sea salt for a sweet-savory twist.
These bars are perfect for any occasion, from family gatherings and holiday celebrations to simple after-school treats.
Variations & Substitutions
Feeling adventurous? Here are some delicious variations to try with your Butterscotch Marshmallow Bars:
Nutty Delight: Add chopped nuts (peanuts, pecans, or walnuts) into the mixture for a nice crunch.
Chocolate Delight: Substitute half of the butterscotch chips for milk chocolate or dark chocolate chips to create a chocolaty twist.
Blissful Coconut: Incorporate shredded coconut for tropical flair—it’s a heavenly combination with the butterscotch.
Dietary Adaptations: Use sugar-free butterscotch chips and natural peanut butter to make a lower-calorie version for those watching their intake.
Seasonal Variations: During the holidays, consider adding a sprinkle of cinnamon or nutmeg for a warm, festive flavor.
Nutrition & Storage Info
- Prep time: 10 minutes
- Chill time: 2 hours
- Total time: 2 hours 10 minutes
- Yield: Approximately 16 bars
- Estimated calories: 200 calories per bar (varies with specific ingredient brands)
Storage Information:
- Store at room temperature in an airtight container for up to 3 days or in the refrigerator for up to a week.
- These bars can also be frozen for up to 3 months; just wrap them tightly in plastic wrap before placing them in an airtight container.
FAQ Section
Can I use crunchy peanut butter?
- Absolutely, crunchy peanut butter will add a nice texture to the bars.
What if I don’t have butterscotch chips?
- Feel free to substitute with chocolate chips or white chocolate chips for a different flavor profile!
Can these bars be made vegan?
- Yes! Use vegan butterscotch chips and plant-based butter alternatives to make them vegan-friendly.
How do I fix bars that are too sticky?
- You can either refrigerate them longer or add a bit more marshmallows to the mixture to balance out the stickiness.
Can I double the recipe?
- Definitely! Just use a larger baking pan and keep an eye on the chilling time.
How do I serve the bars?
- Cut them into squares, and enjoy as is, or dress them up with a drizzle of chocolate!
What’s the best way to cut the bars?
- Warm the knife with hot water before cutting to achieve neat edges.
Are these bars gluten-free?
- Yes, they are naturally gluten-free as long as the butterscotch chips used are certified gluten-free.
Can I make these ahead of time?
- Yes, you can prepare them a day in advance; they actually taste better once they’ve had some time to set!
Why do my bars have a gritty texture?
- This can happen if the chips weren’t fully melted, so ensure the mixture is smooth and homogeneous before proceeding.

Conclusion
There you have it—Butterscotch Marshmallow Bars that are sure to steal the show! With their irresistible flavors and delightful textures, it’s no wonder these bars have become a staple in my home. I encourage you to give this recipe a try—you might just create your own sweet memories that will be cherished for years to come. Don’t forget to let me know how your bars turned out! And if you’re looking for more delightful treats, check out my blog for other sweet inspirations that will make your baking adventures even more exciting!
Delightful No Bake Key Lime Pie: Your New Go-To Recipe for Effortless Indulgence
Happy baking!

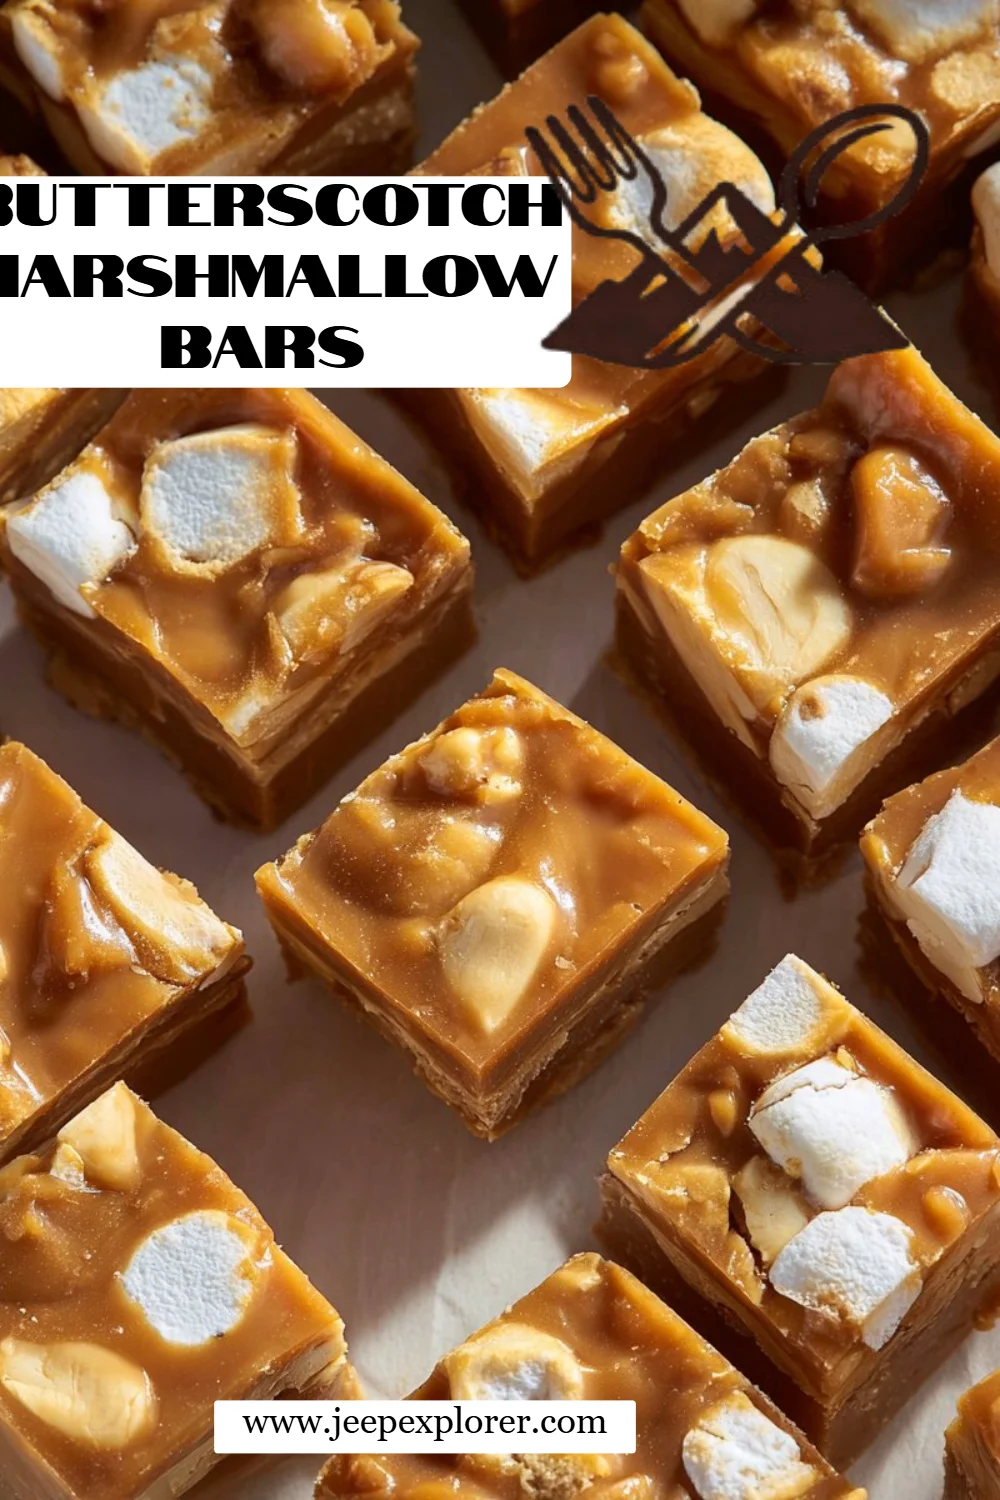
Butterscotch Marshmallow Bars
Ingredients
Method
- Line an 8×8-inch baking pan with parchment paper, leaving some overhang on the sides for easy removal later.
- In a large microwave-safe bowl, combine the unsalted butter, butterscotch chips, and creamy peanut butter. Microwave in 30-second intervals, stirring after each, until smooth and fully melted.
- Let the mixture sit at room temperature for about 10-15 minutes to cool.
- Gently fold in the miniature marshmallows until they are fully coated in the butterscotch-peanut butter mixture.
- Transfer the mixture to the prepared pan and press it into an even layer.
- Chill the pan in the refrigerator for at least 2 hours, or until firm and set.
- Once set, lift the bars out using the parchment overhang and cut them into squares.