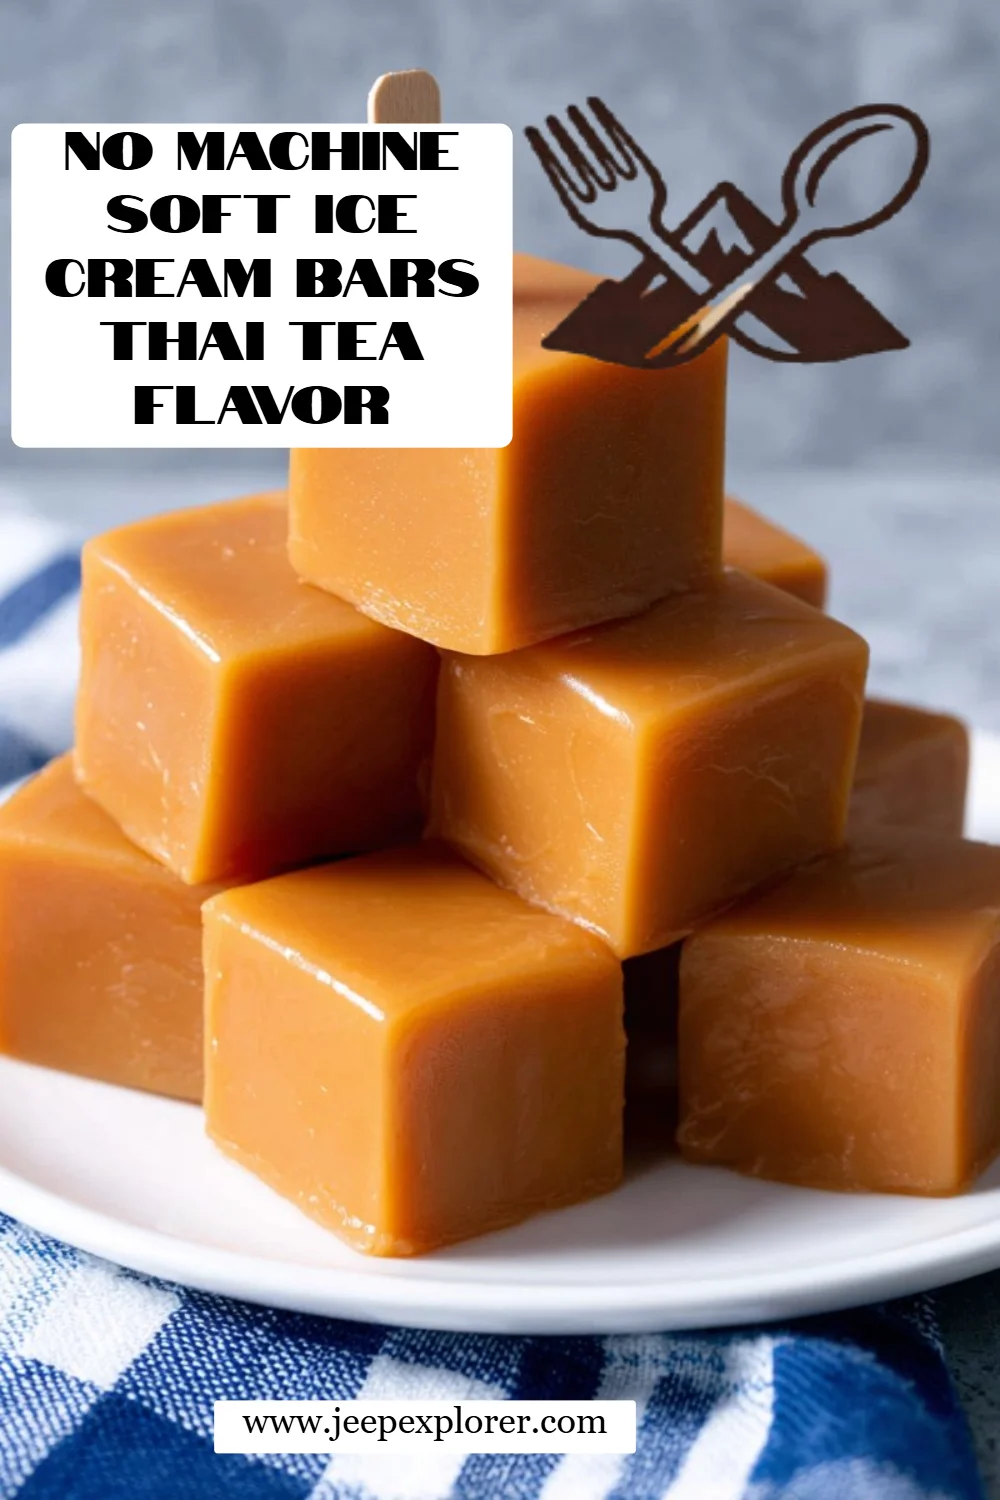
# Irresistibly Delicious No Machine Soft Ice Cream Bars Thai Tea Flavor - A Sweet Taste of Comfort
## Introduction
Have you ever had a flavor that transports you back to a warm summer afternoon with loved ones? For me, that flavor is Thai tea—its vibrant orange hue and aromatic spices have always held a special place in my heart. The first time I had Thai tea soft serve was during a family trip to a bustling Asian market, where the sweet, creamy dessert practically melted in my mouth. Every bite was a hug from my childhood, evoking memories of sharing food and laughter with those I care about.
That’s why I’m thrilled to share this recipe for No Machine Soft Ice Cream Bars Thai Tea Flavor! Imagine combining the comforting essence of Thai tea with the nostalgia of ice cream bars—all without needing an ice cream maker! This recipe stands out because it's not just a simpler version of your favorite dessert; it’s customizable, cost-effective, and perfect for satisfying all your sweet cravings.
In my kitchen experiments, I discovered a way to replicate that smooth, silky texture while infusing vibrant flavors that dance on your palate. And trust me, you’ll learn not just how to make these delightful bars, but also how to create those cherished memories for you and your family, just like I did.
## What Are No Machine Soft Ice Cream Bars Thai Tea Flavor?
No Machine Soft Ice Cream Bars Thai Tea Flavor represents a sweet fusion of culinary tradition and modern convenience. Originating from Southeast Asian cultures where tea is celebrated, this dessert takes the beloved flavor of Thai tea—made from aromatic black tea, sweetened condensed milk, and spices—and transforms it into creamy, dreamy ice cream bars, all without a cumbersome ice cream machine.
With every bite, you unlock a delightful balance of sweet and slightly earthy notes, thanks to the star ingredient: Thai tea leaves. The lush and velvety texture is complemented by the creaminess of whipped cream and the subtle touch of tapioca starch which gives these bars a smooth mouthfeel. You can enjoy them any time—whether it's a summer BBQ, a cozy movie night, or just treating yourself after a long day.
## Why You'll Love This Recipe
There are so many reasons why you'll fall head over heels for these No Machine Soft Ice Cream Bars Thai Tea Flavor:
1. **Convenience**: You don't need an ice cream maker or specialty equipment to whip up these delightful bars. You'll be amazed at how simple the process is!
2. **Cost-Effective**: Making your own treats is often cheaper than buying them pre-made. Plus, these bars use accessible ingredients you probably already have in your pantry.
3. **Customization Options**: Want to blend in some coconut flavors? Or add a hint of vanilla? The possibilities are endless! You can tailor this recipe to suit your taste buds perfectly.
4. **Gourmet Finish**: When compared to store-bought versions, these bars have a freshness that simply can’t be beaten. Say goodbye to artificial flavors and hello to a genuine homemade treat.
5. **Quick Prep Time**: From start to finish, you’ll need about 30 minutes of active time, and then let the freezing do the magic. It's a win-win for busy schedules!
Trust me, once you try making these bars at home, you won’t look back. You’ll wonder why you ever spent money on those store-bought versions!
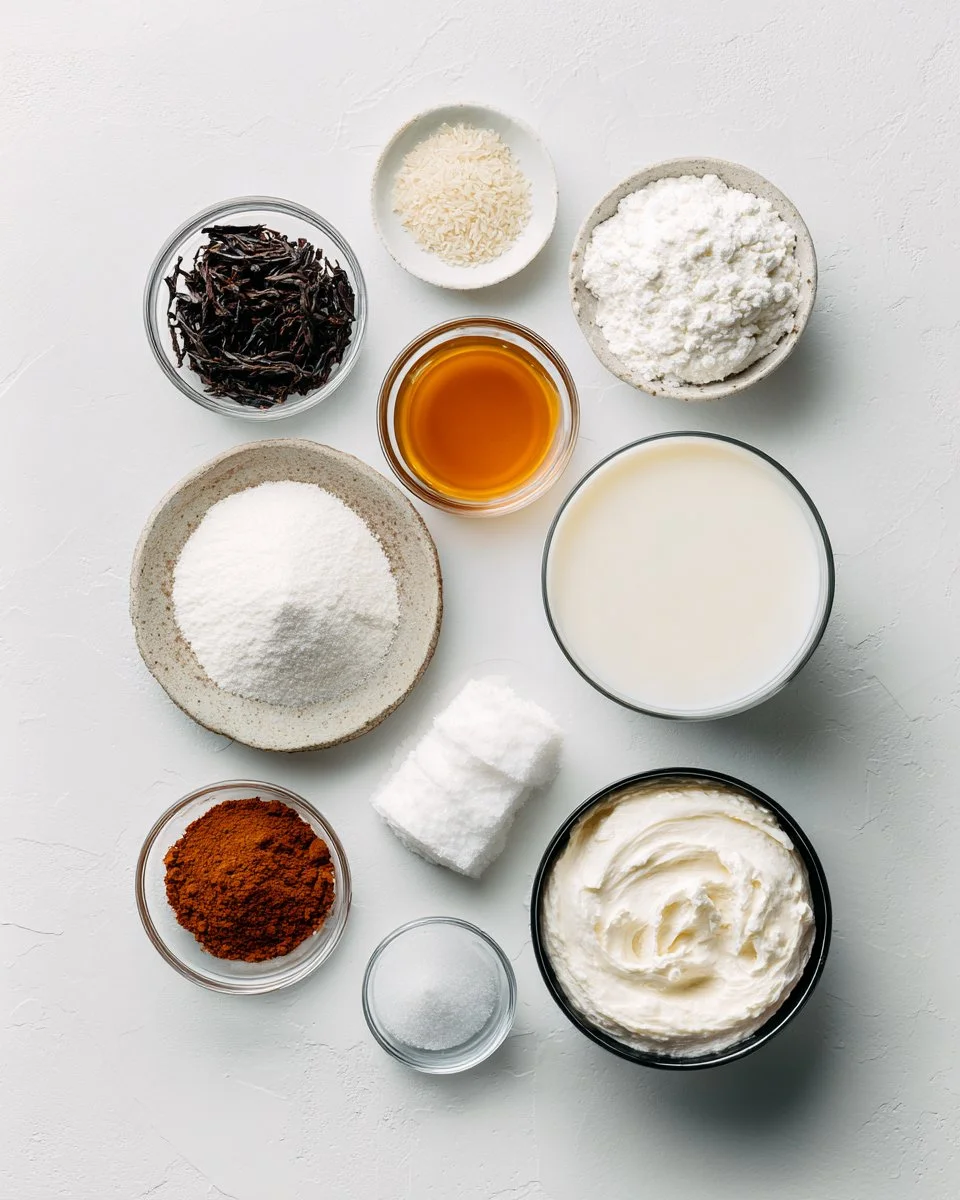
## Ingredients
- 1/2 cup Thai tea leaves (look for high-quality loose leaf varieties, such as "Number 12 Thai Tea")
- 1.5 cups hot water
- 1/4 cup tapioca starch (can be substituted with cornstarch in a pinch)
- 1 can evaporated milk (354 ml)
- 1 can sweetened condensed milk (300 ml)
- 1 cup whipping cream (opt for heavy whipping cream for the best texture)
- 1/4 teaspoon table salt
**Prep Notes:**
- It’s best to work with room temperature ingredients for easier mixing.
- Consider using organic products for richer flavors.
## Step-by-Step Instructions
1. **Prepare the Molds**: Grease and line your ice cream molds or any silicone molds with parchment paper. This helps with easy removal later.
2. **Steep the Thai Tea**: Pour 1.5 cups of hot water over the 1/2 cup of Thai tea leaves in a heatproof container. Let it steep for about 5 minutes before straining to discard the tea leaves.
3. **Mix the Starch**: In a bowl, combine the tapioca starch with 1/3 cup of the evaporated milk. Whisk until you have a smooth paste.
4. **Combine Ingredients**: In a saucepan, whisk together the starch mixture, the remaining evaporated milk, sweetened condensed milk, whipping cream, salt, and your steeped Thai tea (make sure to leave out the tea dust).
5. **Heat the Mixture**: Place the saucepan on medium heat. Stir constantly until the mixture thickens, bubbles, and reaches a pudding-like consistency (about 6-8 minutes).
6. **Cool and Freeze**: Remove the mixture from heat. Pour it into your prepared molds, popping any air bubbles with a toothpick. Let it cool before transferring to the freezer for at least 6 hours or until completely frozen.
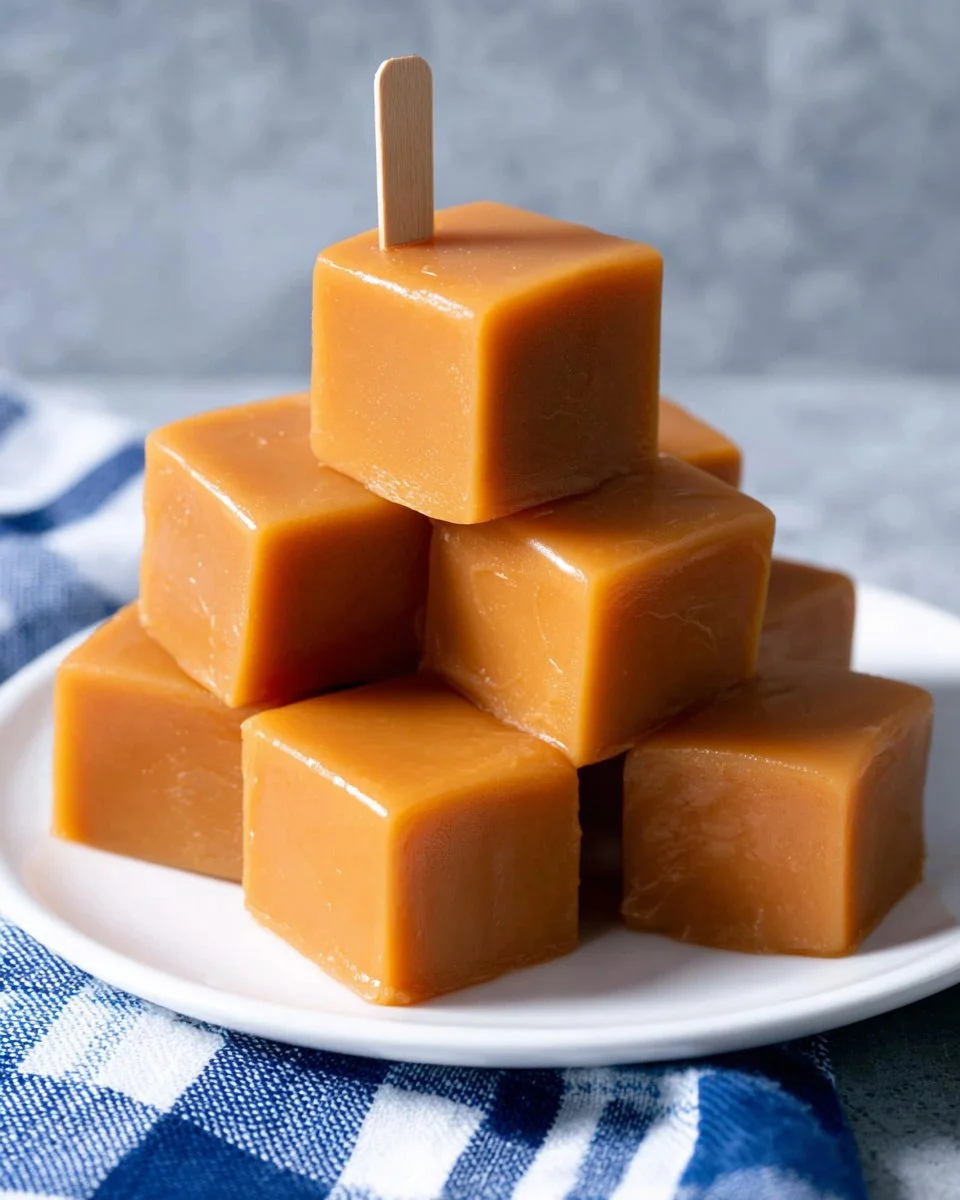
7. **Unmold Your Bars**: When ready to serve, run a knife carefully along the edges of the molds, lift using the parchment paper overhang, and cut into your desired sizes. For easy handling, insert bamboo skewers into each bar.
8. **Enjoy and Store**: Wrap any leftover pieces in parchment paper and store them in an airtight container in the freezer.
**Chef’s Tips**: Avoid using high heat as it may curdle your mixture; keep it gentle for the best texture!
## Expert Tips & Tricks
1. **Storage**: Your ice cream bars will last up to 3 months in the freezer. Wrap them well to maintain flavor and texture.
2. **Make-Ahead**: These bars are perfect for batch-making! Prepare them on the weekend and enjoy them throughout the week.
3. **Troubleshooting**: If your mixture doesn’t thicken, it could be that your heat was too low, or the tapioca starch wasn’t mixed well. Ensure thorough integration for a perfect consistency.
4. **Changing Flavors**: Feel free to swap out Thai tea for other varieties, such as matcha or chai, for a fun twist.
5. **Serving**: For an extra touch, drizzle with chocolate or top with nuts before serving for a delightful crunch!
## Serving Suggestions
Pair these No Machine Soft Ice Cream Bars with a simple fruit salad for a refreshing balance. For those summer parties or gatherings, consider creating a dessert table adorned with colorful fruits, tropical flowers, and your gorgeous bars as the centerpiece. They’re perfect for warm evenings or special occasions like birthdays!
## Variations & Substitutions
- **Flavor Combinations**: Want something different? Try mixing in coconut milk for creaminess, or a hint of almond extract for added depth. Seasonal flavors like pumpkin spice or peppermint can be fabulous, too!
- **Dietary Adaptations**: This recipe can easily be made dairy-free by substituting plant-based milk (like coconut or almond milk) and using vegan condensed milk alternatives.
- **Seasonal Variations**: In the fall, infuse a bit of pumpkin puree with your mixture for a delightful autumn twist, or in spring, experiment with a light floral flavor, like jasmine.
## Nutrition & Storage Info
- **Prep Time**: 30 minutes
- **Cook Time**: 10 minutes
- **Total Time**: 6+ hours (mostly hands-off)
- **Yield**: Approximately 8 bars
- **Estimated Calories**: 220 per bar
- **Storage**: Keep in the freezer; they'll last up to 3 months.
## FAQ Section
1. **Can I use another type of milk?**
Yes! Any milk will work, but keep in mind the flavor will slightly change depending on what's used.
2. **Can I use tea bags instead of loose leaves?**
Absolutely! Just ensure you’re using a high-quality variety for the best flavor.
3. **What can I do if the mix is too thick?**
Add a bit more milk or water gradually until you reach the desired consistency.
4. **Do I need special molds?**
No, any freezer-safe container will do, just ensure it’s lined for easy removal.
5. **How can I make them more decadent?**
Add a layer of chocolate ganache or a sprinkle of toasted nuts before anyone digs in!
6. **Is it possible to make these dairy-free?**
Yes, as mentioned, substituting dairy with plant-based products works wonderfully.
7. **Can you incorporate fruit?**
Absolutely! Blueberries or strawberries mixed in can add a delightful fruity twist.
8. **How do I prevent ice crystals?**
Stir the mixture periodically while it's freezing to keep it creamy.
9. **Can I flavor with spices?**
Definitely! A pinch of cinnamon or cardamom can brighten the flavor profile.
10. **Are these good for kids?**
They’re perfect! The bars are sweet, fun, and easy to eat, making them a kid-friendly treat.
## Conclusion
These No Machine Soft Ice Cream Bars Thai Tea Flavor encapsulate the essence of comfort and joy all in one delicious bite. They are perfect for sharing moments with family or simply enjoying after a long day. I really hope you give this recipe a try! Trust me, you’ll be making them over and over again.
I’d love to hear your thoughts—how did your version turn out? Have you mixed in any creative flavors? Check out related recipes on the blog for more delightful treats. Happy cooking!
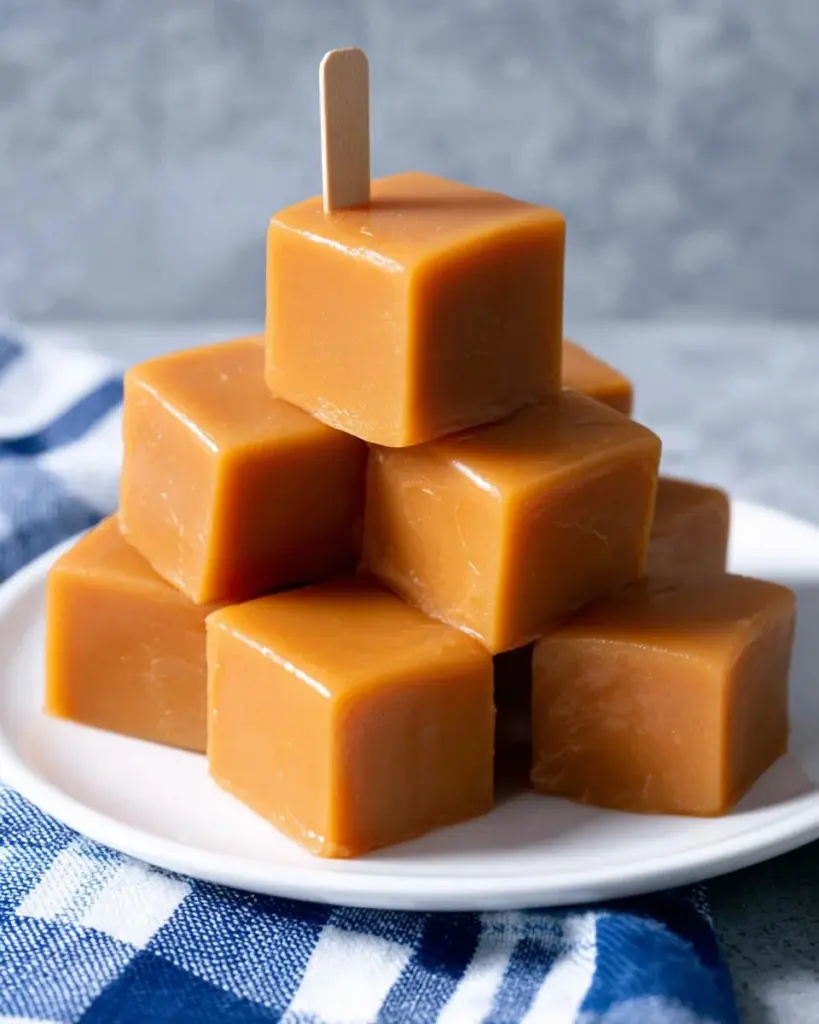
No Machine Soft Ice Cream Bars Thai Tea Flavor
A delightful combination of fragrant Thai tea transformed into creamy, dreamy ice cream bars—all without needing an ice cream machine.
Ingredients
Method
Preparation
- Grease and line your ice cream molds or any silicone molds with parchment paper.
- Pour 1.5 cups of hot water over the 1/2 cup of Thai tea leaves in a heatproof container. Let it steep for about 5 minutes before straining to discard the tea leaves.
- In a bowl, combine the tapioca starch with 1/3 cup of the evaporated milk. Whisk until you have a smooth paste.
- In a saucepan, whisk together the starch mixture, the remaining evaporated milk, sweetened condensed milk, whipping cream, salt, and the steeped Thai tea (making sure to leave out the tea dust).
- Place the saucepan on medium heat and stir constantly until the mixture thickens, bubbles, and reaches a pudding-like consistency (about 6-8 minutes).
- Remove the mixture from heat. Pour it into your prepared molds, popping any air bubbles with a toothpick. Let it cool before transferring to the freezer for at least 6 hours or until completely frozen.
- When ready to serve, run a knife carefully along the edges of the molds, lift using the parchment paper overhang, and cut into your desired sizes. For easy handling, insert bamboo skewers into each bar.
- Wrap any leftover pieces in parchment paper and store them in an airtight container in the freezer.
Notes
Store in the freezer for up to 3 months. Consider making these bars ahead of time for easy treats throughout the week.