Unlock the Flavors: Your Ultimate Guide to Homemade Fried Garlic and Garlic Oil
INTRODUCTION
Is there anything more comforting than the rich aroma of fried garlic wafting through your kitchen? I can still remember the first time I made my own Fried Garlic and Garlic Oil. It was a Saturday afternoon, and I was trying to recreate my grandmother’s legendary recipe. As the garlic sizzled in the pan, those golden morsels reminded me of family dinners filled with laughter, a bounty of comforting food, and love sprinkled through every dish.
What sets my version apart from the others? It’s not just about the technique; I infuse a personal touch—like selecting the freshest garlic and using just the right amount of oil to achieve that perfect balance of crunch and flavor. Plus, making it at home is not just more rewarding; it’s also a fraction of the cost of what you’d find in specialty stores or restaurants.
Join me as I walk you through this mouthwatering experience where you’ll learn how to craft these aromatic staples that can elevate your everyday meals. By the end of this post, you’ll be equipped with all the tips and tricks to master the art of Fried Garlic and Garlic Oil!
WHAT ARE Fried Garlic and Garlic Oil?
Fried garlic, often found in Asian cuisines, is made by gently cooking chopped garlic until it turns a glorious golden brown. The result? A crunchy topping that bursts with flavor! Garlic oil is the luscious potion that comes from infusing oil with those fried garlic bits, capturing that irresistible essence.
What makes these two items stand out? Texture! Fried garlic offers a delightful crunch, while garlic oil delivers an aromatic punch, adding depth to any dish. Whether drizzled over noodles, tossed into stir-fries, or used as a finishing touch for soups, these homemade marvels can elevate your culinary adventures.
It’s no surprise that making these at home has become a go-to for flavor enthusiasts—you gain control over the quality and freshness, which just can’t be matched by store-bought options. So, why wait for that special occasion? Dive in whenever you crave that comforting taste.
WHY YOU’LL LOVE THIS RECIPE
Unmatched Flavor: Forget the bland, store-bought versions! When you prepare Fried Garlic and Garlic Oil at home, the flavors are fresh and vibrant. You can taste the difference immediately!
Cost-Effective: At first glance, the thought of making these might seem daunting. But trust me; a mere head of garlic and a third cup of neutral oil are all you need for a generous supply that far exceeds what you’d pay at gourmet stores.
Customization Galore: The beauty of making these staples at home lies in your ability to infuse them with your preferred herbs or spices. Want to add a kick? Toss in some red pepper flakes. Fancy a hint of sweetness? A touch of honey works wonders!
Simple Steps: Don’t be shy; the process is easy! In just 15 minutes, you’ll be whipping up aromatic garlic that makes dinners feel extra special without breaking a sweat.
Make Ahead: These little treasures store well, keeping in the fridge for weeks and making them a perfect addition to your meal prep game.
INGREDIENTS SECTION
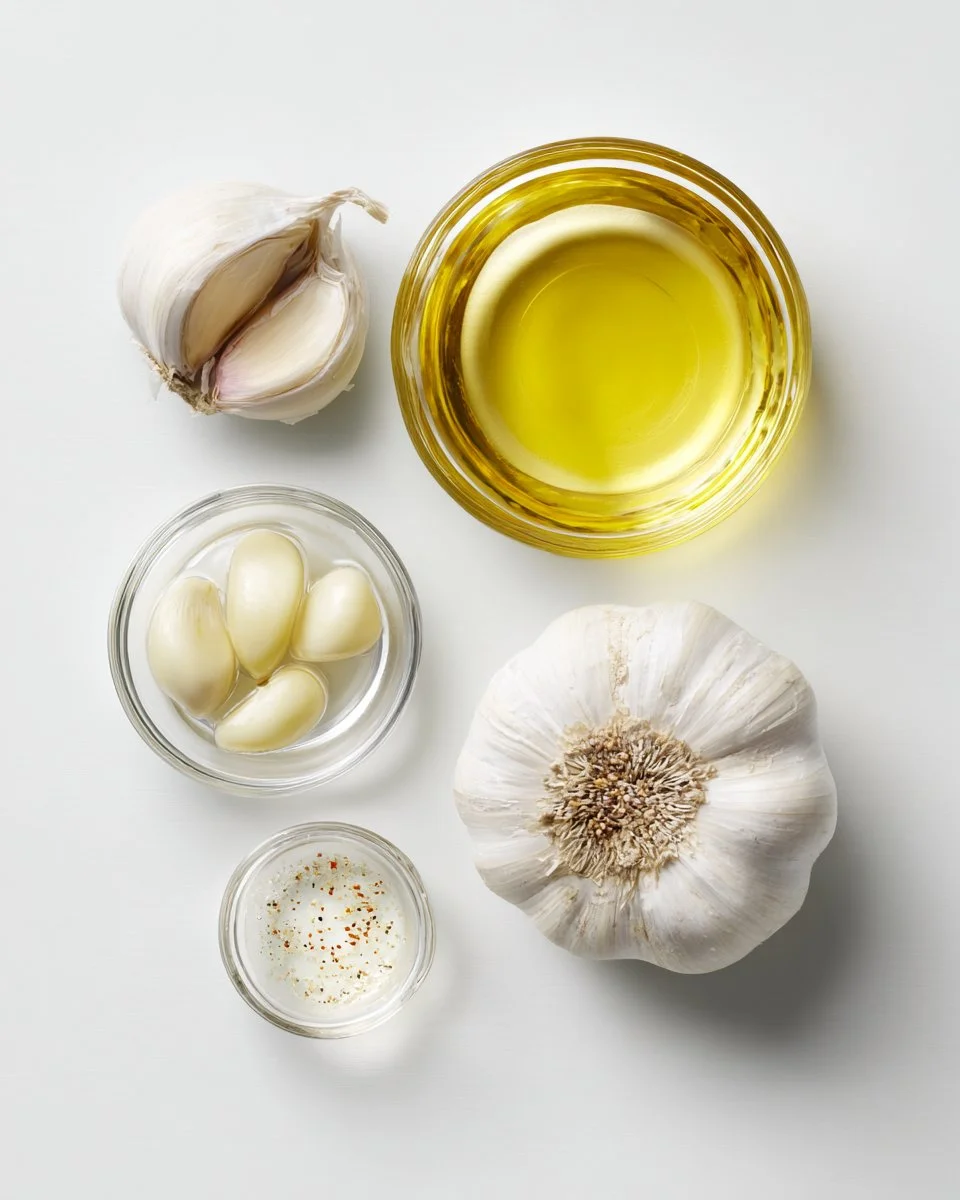
Main Ingredients:
- 1 head garlic: Opt for fresh, firm heads for the best flavor. Avoid garlic that is sprouting or soft.
- 1/3 cup neutral oil: I love using canola or grapeseed oil. Both have high smoke points and allow the garlic flavor to shine through.
Notes on Additional Ingredients:
- Optional Seasonings: Feel free to add salt, black pepper, or even a pinch of cayenne for some heat.
- Storage: Ensure you have a tightly sealed container for storage.
Prep Notes:
- Freshness Matters: Make sure to use garlic that is firm and aromatic for the best results.
- Room Temp Oil: Let your oil sit at room temperature for at least 30 minutes before using for even frying.
STEP-BY-STEP INSTRUCTIONS
Prep the Garlic: Begin by chopping the garlic into pieces no larger than 1/8 inch (3 mm). Aim for uniformity; larger pieces will cook unevenly, leading to burnt bits.
Heat the Oil: In a small, heavy-bottomed pot, pour in the neutral oil and set over medium heat.
Test the Oil: To check if the oil is ready, drop in one piece of garlic. If it bubbles immediately, you’re good to go!
Fry the Garlic: Gently add the remaining chopped garlic to the pot and reduce the heat to medium-low. The oil should generously cover the garlic. Stir continuously to ensure even frying.
Sizzle Time: Keep an eye on the garlic as it bubbles. You’re aiming for a golden color—not brown, as that bitterness can ruin your dish. This step should take about 5-8 minutes, but watch closely as the garlic can darken quickly.
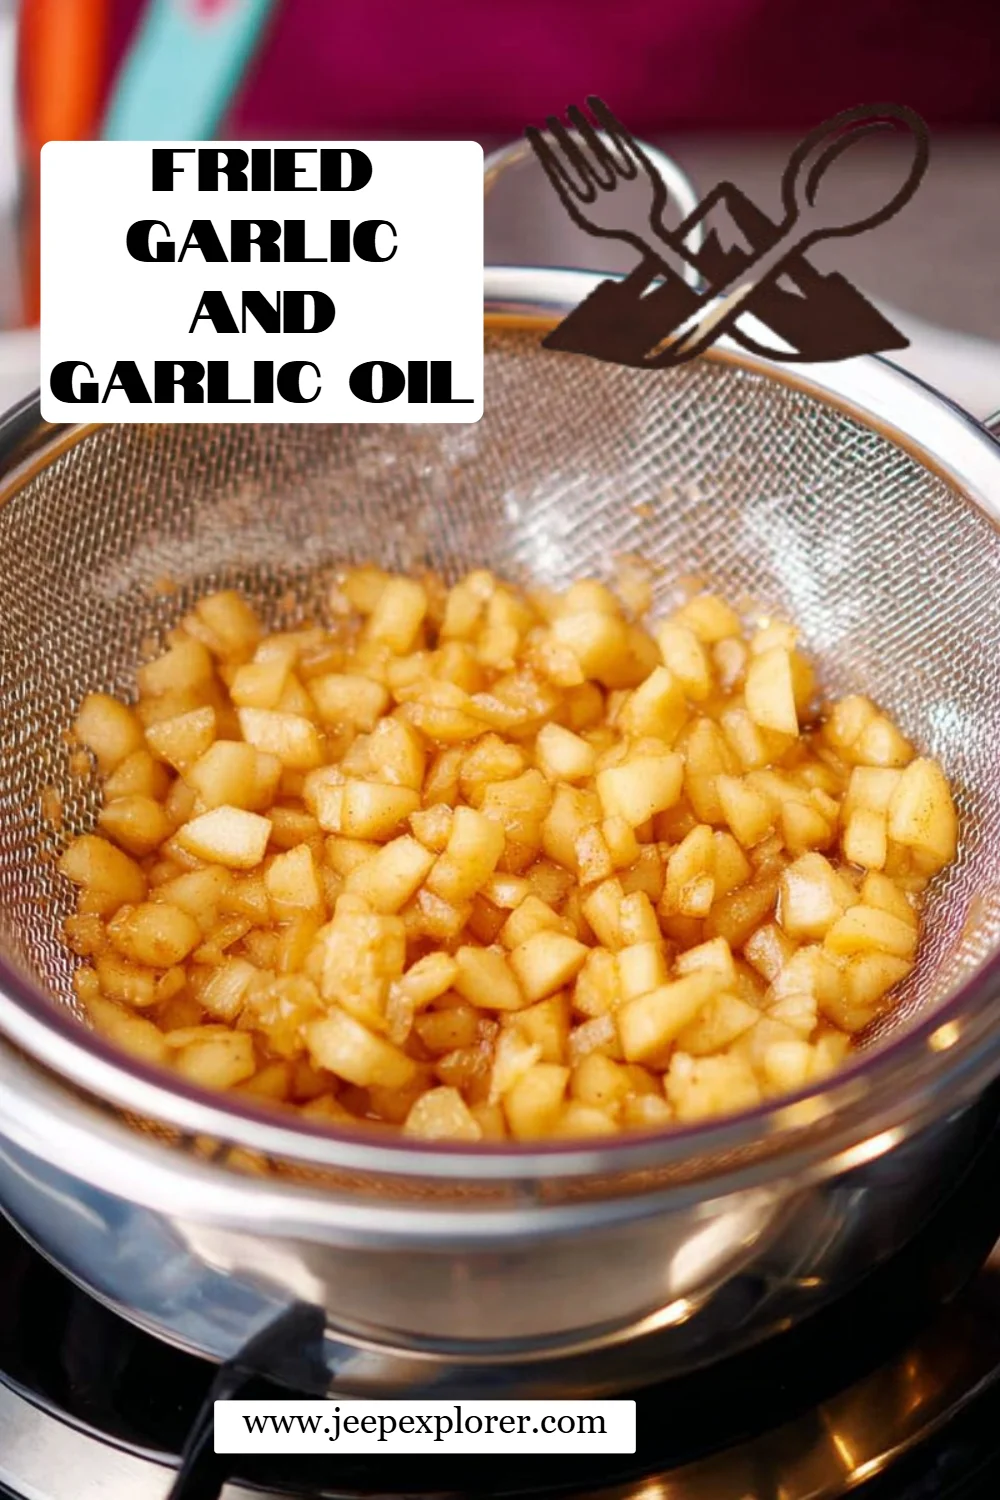
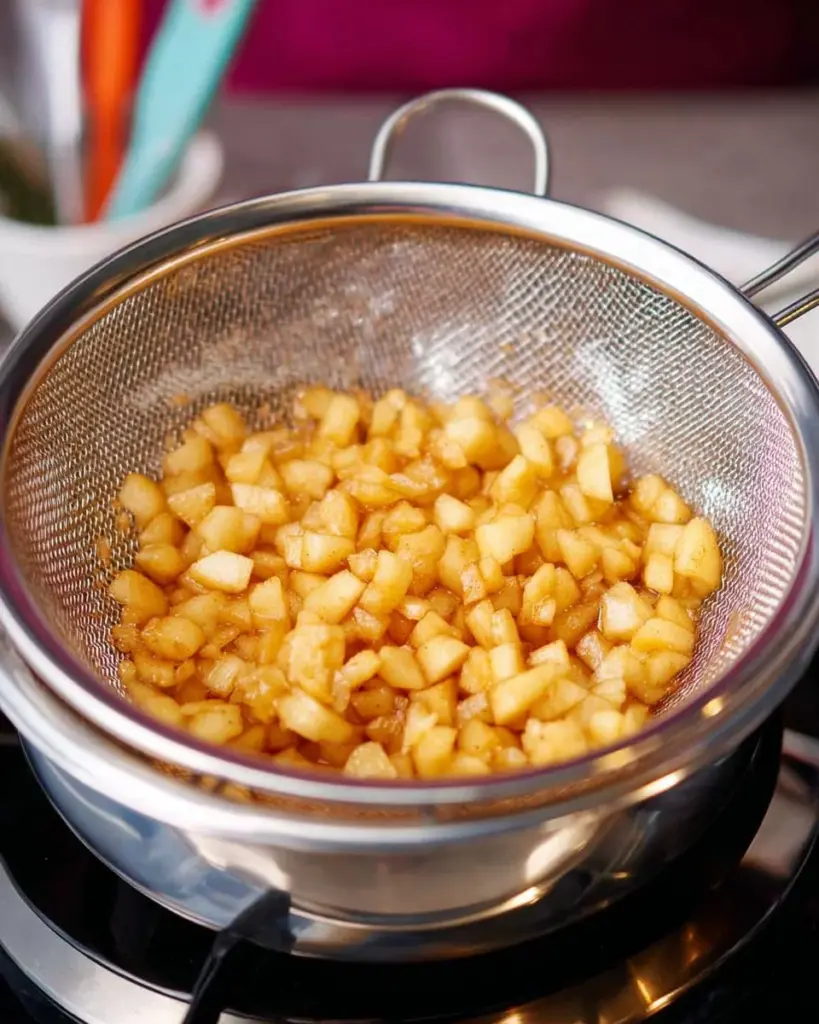
Drain and Cool: Once golden, strain the garlic using a metal sieve, catching the oil in a bowl underneath—this will be your garlic oil!
Storage: Store the fried garlic and garlic oil separately in airtight containers in the fridge. If the oil solidifies, simply bring it back to room temperature before using.
Chef’s Tips:
- Avoid crowding the pot, as this can lower the oil temperature.
- If you’re making a larger batch, consider using a bigger pot to keep the temperature consistent.
You can enjoy it fresh, but the flavors will continue to develop if you let it sit for a day!
EXPERT TIPS & TRICKS
Monitor the Heat: If your garlic starts to brown quickly, lower the heat. Slow frying is the secret to perfect garlic!
Test for Doneness: Garlic will continue cooking after you remove it from the oil, so take it out when it’s just shy of perfect.
Storage: Keep your fried garlic in an airtight container to maintain its crunch. It can last in the fridge for up to two weeks.
Make Ahead: Prepare a larger batch and freeze in ice cube trays. Just pop out a cube whenever you need a flavor boost!
Troubleshooting: If your garlic turns out too bitter, consider it your lesson for next time. Adjust the heat and keep an eye on it.
Clean Up: Allow the oil to cool before disposing to prevent clogging your drains.
SERVING SUGGESTIONS
Looking for ideas to make the most of your Fried Garlic and Garlic Oil? Here are a few of my favorites:
- Drizzle over Pasta: Use the garlic oil as a base for carbonara or drizzle over roasted veggies.
- Top Soups: A sprinkle of fried garlic over a bowl of minestrone adds an extra crunch.
- Pair with Bread: Serve warm bread with garlic oil for dipping—pure heaven!
Presentation tip: Use a small dish to showcase your fried garlic, adding fresh herbs for color. Perfect for special gatherings or casual weeknight dinners.
VARIATIONS & SUBSTITUTIONS
Herb Infused: For added flavor, consider infusing the oil with fresh herbs like rosemary or thyme when heating it.
Spicy Twist: Add red pepper flakes when frying for a spicy kick.
Seasonal: During the fall and winter months, mix in a touch of dried oregano for a heartier flavor profile.
Dietary Needs: This recipe is naturally gluten-free and adaptable for various diets by keeping oil choices in mind—opt for olive oil if that fits your plan.
NUTRITION & STORAGE INFO
- Prep Time: 10 minutes
- Cook Time: 15 minutes
- Total Time: 25 minutes
- Yield: About 1 cup of garlic oil and 1/2 cup fried garlic
- Estimated Calories: Approximately 150 calories per tablespoon of oil, 50 for garlic
- Storage: Store fried garlic in the fridge for up to 2 weeks; garlic oil can last up to a month if sealed tightly.
FAQ SECTION
How do I prevent the garlic from burning?
- Keep the heat low and monitor closely! It’s better to undercook slightly than to overdo it.
Can I use different types of oil?
- Absolutely! Just choose oils with a high smoke point—like avocado oil or canola oil.
What’s the best way to serve fried garlic?
- Sprinkle it over noodles, mix it into dressings, or use it as a crunchy topping for salads.
Can I freeze fried garlic?
- Yes! Just make sure it’s in an airtight bag or container to avoid freezer burn.
What if my garlic oil solidifies?
- No worries! Just let it sit at room temperature for about 20 minutes to liquefy.
How do I keep my fried garlic crispy?
- Store it in a cool, dry place with the lid slightly ajar to avoid moisture build up.
Where can I use garlic oil?
- It’s fantastic in salad dressings, as a marinade, or as a dip for crusty bread.
Is this recipe suitable for vegan diets?
- Yes, both fried garlic and garlic oil are naturally vegan!
What’s the best way to chop garlic?
- A sharp knife is key! Don’t mince too finely; keep pieces uniform for even frying.
Can I mix in other ingredients while frying?
- Definitely! Add chopped shallots or spices like cumin for a twist on flavor.

CONCLUSION
Fried Garlic and Garlic Oil are more than just toppings—they’re experiences that come with such deep flavor and nostalgia. This recipe not only elevates your dishes but also brings an element of homemade comfort into your life. I encourage you to step into your kitchen and create your own version. I can’t wait to hear how it turns out for you! If you loved this guide, then check out my other posts on savory sauces and dips that will bring your meals to life.
Happy cooking, and don’t forget to leave your feedback in the comments below! 🌟
Fried Garlic and Garlic Oil
Ingredients
Method
- Chop the garlic into pieces no larger than 1/8 inch (3 mm) for uniform cooking.
- Let the oil sit at room temperature for at least 30 minutes before using for even frying.
- In a small, heavy-bottomed pot, pour in the neutral oil and set over medium heat.
- Drop in one piece of garlic to test if the oil is ready; if it bubbles immediately, you’re good to go.
- Gently add the remaining chopped garlic to the pot and reduce the heat to medium-low, ensuring the oil covers the garlic.
- Stir continuously while frying until the garlic turns a golden color, approximately 5-8 minutes.
- Once golden, strain the garlic using a metal sieve, catching the oil in a bowl underneath.
- Store the fried garlic and garlic oil separately in airtight containers in the fridge.