Ah, the sweet, spicy aroma of pumpkin baked goods wafting through the house—there’s simply nothing quite like it! I still remember the warmth of my grandmother’s kitchen every October as she prepared her famous pumpkin scones. The golden-brown wedges would emerge from the oven, dusted lightly with a sugary glaze—a treat so delicious it could turn a gray autumn day into a cozy celebration. These aren’t just any pumpkin scones; they are infused with love and bursting with the flavors of fall.
What makes this pumpkin scone recipe special is its perfect balance of soft, tender texture paired with the right amount of spice and sweetness. Unlike some versions that can be dense or overly sweet, my recipe ensures a light, fluffy delight that melts in your mouth. It’s a comfort food, a nod to family traditions, and a way to bring a little piece of home into any kitchen.
In this blog post, I’ll share all my tips and tricks for crafting the perfect pumpkin scones—from ingredient choices to baking techniques. Whether you’re looking to impress guests at a brunch or simply want to indulge in a soulful treat, this recipe is your go-to for a delightful fall experience.
What Are Pumpkin Scones?
Pumpkin scones originated from British cuisine, becoming a popular addition to afternoon tea. Made with seasonal pumpkin puree, these scones embody the essence of fall with their warm spices and comforting flavors. When you bite into these scones, you’re greeted by a tender crumb that is both airy and slightly flaky, giving way to a rich, autumnal taste that embodies everything we love about the season.
What sets pumpkin scones apart from other baked goods is their unique combination of flavors—think nutmeg, cinnamon, and that distinctive pumpkin richness. These scones are not just for breakfast; they can be enjoyed at any time of day—whether you need a quick snack or a decadent dessert. They’re perfect for cozy get-togethers, festive gatherings, or simply treating yourself on a chilly morning.
Why You’ll Love This Recipe
Easy to Make: Despite their bakery-worthy taste, these pumpkin scones are surprisingly simple! With just a few ingredients and minimal prep time, you’ll have fresh scones baking in less than an hour.
Cost-Effective: Compared to their store-bought counterparts, making pumpkin scones at home is a fraction of the price. Plus, the taste is exponentially better—I mean, who can resist a fresh, homemade scone?
Endless Customization: Feel free to experiment! Add chocolate chips, walnuts, or even cranberries for a pop of color and flavor. Adjust spices to your taste, and make this recipe your own.
Perfectly Balanced: No one likes a scone that’s too dry or too sweet. My recipe strikes that ideal balance, ensuring that every bite is a heavenly blend of moist goodness and just the right spice kick.
Impressive yet Uncomplicated: You’ll wow friends and family with your baking prowess while keeping the process straightforward and stress-free. Trust me, they’ll be begging for your secret!
Ingredients

Here’s what you’ll need to make these delicious pumpkin scones:
1/2 cup unsalted cold butter: Use high-quality butter for the best flavor. Cold butter creates that flaky texture, so don’t forget to chill it!
2 1/2 cups all-purpose flour: Always sift your flour for a lighter scone.
1/2 cup granulated sugar: This adds just the right amount of sweetness.
1 tablespoon baking powder: Fresh baking powder gives the scones a good rise.
2 teaspoons pumpkin pie spice: If you’re feeling adventurous, feel free to mix your own blend!
1/2 teaspoon kosher salt: Just a pinch to enhance all the flavors.
1/2 cup pure pumpkin: Use canned pumpkin puree or homemade for the freshest flavor.
2 large eggs: Room temperature eggs work best for even mixing.
1/4 cup heavy whipping cream: Adds richness to the scone batter.
2 teaspoons vanilla extract: Vanilla complements the pumpkin perfectly.
2 tablespoons heavy whipping cream (for topping): This will help your scones develop a lovely golden crust.
1 cup confectioners’ sugar (for glaze): The sweet finish!
1 teaspoon pumpkin pie spice (for glaze): A little dusting to tie it all together.
1-2 tablespoons whole milk (for glaze): Adjust this for consistency.
Prep Notes: Make sure your butter is cold for maximum flakiness. If you prefer a lighter texture, consider using cake flour mixed with your all-purpose flour.
Brand recommendations: I love using Kerrygold for butter and Libby’s canned pumpkin for a reliable and delicious result!
Step-by-Step Instructions
Preheat the oven to 425°F (220°C): This ensures your scones will rise beautifully.
Grate the cold butter: Using a box grater, grate your butter onto a large piece of parchment paper and pop it in the freezer while you prep the rest of your ingredients. This keeps it cold.
Mix Dry Ingredients: In a large bowl, whisk together the flour, sugar, baking powder, pumpkin pie spice, and salt until thoroughly combined. This should take about 1 minute max.
Combine Butter and Dry Ingredients: Take your grated butter from the freezer and mix it into the dry ingredients gently with your fingers until it resembles coarse crumbs.
Mix Wet Ingredients: In a separate bowl, whisk together the pumpkin, eggs, heavy whipping cream, and vanilla. Make sure everything is well combined—this should only take about 30 seconds.
Combine Wet and Dry: Pour the wet ingredients into the dry mixture and stir gently until it all comes together. You don’t want to overmix—just fold until incorporated.
Knead the Dough: Turn the dough out onto a lightly floured surface. Knead it gently just a few times until everything is combined. Don’t worry if it’s a bit sticky—it will be a little messy!
Shape the Scones: Pat the dough into a circle about 3/4-inch thick. Cut into 6-8 wedges using a sharp knife or a pizza cutter (your scones should touch each other slightly on the baking sheet). This helps them bake more evenly.
Prepare for Baking: Line a baking sheet with parchment paper. Carefully transfer the scone wedges onto the sheet, leaving a bit of space between them.
Brush with Cream: Brush the tops of the scones with heavy cream to achieve that golden color while baking.
Bake: Pop them in the oven and bake for 18-23 minutes or until golden brown and a toothpick inserted in the center comes out clean. They should smell heavenly!
Prepare the Glaze: While the scones are cooling, whisk together the confectioners’ sugar, pumpkin pie spice, and enough milk until you achieve your desired glaze consistency.
Glaze the Scones: Once the scones are cooled slightly, dip the tops into the glaze or drizzle it over them. Set aside to let the glaze set before serving.
Chef’s Tip: To ensure your scones are perfectly golden, keep an eye on them during the last few minutes of baking.

Expert Tips & Tricks
Storage Recommendations: Store leftover scones in an airtight container at room temperature for up to 2 days. For longer storage, freeze them for up to a month—just be sure to wrap them well.
Make-Ahead Instructions: You can prepare the dry ingredients and store them in advance. Simply mix wet ingredients and combine before baking, and you can have freshly made scones in no time!
Troubleshooting: If your dough feels too dry, add a splash more cream until it holds together. If it’s too wet, sprinkle in a little more flour until it’s manageable.
Alternate Toppings: For an extra crunch, sprinkle some cinnamon sugar on top before baking!
Serving Suggestions
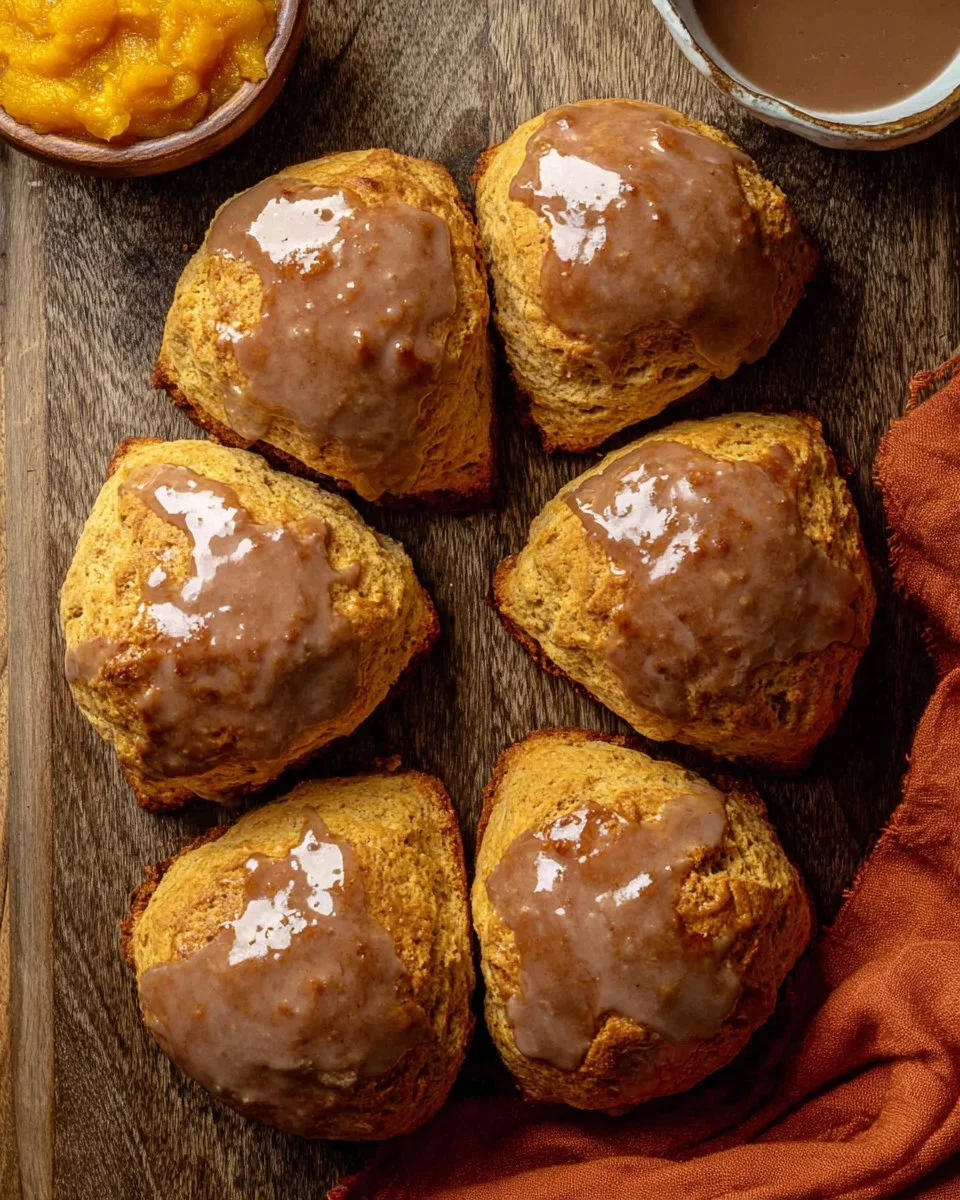
Serve your pumpkin scones warm from the oven with a dollop of whipped cream or a smear of butter. They pair perfectly with a cup of hot coffee, tea, or a steaming mug of apple cider. For an inviting presentation, arrange them on a rustic wooden board with fresh cranberries or candied pecans scattered about. These scones are ideal for fall brunches, cozy afternoons, or festive gatherings.
Variations & Substitutions
Flavor Combinations: Consider adding chocolate chips or swapping the pumpkin for sweet potato for a twist. My friends love it when I toss in some dried cranberries or even pecans for added texture!
Dietary Adaptations: If you have a gluten sensitivity, try using a gluten-free flour blend, and if you’re dairy-free, coconut oil or a plant-based butter works well.
Seasonal Variations: Feel free to get creative! Add a hint of orange zest for a citrus note in the spring or a dash of lavender for a unique twist.
Nutrition & Storage Info
- Prep Time: 15 minutes
- Cook Time: 20 minutes
- Total Time: 35 minutes
- Yield: Approximately 8 scones
- Estimated Calories per Serving: 200 calories
- Storage Instructions: Keep at room temperature for up to 2 days or freeze for up to 1 month.
FAQ Section
Can I use fresh pumpkin instead of canned?
Absolutely! Just make sure it’s well-pureed and drained of excess moisture.Do I have to use pumpkin pie spice?
Not at all! You can make your blend with cinnamon, nutmeg, and ginger.How do I know when my scones are done?
They should be golden brown on the top and a toothpick inserted in the center should come out clean.Can I freeze the dough before baking?
Yes, shape the scones, freeze them on a baking sheet, then transfer to an airtight container once solid. Bake from frozen, adding a few extra minutes to the baking time.What can I replace the heavy cream with?
You can use half-and-half, milk, or even a non-dairy alternative, although it may affect the texture slightly.Why are my scones tough?
Overmixing the dough can lead to tough scones. Mix just until combined!Can I add nuts to the scones?
Yes, pieces of walnuts or pecans add a great crunch.How do I store leftover scones?
Keep them in an airtight container at room temperature for up to 2 days.What can I serve with pumpkin scones?
Flavored cream cheese, jams, or even a spiced butter make excellent accompaniments.Can these scones be made gluten-free?
Yes! Use a gluten-free flour blend for great results.
Conclusion
These pumpkin scones are truly special, blending nostalgia with delicious flavors—perfect for any fall occasion! The joy of making them yourself and sharing with loved ones creates lasting memories. I can’t wait for you all to try this recipe and experience the cozy delight of warm scones on a crisp autumn day. Please share your thoughts in the comments below, and feel free to explore more tasty recipes on the blog for your next culinary adventure!

Pumpkin Scones
Ingredients
Method
- Preheat the oven to 425°F (220°C) to ensure your scones will rise beautifully.
- Grate the cold butter and pop it in the freezer while you prep the rest of your ingredients.
- In a large bowl, whisk together the flour, sugar, baking powder, pumpkin pie spice, and salt until thoroughly combined.
- Take your grated butter from the freezer and mix it into the dry ingredients with your fingers until it resembles coarse crumbs.
- In a separate bowl, whisk together the pumpkin, eggs, heavy whipping cream, and vanilla until well combined.
- Pour the wet ingredients into the dry mixture and stir gently until it all comes together.
- Turn the dough out onto a lightly floured surface, knead gently until combined.
- Pat the dough into a circle about 3/4-inch thick. Cut into 6-8 wedges and transfer to a lined baking sheet.
- Brush the tops of the scones with heavy cream.
- Bake for 18-23 minutes or until golden brown; a toothpick inserted in the center should come out clean.
- While the scones are cooling, whisk together the confectioners’ sugar, pumpkin pie spice, and milk until you achieve desired glaze consistency.
- Once the scones are cooled slightly, dip or drizzle the glaze over them. Let the glaze set before serving.