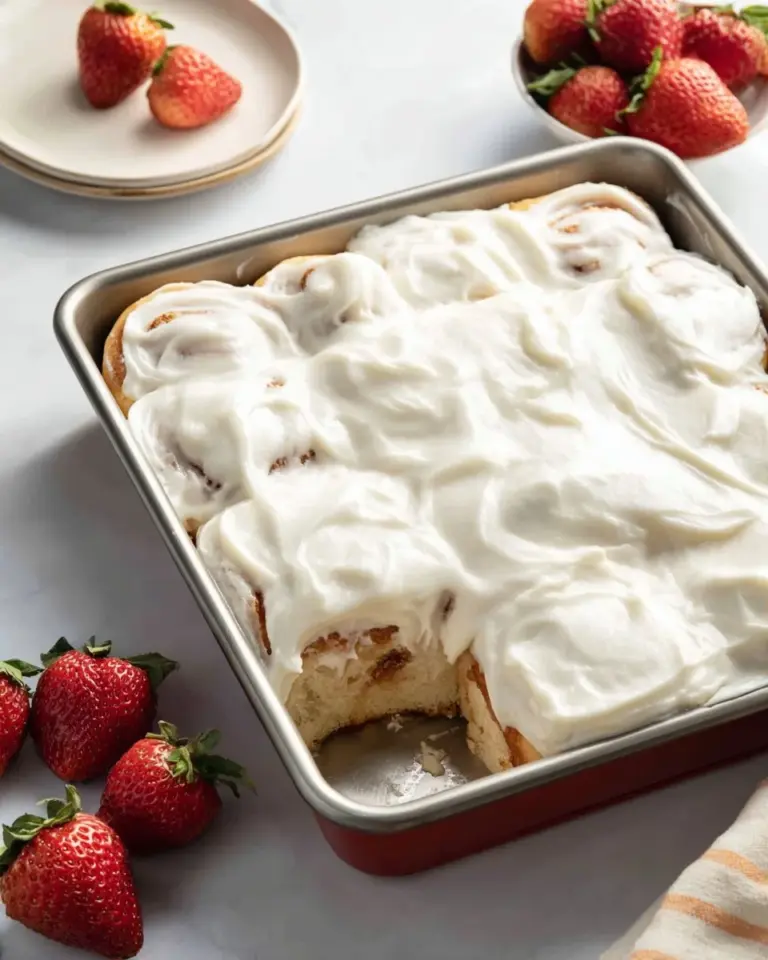
There’s something truly magical about the aroma of freshly baked bread wafting through the house, isn’t there? I still remember my grandmother’s kitchen during holidays, filled with laughter and the warm, buttery scent of her famous Parker House Rolls. They weren’t just dinner rolls; they were the heart of our family gatherings, the warm hug that pushed the chill from our bones and made our hearts swell with comfort. Each fluffy piece, buttery and slightly sweet, would disappear faster than you could say “pass the butter!”
What makes these Parker House Rolls stand out from all the others? It’s in the technique—combined with a little love and a sprinkle of patience, this recipe yields rolls that are light, airy, and have that quintessential buttery flavor that will keep your family rushing to the table. Not only are they perfect for any meal, but they’re also incredibly easy to make at home. In this post, I’ll share my foolproof recipe that guarantees rolls bursting with flavor, along with tips to perfect your baking game. Get ready to learn the art of crafting these delightful rolls that might just become your family’s next favorite tradition!
What Are Parker House Rolls?
Parker House Rolls originated in the mid-19th century at the Parker House Hotel in Boston, Massachusetts, making them a true piece of American culinary history. These rolls are characterized by their unbelievably soft texture and buttery, slightly sweet taste, which makes them the star of any dinner table. Traditionally folded over, they have a delightful pocket that holds in the warmth and flavor, providing the perfect vehicle for a pat of butter or a dollop of jam.
These rolls are unique not just for their taste but for the way they bring people together. Whether served alongside a turkey dinner, at a holiday feast, or for Sunday brunch, Parker House Rolls have a way of elevating the entire meal. Made from simple ingredients but filled with so much heart, they’re perfect for anyone looking to create a cozy atmosphere—ideal for family gatherings, holiday celebrations, or even a quiet dinner at home.
Why You’ll Love This Recipe
Unmatched Softness: Forget store-bought versions! This recipe yields rolls that are astonishingly soft and tender, with a delightful buttery crust that makes every bite heavenly.
Affordability: Why spend a fortune on bakery rolls when you can make your own? With easy-to-find ingredients, you can whip up a batch of these rolls for a fraction of the cost!
Personalization: Feel free to get creative! You can add herbs, garlic, or even cheese to the dough for a unique twist. These rolls can be customized to suit any occasion or preference.
Simple Yet Impressive: Even if you’re a beginner baker, this recipe is straightforward and achievable. With just a few steps, you’ll impress your family and friends with your baking skills!
Make Ahead and Freeze: Preparing the dough ahead of time is a breeze. Shape, freeze, and then bake straight from the freezer. Dinner rolls on demand? Yes, please!
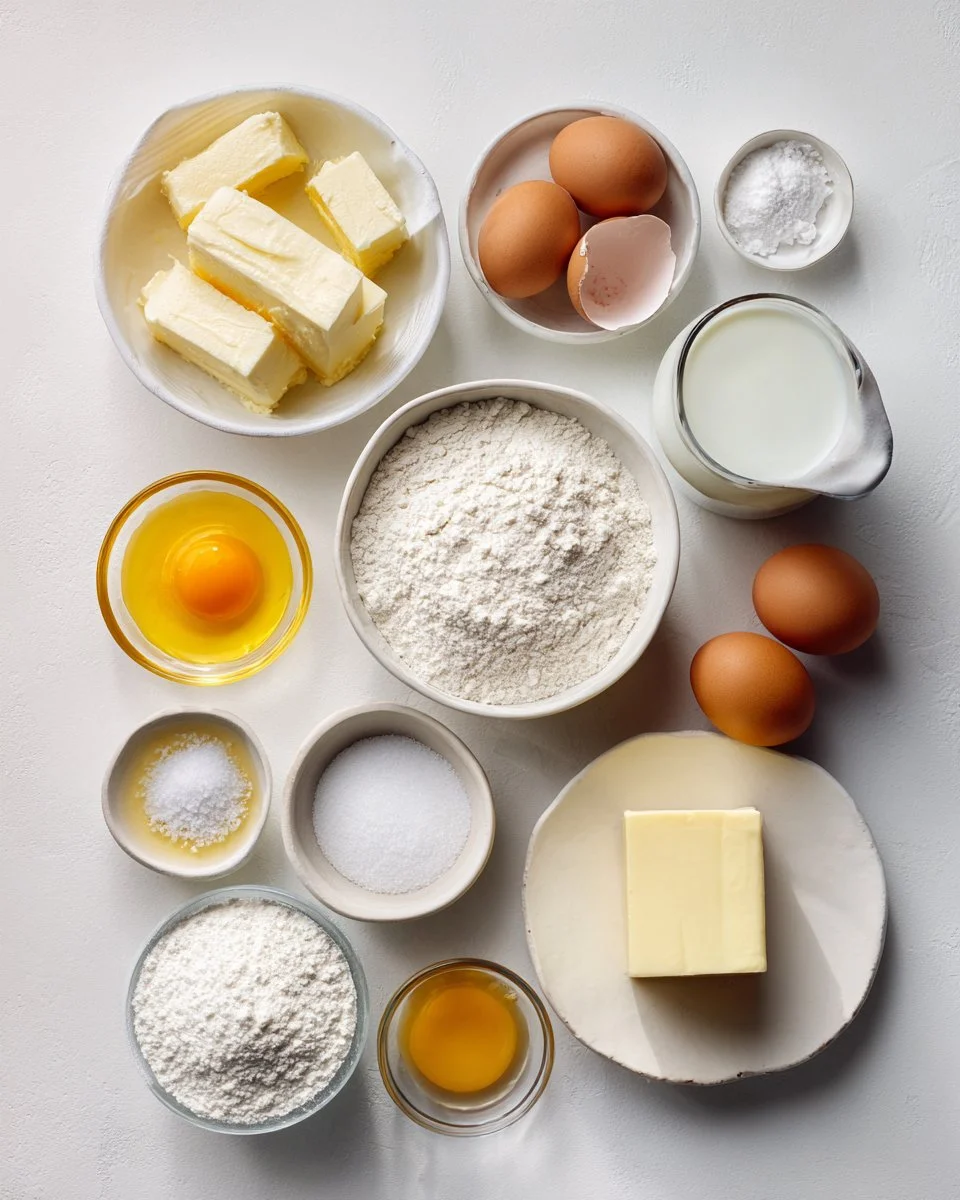
Ingredients
- 2 1/4 teaspoons active dry yeast
- 1/4 cup warm water (about 110°F – make sure it’s warm, not hot, or it may kill the yeast!)
- 1 cup whole milk, warmed slightly (milk adds richness)
- 1/2 cup unsalted butter, melted, divided (for flavor; keep half for brushing)
- 1 large egg (room temperature for easier mixing)
- 3 tablespoons granulated sugar (to balance the saltiness)
- 2 teaspoons kosher salt, divided (for enhanced flavor)
- 3 1/2 cups all-purpose flour (plus more for the work surface)
For best results, use high-quality ingredients. Brands I love include King Arthur Flour for its consistency and Land O’Lakes for butter. Make sure your butter is at room temperature before you begin mixing, and warm your milk slightly (not too hot!) for the yeast to bloom nicely.
Step-by-Step Instructions
Activate the Yeast: In a bowl of a stand mixer, combine the active dry yeast and warm water. Let it rest for 5 minutes until it’s frothy. This is where the yeast gets all bubbly and alive!
Combine Ingredients: Add the warm milk, 1/4 cup of melted butter, egg, sugar, and 1 teaspoon of salt into the bowl. Mix on low speed until well combined—around 1 minute will do!
Add Flour Gradually: Slowly add in the flour while the mixer is running on low. Once all the flour is incorporated, increase to medium-low speed and knead the dough until it’s smooth and elastic, roughly 3-4 minutes. It should bounce back when you poke it!
First Rise: Transfer the dough to a lightly oiled bowl, turning it to coat. Cover with plastic wrap and let it rise at room temperature until doubled in size, about 60-90 minutes. Pro tip: A warm oven (turned off) can be a great spot for rising.
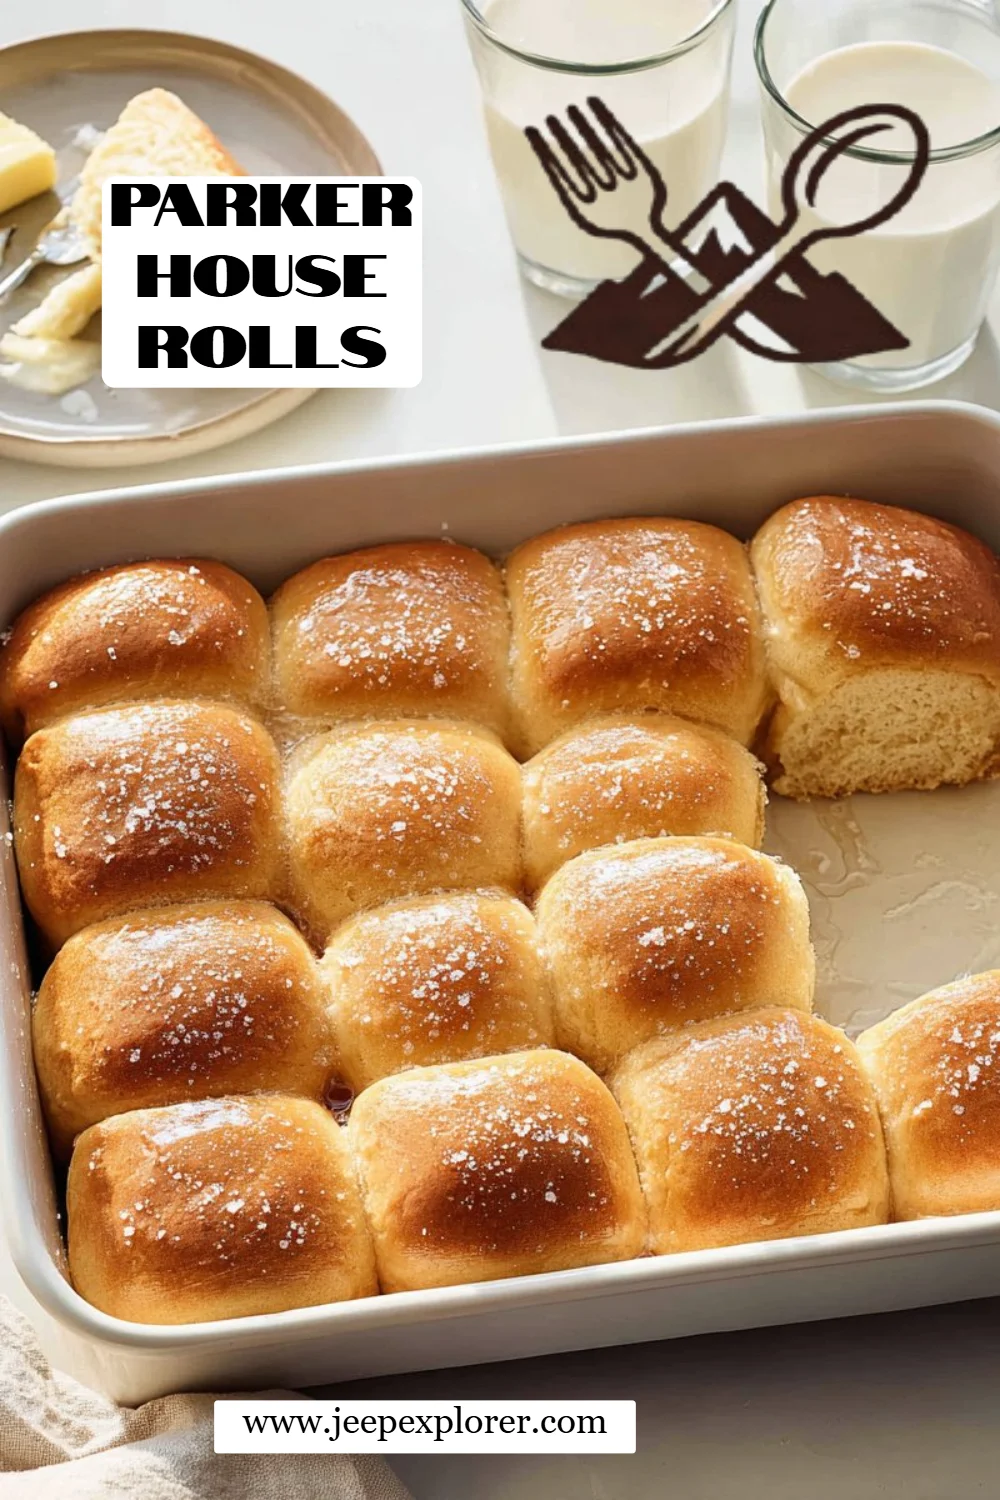
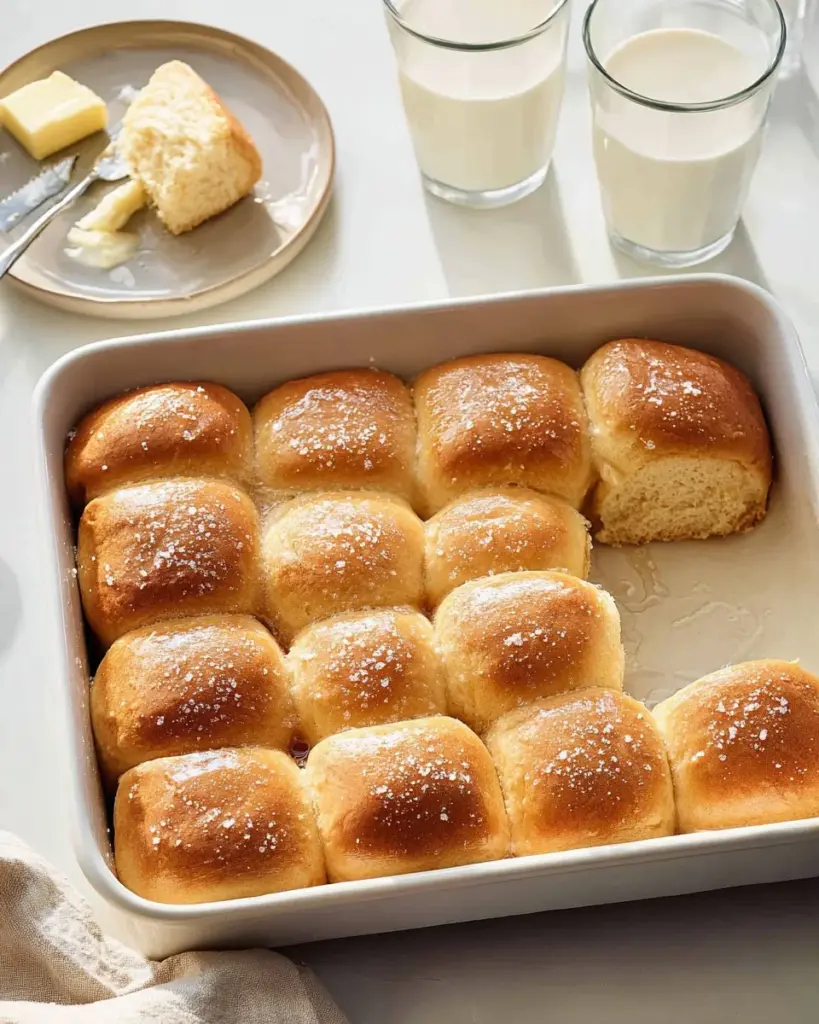
Prepare the Baking Dish: Spray a 9×13 inch baking dish with nonstick cooking spray.
Shape the Rolls: Once the dough has risen, punch it down gently. Divide it into 24 equal pieces and shape each into a 2×2 inch rectangle. Chef’s Tip: Use a bench scraper to make cutting easier!
Butter & Fold: Brush half of each rectangle with melted butter, fold over, and place them seam side down into the baking dish.
Second Rise: After arranging all the rolls, brush the tops with more melted butter, cover loosely with plastic wrap, and let them rise again for 30 minutes to an hour until puffy.
Preheat the Oven: While the rolls are rising, preheat your oven to 350°F (175°C).
Bake: Bake the rolls for 35-40 minutes until they are golden brown and puffed up. Your kitchen will smell heavenly!
Finish with Butter: Brush the tops with more melted butter and sprinkle with a touch of salt. Serve warm and watch them disappear!
Expert Tips & Tricks
Choose the Right Flour: For that perfect rise, all-purpose flour works great, but you can experiment with bread flour for an even chewier texture.
Storing Leftovers: If you have any rolls left (which is rare!), store them in an airtight container at room temperature for up to three days. They can also be frozen for up to three months. Just reheat before serving!
Make-ahead Method: Prepare the rolls until the end of the second rise, cover tightly with plastic wrap, and refrigerate overnight. Allow them to come to room temperature (around 1 hour) before baking.
Avoid Overbaking: Keep an eye on your rolls towards the end of the baking time. You want them golden brown but not hard.
Troubleshooting: If your rolls don’t rise well, check that your yeast is fresh! Always test it in warm water before starting.
Serving Suggestions
These Parker House Rolls are enchanting on their own, but they can also shine when served alongside a variety of dishes. Imagine them paired with a steaming bowl of soup, piled high with roasted veggies, or alongside a juicy roast chicken. Presentation can be simple—a cute breadbasket lined with parchment paper—and don’t forget to serve with extra butter or honey! These rolls are the perfect addition to any gathering, from cozy family dinners to festive holiday feasts.
Variations & Substitutions
Herb-Infused Rolls: Incorporate fresh herbs like rosemary or thyme into the dough for an aromatic touch.
Cheesy Delight: Add shredded cheddar or Parmesan for a savory twist.
Vegan Option: Substitute the butter with coconut oil and the egg with a flaxseed egg (1 tablespoon flaxseed meal + 2.5 tablespoons water).
Seasonal Flavors: During the fall, try adding a hint of pumpkin spice for a seasonal flare or cinnamon for a sweet breakfast roll!
Nutrition & Storage Info
- Prep Time: 2 hours (including rising)
- Cook Time: 35-40 minutes
- Total Time: Approximately 2.5 hours
- Yield: 24 rolls
- Estimated Calories: About 120 calories per roll
- Storage: Keep at room temperature for 2-3 days, refrigerate for up to a week, or freeze for 2-3 months.
FAQ Section
Can I use instant yeast instead of active dry yeast?
Absolutely! You can use instant yeast in the same quantity and skip the proofing step.What if my dough hasn’t risen?
Ensure your yeast is fresh! If your kitchen is too cold, find a warmer spot or use the oven method as described above.Can I make these rolls gluten-free?
Yes! Use a gluten-free flour blend that includes xanthan gum for best results.How do I reheat leftover rolls?
Place them in a 350°F (175°C) oven for about 10 minutes or microwave them for about 15 seconds.Are Parker House Rolls sweet?
They have a slight sweetness from the sugar, but they are not overwhelmingly sweet, making them versatile for both savory and sweet pairings.Can I make these rolls the night before serving?
Yes! Prepare until the end of the second rise, then refrigerate, and allow to come to room temperature before baking.Can I freeze the rolls before baking?
Yes! After placing them in the baking dish, cover tightly and freeze. When you’re ready to bake, allow them to rise until puffy before baking.How do I know when the rolls are done?
They should be golden brown and sound hollow when tapped on the bottom.Can I add fillings to the rolls?
Of course! Consider adding cheese, garlic, or a sweet filling like cinnamon sugar before folding.What should I do if my dough is too sticky?
If your dough sticks to your fingers, add a little more flour, 1 tablespoon at a time, until it’s manageable.
Conclusion
This recipe for Parker House Rolls is not just about creating delicious bread; it’s about weaving cherished memories and nurturing connections. I encourage you to try this recipe in your own kitchen—whether it’s for a holiday gathering or just a cozy Sunday dinner with loved ones, the smiles around the table will be your best reward. Don’t forget to share your experiences and any variations you’ve made in the comments below! And if you’re looking for more delightful recipes, be sure to check out my blog for everything from comforting soups to irresistible desserts.
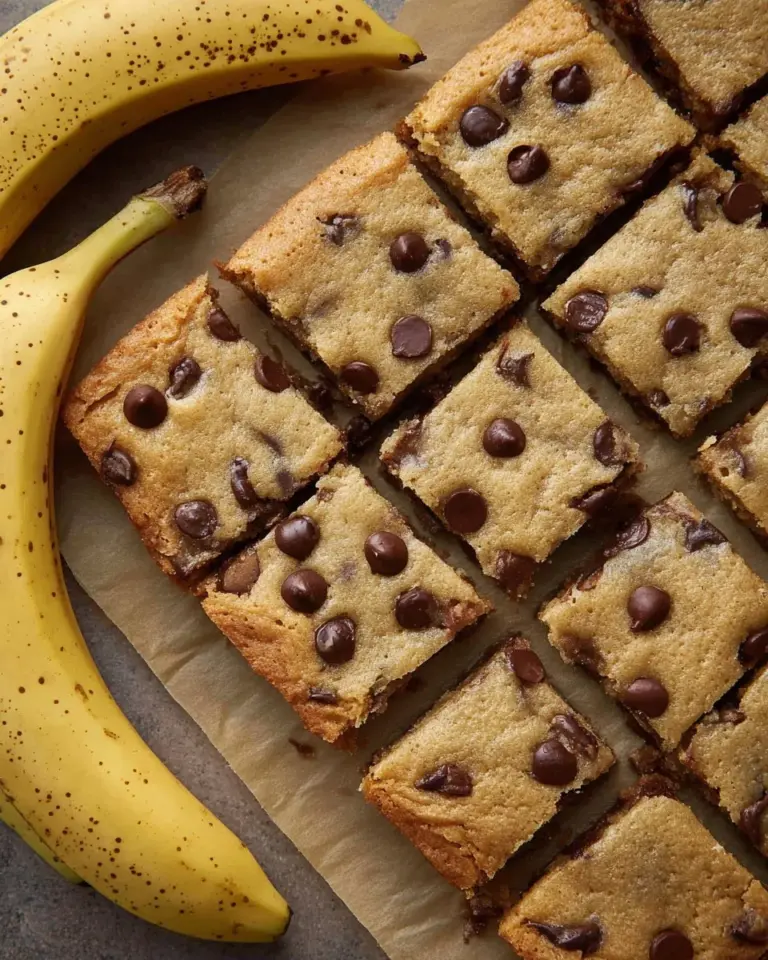
Irresistible Chocolate Chip Banana Bread: A Deliciously Easy Recipe for Home Bakers
Happy baking!
Parker House Rolls
Ingredients
Method
- In a bowl of a stand mixer, combine the active dry yeast and warm water. Let it rest for 5 minutes until frothy.
- Add the warm milk, 1/4 cup of melted butter, egg, sugar, and 1 teaspoon of salt. Mix on low speed for 1 minute to combine.
- Gradually add the flour while the mixer is running on low. Increase to medium-low speed and knead the dough until smooth and elastic, about 3-4 minutes.
- Transfer the dough to a lightly oiled bowl, cover it with plastic wrap, and let it rise until doubled in size, about 60-90 minutes.
- Spray a 9×13 inch baking dish with nonstick cooking spray.
- Punch the dough down and divide it into 24 pieces, shaping each into a 2×2 inch rectangle.
- Brush half of each rectangle with melted butter, fold over, and place in the baking dish seam side down.
- Brush the tops with more melted butter, cover loosely with plastic wrap, and let them rise for 30 minutes to 1 hour.
- Preheat the oven to 350°F (175°C).
- Bake for 35-40 minutes until golden brown and puffed.
- Brush the tops with additional melted butter and sprinkle with salt before serving warm.