There are certain flavors that instantly take you back to sun-soaked days spent amidst laughter and love—orange is one of them for me. I remember the countless summer afternoons at my grandmother’s house, where she would whip up a creamy, tangy orange curd that could brighten even the gloomiest of days. The mesmerizing aroma of freshly squeezed oranges filled the kitchen, a hint of sweetness wafting through the air, and each bite transported me back to those cherished moments.
What makes this orange curd recipe so special? It strikes the perfect balance between sweetness and tartness, with a creamy texture that’s simply irresistible. I dare say it’s even better than the store-bought versions—made with fresh, delicious ingredients and a sprinkle of personal love. Unlike store-bought options, which can be loaded with preservatives and artificial flavors, my homemade orange curd shines with vibrant, natural taste that evokes those warm memories.
In this post, I’ll share my beloved orange curd recipe so you too can make this delightful treat at home. Get ready to impress your friends and family, elevate your dishes, and perhaps even spark your own cozy memories. Let’s dive in!
What is Orange Curd?
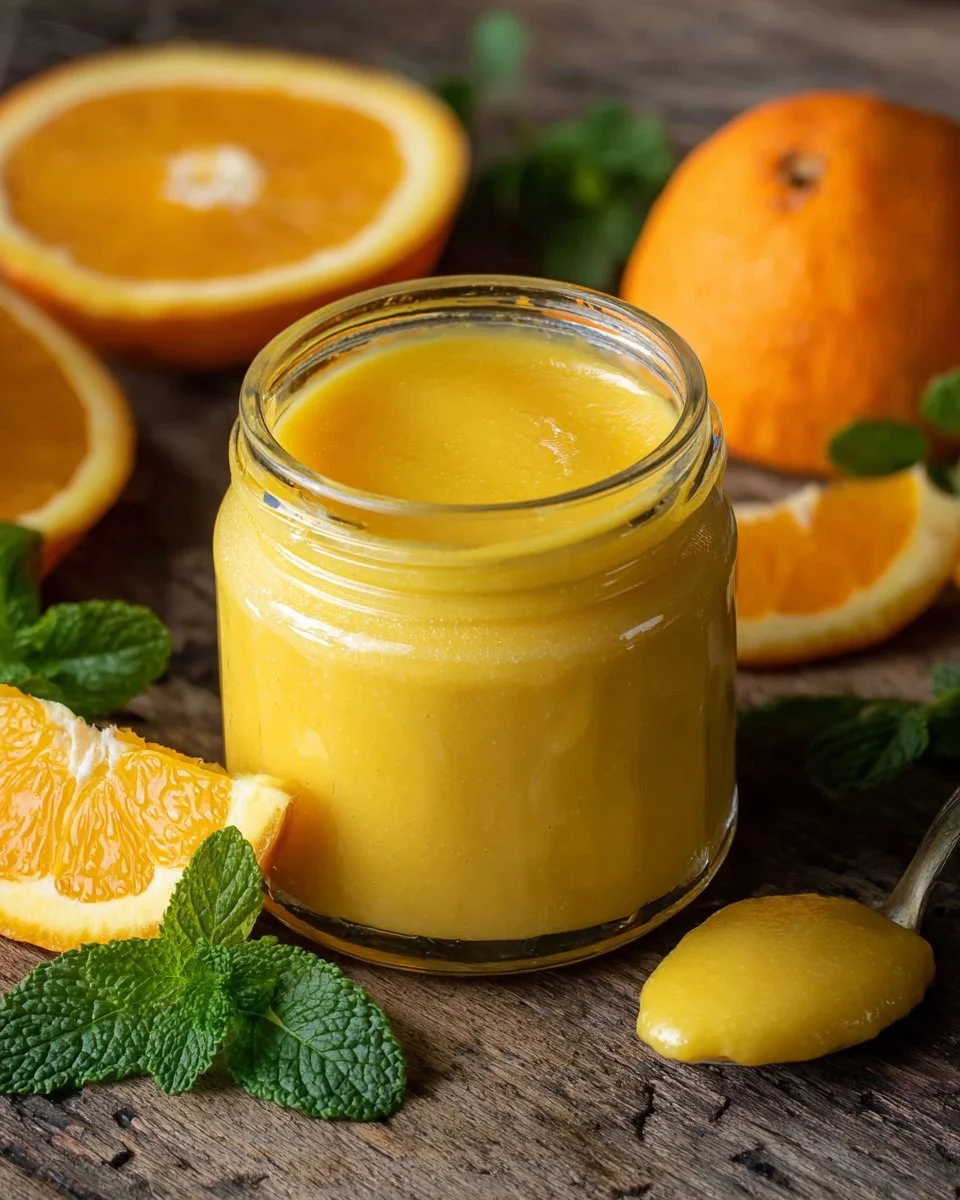
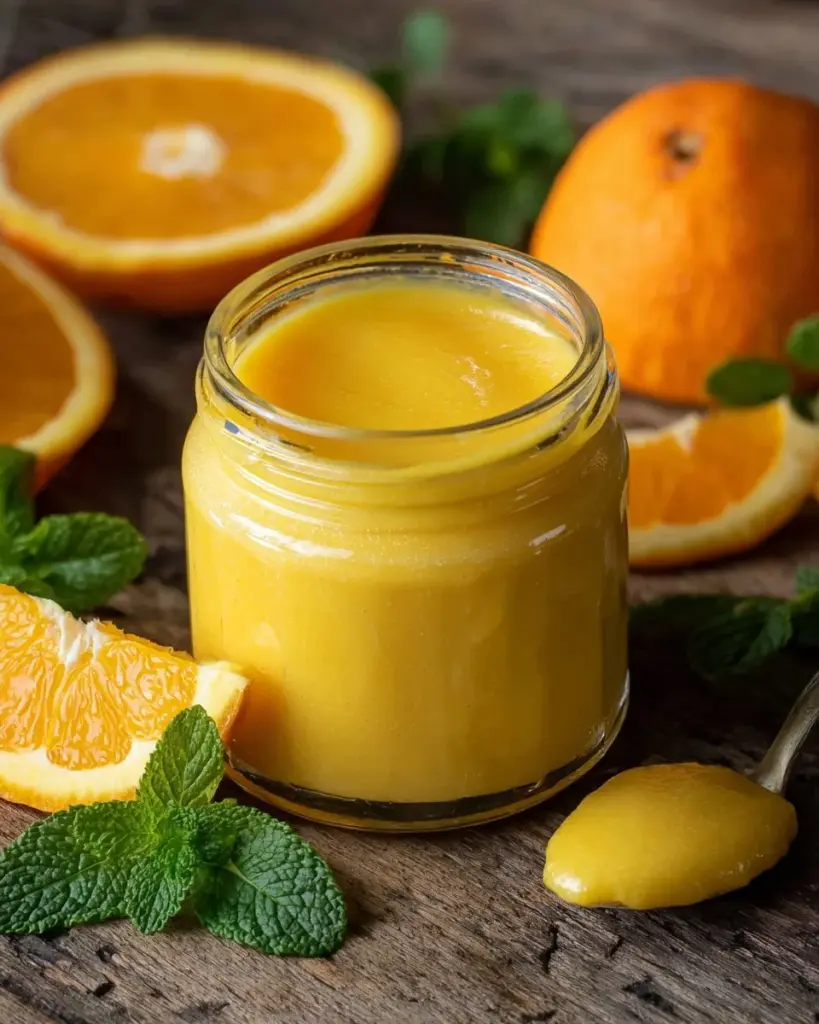
Orange curd is a luxurious, creamy spread made from fresh orange juice, zest, eggs, and butter. Originating in England, much like its lemon counterpart, it embodies the essence of sunshine in a jar. The taste? Imagine the perfect blend of sweet and tart—smooth and velvety, it melts in your mouth like a citrus cloud, brightening up anything it touches.
What makes orange curd unique is its vibrant flavor profile. Unlike lemon curd, orange curd often has a softer flavor, thanks to the natural sweetness found in oranges. It’s incredibly versatile, perfect for spreading on toast, dolloping on pancakes, or using as a filling for cakes and pastries.
So when should you make orange curd? Anytime you want to add a little sunshine! Whether it’s a brunch gathering, a sweet addition to your holiday dessert lineup, or simply to enjoy a quiet moment with a spoon, orange curd is the answer.
Why You’ll Love This Recipe
Incredible Flavor: If you’ve ever tasted store-bought orange curd and thought it was a bit lackluster, you’re not alone. This homemade version bursts with zesty brightness that simply can’t be replicated. Each spoonful is a celebration of vibrant citrus flavors.
Cost-Effective: Making orange curd at home is remarkably budget-friendly. With just a few simple ingredients—two medium oranges, sugar, eggs, and butter—you can create something that feels gourmet without breaking the bank.
Customization Galore: Love a bit of spice? Add a dash of ginger or a splash of vanilla. Prefer it a bit sweeter? Adjust the sugar while tasting as you go. The beauty of making it yourself is that you can tweak it to your heart’s content!
Easy to Make: Even if you’re new to baking, this recipe is simple and straightforward. You don’t need to be a pastry chef to pull off a silky, delicious curd. I’ll lead you through each step, making it a breeze.
Time Investment: The total hands-on time is around 30 minutes, and with a little resting time, you’ll have a delightfully fresh orange curd ready to charm your taste buds in no time.
So why wait? Let’s get started and bring a burst of sunshine into your kitchen!

Ingredients
- 2 medium oranges: Fresh, juicy oranges yield the best flavor. Consider using organic oranges if possible, as they tend to have more vibrant zest and juice.
- 1/4 cup unsalted butter (room temperature): Use a good-quality butter for the best texture—European-style butters like Kerrygold work wonders.
- 3/4 cup granulated sugar: Adjust if you prefer a sweeter taste, but this is the perfect balance for acidity.
- 2 large eggs (room temperature): The eggs help provide a rich texture and bind the curd together.
- 1 tablespoon lemon juice: Just a hint of acidity to brighten the overall flavor. Fresh-squeezed is best.
Prep Notes: It’s essential that your butter and eggs are at room temperature—if they are too cold, they won’t emulsify well and can lead to a lumpy curd.
Step-by-Step Instructions
Grate the Oranges: Start by grating the zest of the oranges to get about 1 tablespoon. Make sure not to hit the bitter white pith underneath. This zest will add vibrant flavor to your curd!
Juicing the Oranges: Cut the oranges in half and squeeze out the juice until you have about 1/2 cup. Fresh juice is key, so avoid the bottled stuff if you can.
Creaming Butter and Sugar: In a stand mixer, beat the room-temperature butter and sugar together at medium speed for about 2 minutes, until the mixture is fluffy and pale.
Add the Eggs: Add each egg one at a time, beating well after each addition. This process helps to incorporate air, which will make your curd light and airy.
Mix in Juices: Gradually mix in the fresh orange juice and lemon juice at low speed until well blended, scraping down the sides of the bowl as needed.
Stir in Zest: Once everything is well combined, gently fold in the orange zest. You’ll love the burst of flavor it adds!
Cook the Mixture: Transfer the mixture to a medium saucepan and cook over medium heat, whisking constantly for about 14-16 minutes. The curd is ready when it thickens to about 170°F (77°C) and coats the back of a spoon.
Cool Down: Remove from heat and transfer to a bowl. Cover with plastic wrap, pressing it directly onto the surface of the curd to prevent a film from forming. Chill in the refrigerator for at least 2 hours until firm.
Storage: Once chilled, store your delicious orange curd in an airtight container in the fridge for up to 2 weeks—if it lasts that long!
Chef’s Tips:
- Stir constantly while cooking to prevent sticking or burning.
- If your curd does curdle slightly, you can strain it through a fine-mesh sieve.
Expert Tips & Tricks
Quality Over Quantity: Use the freshest ingredients you can find. Organic oranges will make a visible difference in the taste.
Don’t Rush: When cooking the curd, keep your heat on medium. This slow process ensures a silky, beautiful end result.
Storage: Your orange curd can be stored in a sealed container in the fridge for up to two weeks. Freezing is possible too—just be sure to thaw slowly in the refrigerator when you’re ready to use it.
Make Ahead: This curd is perfect for preparing in advance. Make it a few days ahead of the occasion, and you’ll have one less thing to worry about!
Common Mistakes: If your curd isn’t thickening, don’t panic! Just keep whisking and cooking a little longer; patience is key.
Sifting: If your mixture does get a bit lumpy, don’t hesitate to strain it through a fine sif before chilling it!
Serving Suggestions
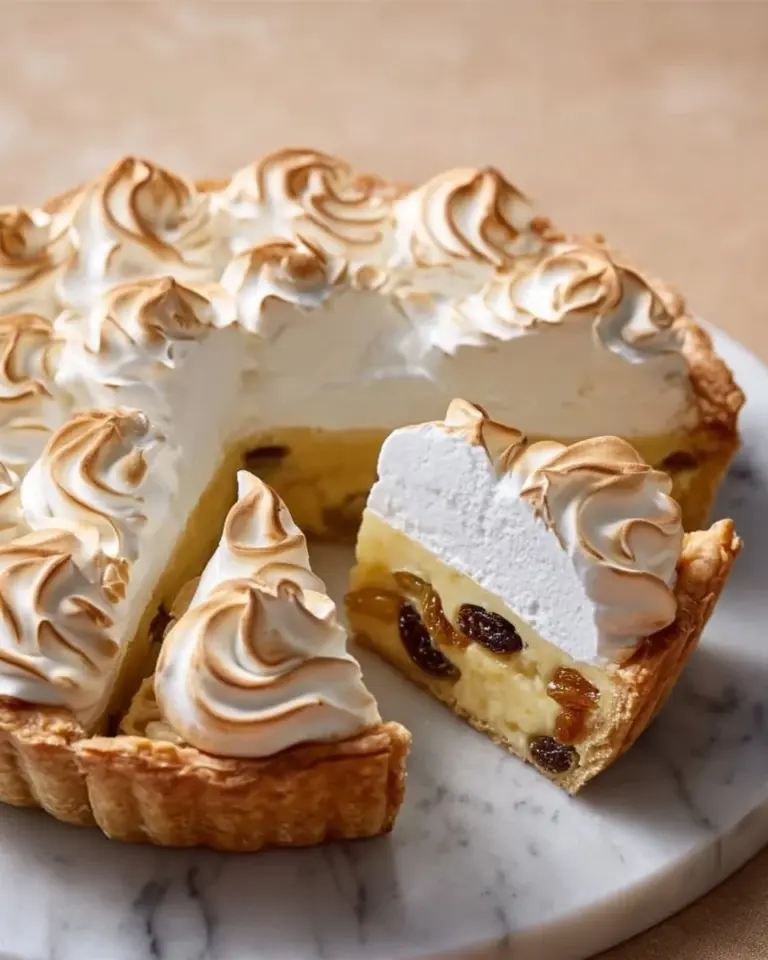
Orange curd shines as a spread for creamy scones or crèpes. It can elevate plain yogurt into a glorious breakfast treat or serve as a light filling in pastries. For a stunning presentation, layer it in parfaits with whipped cream and fresh fruits or serve it alongside a cheese platter. It’s versatile enough to impress at brunch, to serve at dinner parties, or even as part of your holiday dessert spread.
Variations & Substitutions
- Lemon-Lime Curd: Swap the oranges for a combo of lemons and limes for a tangy twist.
- Ginger Infusion: Add a teaspoon of freshly grated ginger or a pinch of powdered ginger for a warm, spicy note.
- Dairy-Free Version: Replace butter with coconut oil for a dairy-free alternative, and use aquafaba in place of the eggs for a vegan version.
- Seasonal Fruits: Experiment with blood oranges during winter or mix in some grapefruit for a bright, citrusy kick!
Nutrition & Storage Info
- Prep time: 10 minutes
- Cook time: 20 minutes
- Total time: 30 minutes + chilling
- Yield: About 2 cups (serving size ~2 tablespoons)
- Estimated calories per serving: 80-100 calories
Storage Instructions:
- Room Temperature: Not recommended.
- Refrigerator: Store in airtight container for up to 2 weeks.
- Freezer: Keeps for about 3 months.
FAQ Section
Can I use other citrus fruits?
Absolutely! This recipe can work with any citrus, such as lemons, limes, or even grapefruits.How do I know when my curd is thick enough?
It should coat the back of a spoon and reach about 170°F (77°C). It may also leave a path when you run your finger through it.Can I make this without eggs?
Yes! For an eggless version, use cornstarch as a thickening agent, along with additional orange juice.What can I do with leftover orange curd?
Spread on toast, use as a cake filling, or swirl into yogurt for a delicious breakfast treat!Is it supposed to be smooth?
Yes, a properly made curd should be silky and smooth. Straining can help fix any lumps.Can I add alcohol to my curd?
Definitely! A splash of orange liqueur, such as Grand Marnier, adds depth.Why does my curd taste eggy?
Overcooking can cause that flavor. Be careful not to cook it at too high a temperature.How can I thicken curd further?
You can reheat and whisk in a little cornstarch mixed with a bit of extra juice to achieve your desired consistency.Can I can my orange curd?
Yes, but ensure to follow safe canning practices and adjust your recipe suitable for preservation.What if I don’t have a stand mixer?
A hand whisk will work just fine for mixing; just be prepared to give it a little extra elbow grease!

Conclusion
What a delightful journey it’s been exploring the bright, sunny world of orange curd! This recipe truly captures the essence of joy and warmth, bringing with it fond memories and delightful experiences. I encourage you to gather your ingredients and try making this luscious orange curd yourself. Your taste buds—and your friends and family—will thank you.
I’d love to hear how your orange curd turns out, so please leave a comment below with your thoughts! If you’re looking for more exciting recipes, don’t forget to check out my blog for other citrus delights, like lemon bars and grapefruit marmalade.
Happy baking!
Orange Curd
Ingredients
Method
- Grate the zest of the oranges to get about 1 tablespoon. Avoid the bitter white pith.
- Cut the oranges in half and squeeze out the juice until you have about 1/2 cup.
- In a stand mixer, beat the room-temperature butter and sugar together at medium speed for about 2 minutes, until fluffy and pale.
- Add each egg one at a time, beating well after each addition.
- Gradually mix in the fresh orange juice and lemon juice at low speed until well blended.
- Gently fold in the orange zest.
- Transfer the mixture to a medium saucepan and cook over medium heat, whisking constantly for about 14-16 minutes, until thickened to about 170°F (77°C).
- Remove from heat and transfer to a bowl. Cover with plastic wrap to prevent a film from forming and chill in the refrigerator for at least 2 hours.
- Once chilled, store in an airtight container in the fridge for up to 2 weeks.