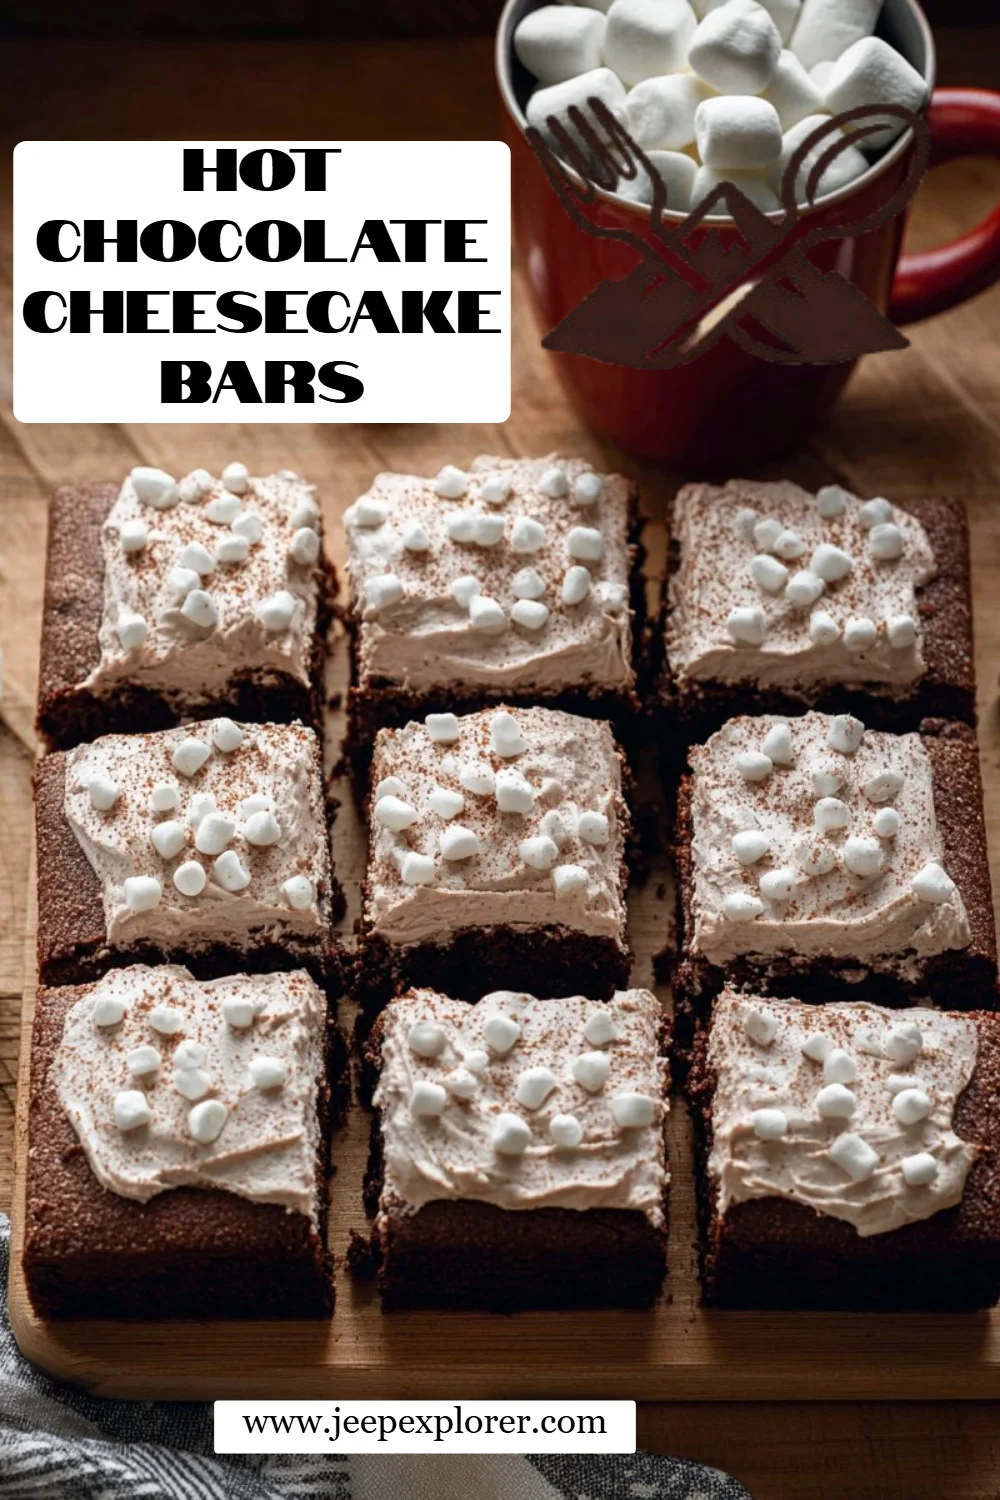
# Irresistibly Decadent Hot Chocolate Cheesecake Bars: A Cozy Treat for Every Occasion
## Introduction
Growing up, winter meant cozy afternoons at home, surrounded by the comforting aroma of hot chocolate wafting through our living room. My family and I would gather around, mugs in hand, sharing stories as the snow fell outside. Inspired by those cherished memories, I created my Hot Chocolate Cheesecake Bars—a delightful mashup of creamy cheesecake and rich hot cocoa that melts in your mouth. These bars are not just a dessert; they evoke the warmth and love of family gatherings, making every bite a pure treat for the soul.
What sets these Hot Chocolate Cheesecake Bars apart from other recipes? I can confidently say that this version combines the unforgettable richness of cream cheese with the nostalgic flavors of hot cocoa and crunchy Oreo crust. You won’t find a more comforting or engaging dessert! The delightful mix of textures—from the velvety filling to the crumbly base—makes these bars truly special. So, get ready to learn how to whip up these cozy treats, infusing your kitchen with love and deliciousness that will have everyone asking for seconds.
## What are Hot Chocolate Cheesecake Bars?
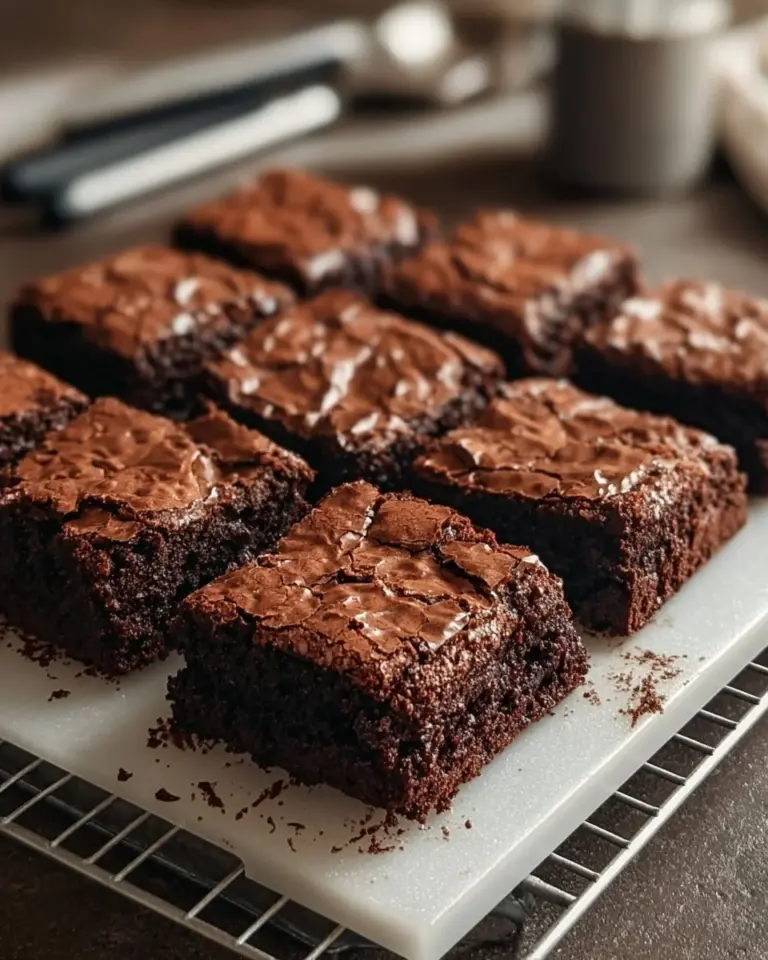
Hot Chocolate Cheesecake Bars are a delightful twist on traditional cheesecake, melding two beloved flavors into one scrumptious dessert. The bars feature a smooth, creamy cheesecake filling infused with the rich taste of hot cocoa, all resting on a buttery Oreo crust that adds a charming crunch. The combination of flavors invokes the comforting feeling of sipping hot chocolate by the fireplace—perfectly reminiscent of winter days.
These bars are unique not only for their flavor but also for their versatility. They can charm guests at holiday gatherings or simply satisfy your weekend sweet tooth. They’re ideal for holiday parties, birthdays, or even just a cozy night in. With their visually appealing layers and the delightful surprise of mini marshmallows on top, Hot Chocolate Cheesecake Bars are a surefire way to wow your family and friends.
## Why You'll Love This Recipe
1. **Unbeatable Flavor**: The combination of creamy cheesecake and rich chocolate is hard to resist. It's like an indulgent dessert hug on a plate, perfect for warming you up on those chilly evenings.
2. **Cost-Effective**: Unlike buying pricey desserts from bakeries, making these bars at home is a budget-friendly option that doesn't skimp on taste. You'll impress friends and family without breaking the bank!
3. **Customization Galore**: This recipe is versatile! Want to switch things up? You can add peppermint extract for a festive twist or throw in some crushed candy canes for a fun crunch.
4. **Easy to Make**: With just a few steps, you can create these bars right in your own kitchen! Even if you're a beginner baker, you'll feel like a pro.
5. **Long-Lasting Delight**: These bars can be made ahead of time and stored in the refrigerator, making them an excellent option for busy weeks or when entertaining guests. They'll remain delicious for several days, ensuring you can savor every last bite.
## Ingredients Section
To make these delicious Hot Chocolate Cheesecake Bars, you'll need the following ingredients:
- **2 cups crushed Oreo sandwich cookies**: For that perfect sweet, chocolatey crust. You can substitute with chocolate wafer cookies for a similar taste.
- **6 tablespoons unsalted butter, melted**: This binds the crust together and adds richness. Ensure it’s melted and cooled slightly before mixing.
- **1 1/2 cups semisweet chocolate chips**: Use high-quality chips for a smoother texture; brands like Ghirardelli or Nestlé work well.
- **1/2 cup heavy cream, room temperature, divided**: This helps create a rich, velvety filling and whipped topping. Bring it to room temperature for easier mixing.
- **2 packages cream cheese, room temperature**: Essential for that creamy consistency—make sure to soften it beforehand.
- **1 cup granulated sugar**: Balances the richness of the cream cheese.
- **3 tablespoons cocoa powder**: For an extra chocolatey kick. You can use Dutch-processed cocoa for a deeper flavor.
- **3 tablespoons hot cocoa mix**: Adds that distinctive hot cocoa flavoring—choose your favorite brand.
- **3 large eggs, room temperature**: Ensures a smooth batter—don’t forget to let them warm up outside the fridge.
- **1 teaspoon vanilla extract**: A touch of vanilla enhances all the flavors beautifully.
- **1 cup heavy cream for whipped cream**: You’ll want this cold for whipping.
- **2 tablespoons hot cocoa mix for whipped cream**: To tie the flavors together in the topping.
- **Dehydrated mini marshmallows for garnish**: For that playful, nostalgic touch!
- **Hot cocoa mix for garnish**: A simple dusting to finish off your bars.
## Step-by-Step Instructions
1. **Prepare the Crust**: In a medium bowl, combine the crushed Oreo cookie crumbs with melted butter and mix well. Press the mixture firmly into the bottom of a 9-inch square baking dish, ensuring an even layer. Set aside.
2. **Preheat the Oven**: Preheat your oven to 325°F (163°C). This low temperature will help your cheesecake bake evenly without cracking.
3. **Melt the Chocolate**: In a microwave-safe bowl, heat 1/4 cup of heavy cream with the semisweet chocolate chips. Microwave in 30-second increments, stirring between intervals until melted and smooth. Be careful not to overheat! Set aside to cool slightly.
4. **Prepare the Cheesecake Batter**: In a large mixing bowl, use an electric mixer to beat the room temperature cream cheese until smooth and creamy. Gradually add granulated sugar, cocoa powder, and hot cocoa mix; mix until combined. Add the eggs, one at a time, mixing well after each addition. Next, pour in the remaining heavy cream, melted chocolate mixture, and vanilla extract. Beat until everything is well incorporated.
5. **Bake**: Pour the cheesecake filling over the crust, spreading it evenly. Bake for 55-60 minutes, or until the edges are set but the center is slightly jiggly. This will create a lovely texture. Remove from the oven and let cool at room temperature for about 30 minutes. Then refrigerate for 2-3 hours, or until fully chilled and set.
6. **Make the Whipped Cream**: While waiting for the cheesecake to chill, whip one cup of heavy cream in a mixing bowl until soft peaks form. Gradually add the two tablespoons of hot cocoa mix and continue beating until stiff peaks form.
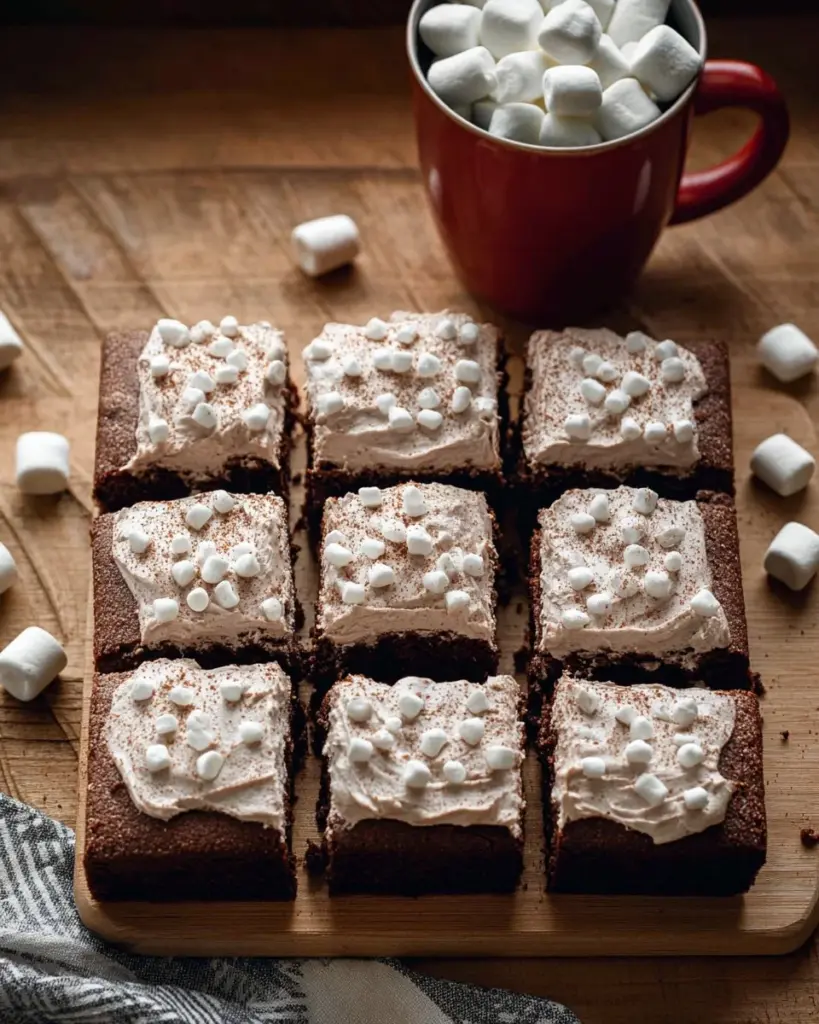
7. **Garnish and Serve**: Spread the whipped cream over the chilled cheesecake, then garnish with a light dusting of hot cocoa mix and dehydrated mini marshmallows. Refrigerate for another 15 minutes to set the garnish before slicing into bars and serving.
## Expert Tips & Tricks
1. **Room Temperature Ingredients**: Ensure all your dairy ingredients are at room temperature to avoid lumps in your batter. Take them out an hour before you start baking.
2. **Avoid Overmixing**: When adding the eggs, mix just until combined. Overmixing can incorporate too much air, leading to cracks during baking.
3. **Water Bath Optional**: If worried about cracks, consider baking in a water bath by placing the cheesecake dish in a larger baking tray filled with hot water. This can create a steamy environment and help maintain moisture.
4. **Garnish Creatively**: Play around with toppings! Consider drizzling melted chocolate or adding crushed peppermint candies, especially during the holidays.
5. **Make-Ahead**: These bars can be made up to two days in advance. Just cover and store in the refrigerator. They taste even better as the flavors meld together!
6. **Storage**: Store any leftovers in an airtight container in the refrigerator for up to a week. You can also freeze uncut bars for a quick dessert – just remember to defrost in the fridge before serving!
## Serving Suggestions
These Hot Chocolate Cheesecake Bars are perfect on their own, but why not elevate your dessert experience? Serve them with a warm glass of milk or a comforting cup of coffee for the ultimate pairing. You could even warm them slightly in the microwave for a few seconds to enhance the flavors. For special occasions, plate with a scoop of vanilla ice cream or a drizzle of chocolate sauce for extra indulgence. They’re perfect for winter gatherings, cozy family nights, and festive holiday parties!
## Variations & Substitutions
1. **Peppermint Twist**: Add crushed peppermint candies to the batter or as a topping for a refreshing winter flavor.
2. **Nutty Chocolate**: Throw in some chopped walnuts or pecans for added crunch and flavor variations.
3. **Dairy-Free Option**: Substitute cream cheese with dairy-free cream cheese and use coconut or almond milk heavy cream for whipped topping.
4. **Seasonal Flavors**: Swap cocoa powder with pumpkin spice for a fall twist or gingerbread spices during the holidays!
5. **Mini Versions**: Make bite-sized versions in a muffin tin for party-friendly treats!
## Nutrition & Storage Info
- **Prep Time**: 20 minutes
- **Cook Time**: 55-60 minutes
- **Total Time**: About 3 hours (includes chilling)
- **Yield**: 16 bars
- **Estimated Calories per Serving**: ~300 calories
**Storage Instructions**:
- Room Temp: Best enjoyed chilled.
- Fridge: Store in an airtight container for up to 1 week.
- Freezer: For up to 3 months, wrap well, and thaw in the fridge before serving.
## FAQ Section
1. **Can I make these bars ahead of time?**
- Absolutely! These bars can be prepared a day or even two in advance.
2. **What can I substitute for cream cheese?**
- For a dairy-free option, use vegan cream cheese.
3. **How do I know when the cheesecake is done?**
- Look for slightly jiggly center, with set edges. It will firm up as it cools.
4. **Can I use a different crust?**
- Yes! Graham cracker or chocolate wafer crust works wonderfully as well.
5. **What if I don’t have hot cocoa mix?**
- You can substitute with an equal amount of powdered sugar and additional cocoa powder.
6. **Are these gluten-free?**
- If you use gluten-free Oreos and ensure your other ingredients are also gluten-free, then yes!
7. **Why did my cheesecake crack?**
- It may have been overbaked or too much air was incorporated while mixing.
8. **Can I use a different chocolate?**
- Of course! Milk chocolate or dark chocolate could work too depending on your taste preference.
9. **How can I serve these bars?**
- Slice into neat squares and garnish with whipped cream or chocolate drizzle.
10. **What occasions are these bars best for?**
- They are fantastic for any occasion—holiday parties, family gatherings, or cozy dinners at home!
## Conclusion
These Hot Chocolate Cheesecake Bars are truly a heartfelt dessert that captures the essence of comfort food. The delightful blend of creamy chocolate cheesecake on a crispy crust is bound to warm your heart—and your taste buds! I can't wait for you to give this recipe a try; I’d love to hear your thoughts and any variations you might try. Be sure to check out other cozy recipes on my blog for even more delicious inspiration. Happy baking!

Hot Chocolate Cheesecake Bars
These Hot Chocolate Cheesecake Bars combine creamy cheesecake with rich hot cocoa flavors and a crunchy Oreo crust, perfect for cozy gatherings and special occasions.
Ingredients
Method
Preparation
- In a medium bowl, combine the crushed Oreo cookie crumbs with melted butter and mix well. Press the mixture firmly into the bottom of a 9-inch square baking dish, ensuring an even layer. Set aside.
- Preheat your oven to 325°F (163°C).
Melt Chocolate
- In a microwave-safe bowl, heat 1/4 cup of heavy cream with the semisweet chocolate chips in 30-second increments, stirring between intervals until melted and smooth. Set aside to cool slightly.
Prepare Cheesecake Batter
- In a large mixing bowl, use an electric mixer to beat the room temperature cream cheese until smooth and creamy.
- Gradually add granulated sugar, cocoa powder, and hot cocoa mix. Mix until combined.
- Add the eggs, one at a time, mixing well after each addition.
- Pour in the remaining heavy cream, melted chocolate mixture, and vanilla extract. Beat until well incorporated.
Bake
- Pour the cheesecake filling over the crust, spreading it evenly. Bake for 55-60 minutes or until the edges are set but the center is slightly jiggly.
- Remove from the oven and let cool at room temperature for about 30 minutes. Then refrigerate for 2-3 hours, or until fully chilled and set.
Make Whipped Cream
- While waiting for the cheesecake to chill, whip one cup of heavy cream until soft peaks form.
- Gradually add the two tablespoons of hot cocoa mix and continue beating until stiff peaks form.
Garnish and Serve
- Spread the whipped cream over the chilled cheesecake, garnishing with a light dusting of cocoa mix and dehydrated mini marshmallows.
- Refrigerate for another 15 minutes to set the garnish before slicing into bars and serving.
Notes
For best results, ensure all dairy ingredients are room temperature to avoid lumps. These bars can be stored in an airtight container in the refrigerator for up to a week or frozen for up to 3 months.