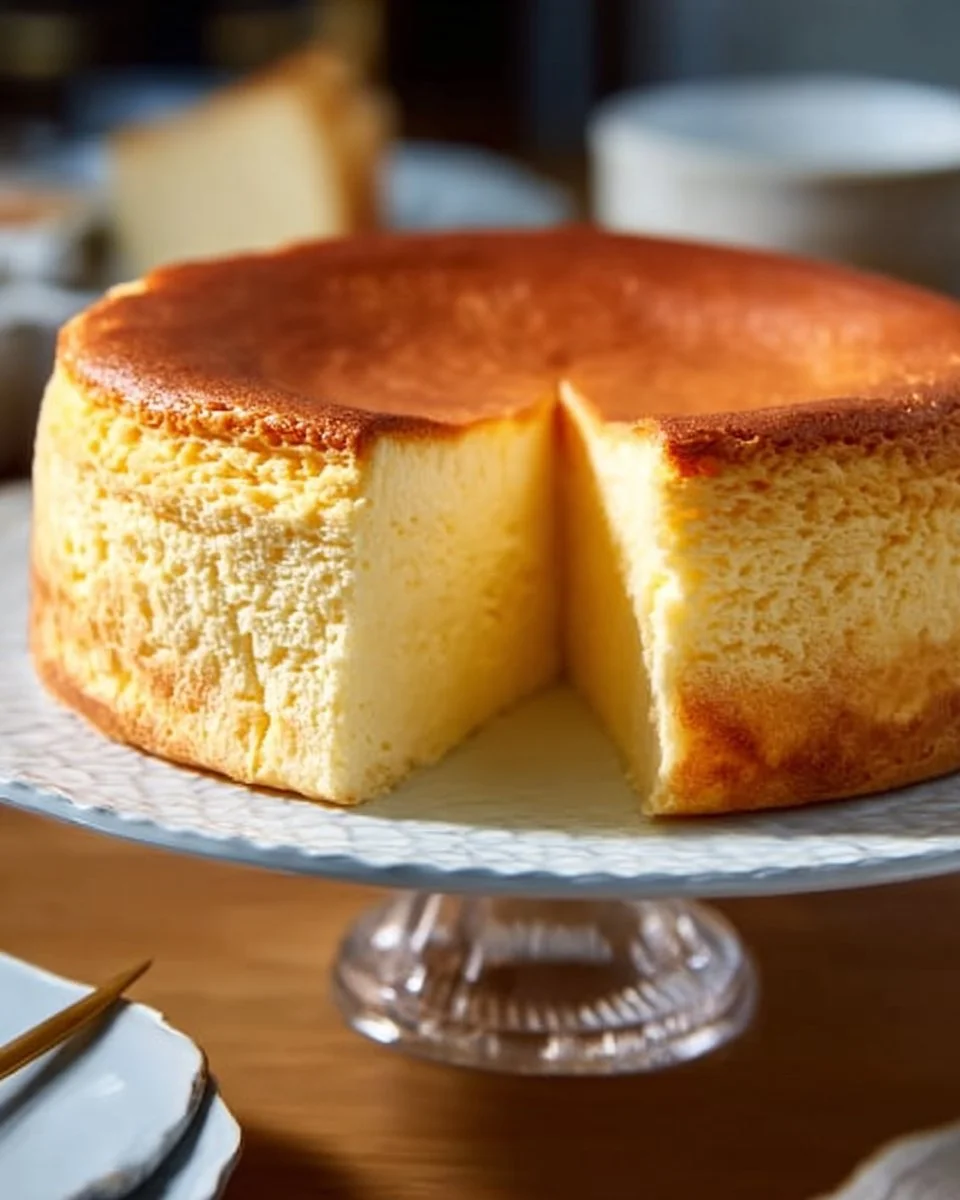
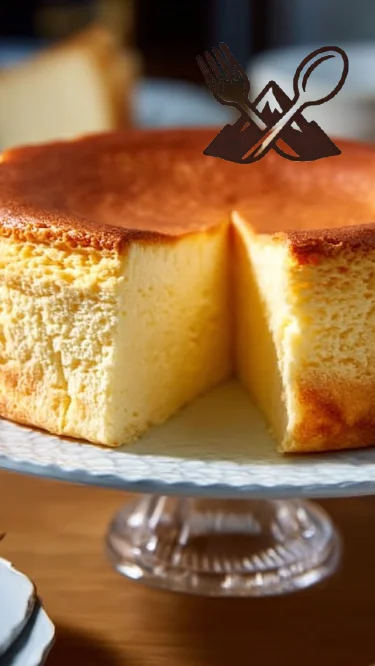
As a passionate home baker, there’s nothing quite like the joy of sharing a favorite dessert with friends and family. One of my all-time loves is Japanese Cheesecake—a delicately fluffy masterpiece that dances between a cake and a classic cheesecake. I still remember the first time I tasted it at a quaint bakery in Tokyo. With every bite, it felt as if I was savoring a piece of cloud—light, airy, and utterly enchanting. I was inspired to bring the essence of that beautiful dessert into my kitchen, and trust me, it was a game-changer!
What sets Japanese Cheesecake apart from your typical cheesecake? Its unique soufflé-like texture and heavenly lightness transcend traditional desserts. Fluffy, creamy, and not overly sweet, it’s that comforting dessert that evokes cherished memories and warm gatherings around the table. This recipe promises a perfect balance—no more dry or dense cheesecakes. I’ve worked hard to refine it, and I’m thrilled to share it with you today. You’ll learn how to master this easily adaptable recipe, impressing your loved ones with this delightful treat that sings comfort and joy.
What Are Japanese Cheesecakes?
Japanese Cheesecakes, also known as “soufflé cheesecakes,” originated in Japan, and have made waves across the world for their light and airy texture. Unlike traditional cheesecakes that tend to be rich and dense, Japanese Cheesecake boasts a fluffy and pillow-like consistency, often likened to a heavenly soufflé or airy mousse.
The beauty of this cake lies in its name: “cheesecake.” It embodies the delightful tang of cream cheese with the lightness that makes it feel almost weightless. The flavor is subtly sweet with a hint of vanilla, creating a delightful experience as it melts in your mouth. You’ll want to make this masterpiece for special occasions or simply whenever you crave a slice of happiness. It’s perfect for gatherings, casual lunches, or even just to brighten up a rainy day!
Why You’ll Love This Recipe
Unmatched Texture: This Japanese Cheesecake is renowned for its light-as-air texture. Bake it just right, and you’ll achieve that magnificent soufflé effect—a texture that store-bought versions can’t quite replicate.
Cost-Effective Delight: Making it at home is significantly more affordable than buying from specialty bakeries, without sacrificing flavor. Plus, you’ll know exactly what ingredients are going into it!
Customization Galore: Feel free to experiment! Add a touch of lemon zest for a citrus finish or swirl in some matcha for a Japanese twist. The possibilities are endless!
User-Friendly: I promise, this recipe is approachable for bakers of any skill level. You might even impress yourself with the results!
Time Investment: While it may seem like a labor of love, the hands-on time is minimal compared to the delight spread across the faces of those you serve.
With these details in mind, I can assure you this Japanese Cheesecake recipe is guaranteed to impress. Let’s transform your kitchen into a culinary haven!
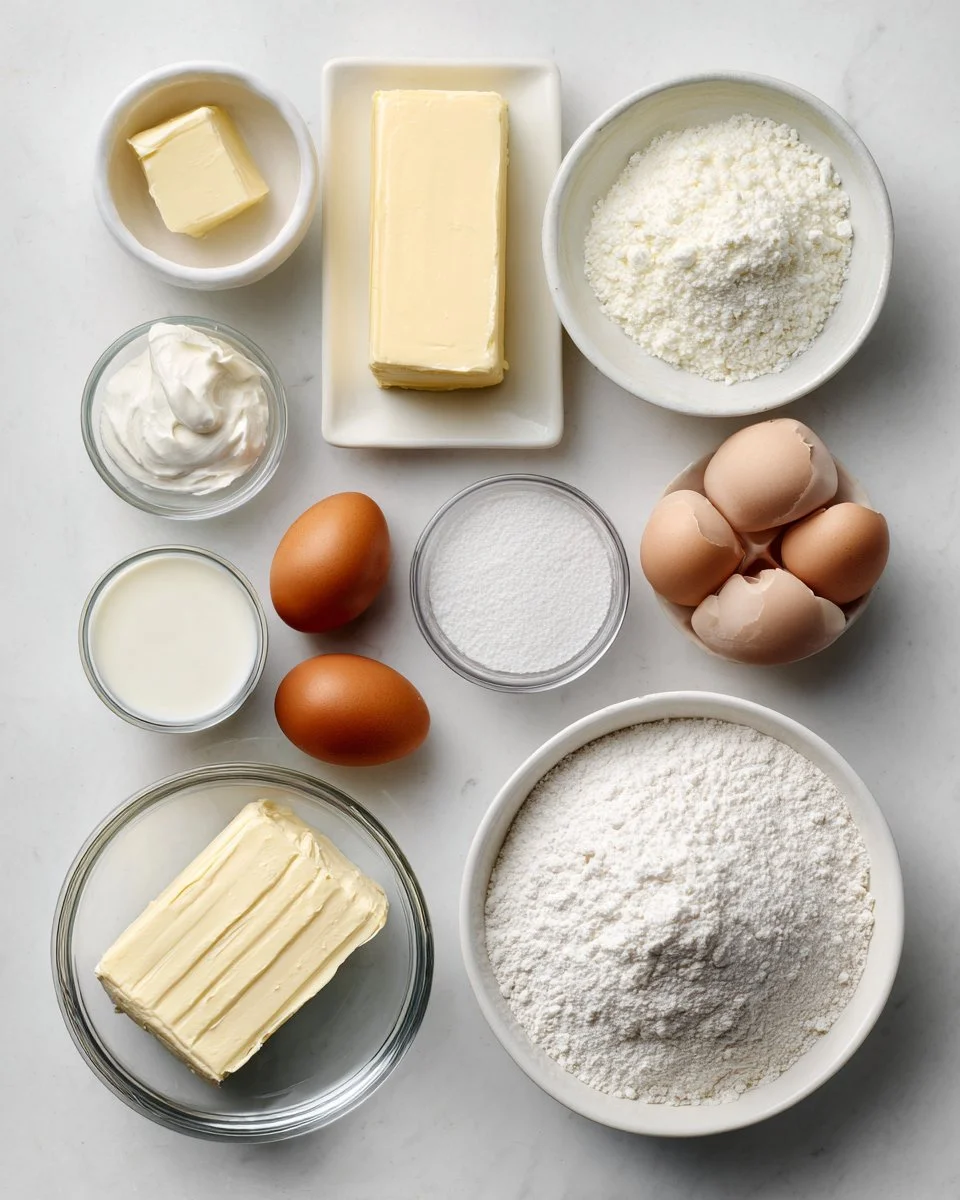
Ingredients
- 8 oz cream cheese (softened to room temperature for easy blending)
- 1/4 cup unsalted butter (high-quality is best; I recommend the Kerrygold brand for its rich flavor)
- 1/3 cup milk (whole milk works wonders for creaminess)
- 1 cup sugar (granulated)
- 4 large eggs (room temperature for better emulsification)
- 1/2 cup cake flour (sifted for a lighter texture)
- 1/4 cup cornstarch (for stability)
- 1 tsp vanilla extract (pure for the best flavor)
- 1/4 tsp cream of tartar (to stabilize the egg whites)
Preparation Notes: Before you begin, be sure that your cream cheese, eggs, and butter are at room temperature. This will help achieve a smooth and consistent batter. Using high-quality ingredients can elevate the taste, especially with something as delicate as Japanese Cheesecake.
Step-by-Step Instructions
Preheat your oven to 320°F (160°C). This temperature ensures gentle baking and helps maintain the cake’s fluffy texture.
Melt Ingredients: In a saucepan, melt the cream cheese with the butter and milk over low heat. Stir occasionally until everything is completely melted and well combined—about 5-7 minutes. It should be smooth and slightly warm, not hot.
Mix Dry Ingredients: In a large mixing bowl, whisk together the sugar, eggs, vanilla, cake flour, and cornstarch until smooth and there are no lumps. This step ensures that your cheesecake has a wonderful texture.
Combine Mixtures: Gradually mix in the melted cream cheese mixture into the dry ingredients using a whisk until fully combined and silky.
Whip Egg Whites: In another bowl, beat the egg whites with the cream of tartar until stiff peaks form—this usually takes about 3-5 minutes. The peaks should stand tall without collapsing.
Fold Silently: Carefully fold the egg whites into the cream cheese batter. Be gentle! You want to retain as much air as possible for that airy texture without deflating the egg whites.
Bake: Pour the batter into a greased cake pan (I recommend a springform pan) and place it in a water bath before baking it in the preheated oven. Bake for about 60 minutes or until the cake is set and the top is a light golden color.
Chef’s Tip: If you look for visual cues, the cake should jiggle slightly but not be liquid when gently shaken.
Cool Gradually: Turn off the oven and leave the door ajar, allowing the cheesecake to cool gradually for an hour. This helps prevent cracking.
Chill: Once cooled, transfer the cheesecake to the refrigerator for at least 4 hours, or overnight for the best texture. Patience is key!
Common Mistakes to Avoid: Avoid overmixing the egg whites or batter which can lead to a denser cake. Also, ensure that the cheesecake is completely cooled before refrigerating; otherwise, you may lose that wonderful fluffiness!

Expert Tips & Tricks
Quality Ingredients: Invest in high-quality cream cheese and butter. It makes all the difference in flavor.
Use a Springform Pan: This allows for easy removal. Wrap the outer base in foil to prevent water from leaking in.
Don’t Rush the Cooling Process: Gradual cooling prevents cracks and preserves the texture.
Flavor Enhancements: Consider adding a tablespoon of lemon juice or zest for a fresh twist.
Refrigeration is Key: Allowing the cheesecake to chill overnight enhances its flavor and sets the texture, making it firmer yet wonderfully soft.
Storage: Keep any leftovers in an airtight container in the fridge for up to 3 days. It also freezes beautifully—just wrap tightly in plastic wrap and foil!
Serving Suggestions
To elevate your Japanese Cheesecake experience, serve it with a dollop of whipped cream or a drizzle of fruit sauce, like raspberry or passionfruit. Fresh berries on the side lend a pop of color and freshness, while a light dusting of powdered sugar adds a touch of elegance.
Perfect for any occasion, this cheesecake can be the star of your next dinner party, birthday celebration, or simply a sweet indulgence at home. Imagine cutting into that fluffy layer and savoring each melt-in-your-mouth bite as your guests swoon over your baking prowess!
Variations & Substitutions
- Citrus Burst: Use lemon or orange zest for a refreshing flavor.
- Matcha Lovers: Incorporate matcha powder for a vibrant green hue and unique taste. Just replace 1 tablespoon of cake flour with matcha powder.
- Chocolate Decadence: Swirl in some melted chocolate for a richer version (ideal for chocolate lovers).
- Vegan or Gluten-Free Options: Substitute eggs with aquafaba for vegan adaptations, or replace cake flour with an all-purpose gluten-free blend.
Nutrition & Storage Info
- Prep Time: 30 minutes
- Cook Time: 60 minutes
- Total Time: Approximately 5 hours (including cooling and chilling)
- Yield: 8 servings (depending on slice thickness)
- Estimated Calories per Serving: 200-250 calories
- Storage Instructions: Store at room temperature for a few hours; keep refrigerated for up to 3 days. It can also be frozen for up to 1 month.
FAQ Section
Why is my cheesecake cracking?
- Cracks occur due to rapid temperature changes while baking or cooling. Gradual cooling, as outlined, helps avoid this!
Can I make Japanese Cheesecake in advance?
- Absolutely! This cheesecake tastes better the next day after it has chilled in the fridge, making it a perfect make-ahead dessert.
What’s the best way to serve leftovers?
- Serve them cold, straight from the fridge. You can also rewarm the slices slightly to soften them.
Is it possible to double the recipe?
- Yes, but be sure to adjust your baking time depending on the pan size. A larger cake may take longer to bake.
Can I use low-fat cream cheese?
- While you can, keep in mind that the texture might not be as fluffy. Full-fat yields the best results.
How do I know when the cheesecake is done?
- A slight jiggle in the center is normal, and the edges will look set and slightly golden.
What if my cheesecake sinks in the middle?
- This can happen if the egg whites aren’t whipped enough or are overmixed. Ensure they form stiff peaks and are folded gently.
Do I have to use a water bath?
- A water bath is highly recommended as it keeps the cake moist and helps cook it gently, preventing the top from browning too quickly.
What toppings do you recommend?
- Fresh fruits, whipped cream, or fruit compote bring brightness and enhance the cheesecake’s flavors beautifully.
Can I add chocolate to the batter?
- Yes! Melted chocolate can be added for a decadent twist. Adjust the sweetness level, depending on the chocolate used.
Conclusion
There you have it—your guide to mastering a fantastic Japanese Cheesecake! This recipe combines simplicity with sophistication, allowing you to create a delightful dessert that will wow everyone. I encourage you to try it for your next gathering and watch the smiles unfold with each slice. Don’t forget to share your thoughts and modifications in the comments below—baking is all about creativity! If you enjoyed this recipe, check out my other dessert adventures on the blog; you’ll find everything from classic cakes to seasonal specialties.
Indulgent Dirty Creamsicle Float: A Nostalgic Summer Treat
Happy baking!