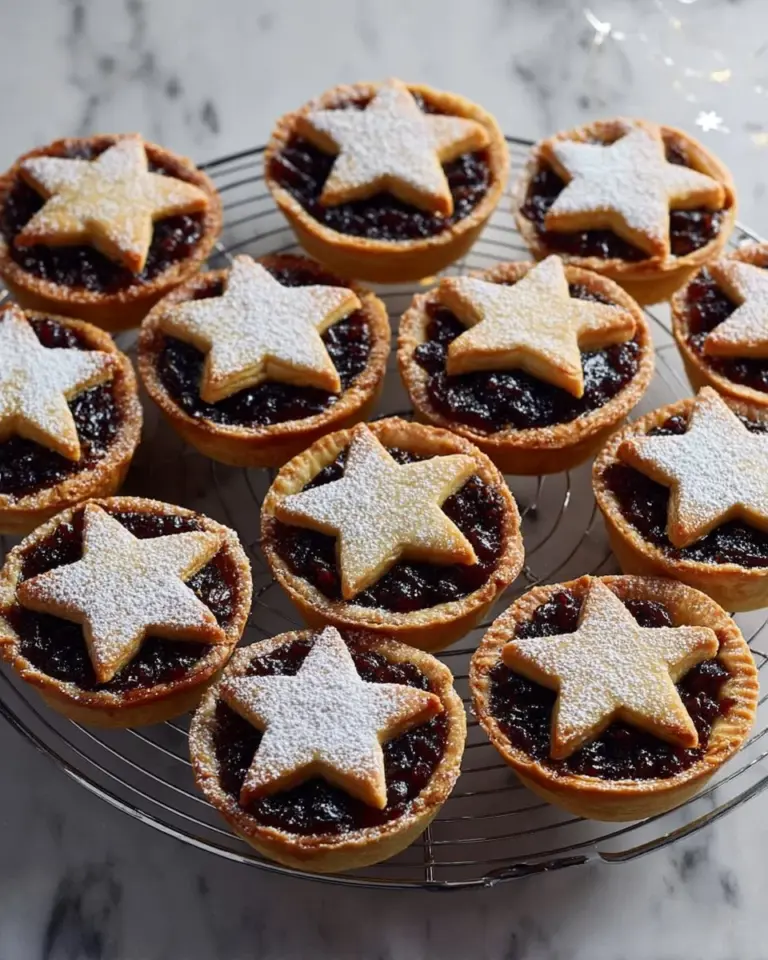
Nothing says holiday magic quite like the sweet scent of freshly baked goodies wafting through the house, and for me, Meringue Christmas Trees embody that joy perfectly. I remember the first time my grandmother brought these delightful little treats to our family Christmas party. They seemed to dance on the dessert table, each tree twinkling with sprinkles and promising a taste of nostalgia. As a kid, I marveled at how something so light and airy could taste so sweet and festive, and they quickly became a staple in our holiday traditions.
What makes my Meringue Christmas Trees special? For one, they are incredibly light, almost like little clouds of sweetness, with a crispy exterior and a melt-in-your-mouth texture that leaves you craving more. This recipe is better than store-bought versions because you can customize them—add your favorite colors, shapes, and decorations to make them uniquely yours! Picture your family gathered around the table, creating their own little edible masterpieces, just like we did when I was growing up.
In this post, I’ll guide you through creating your very own Meringue Christmas Trees, sharing tips for ensuring they turn out perfect every time. Whether you’re a seasoned baker or just starting out, you’ll discover the joy of bringing these whimsical holiday treats to life.
What Are Meringue Christmas Trees?
Meringue Christmas Trees are enchanting little confections that transform simple meringue into festive holiday decorations. The origin of meringue dates back to the 17th century, believed to have originated in Switzerland. Over the years, they’ve been embraced by various cultures, each adding their spin. In my household, we elevate this old classic by piping them into tree shapes for a seasonal touch.
These delightful trees boast a light, airy texture that contrasts beautifully with the crunchiness of a candy-coated shell. The sweetness is perfectly balanced, making them not only visually appealing but also a treat for the taste buds. You can whip them up for holiday parties, gift them to neighbors, or simply indulge as a festive snack while watching your favorite holiday movies!
With the ability to customize flavors and colors, Meringue Christmas Trees stand out as a unique holiday dessert that charms both young and old alike. Make them as a fun family project or a centerpiece dessert; they are guaranteed to bring smiles and wonderful memories.
Why You’ll Love This Recipe
1. Simplicity at Its Best
This Meringue Christmas Trees recipe is remarkably straightforward. With just a handful of ingredients you likely already have at home (like egg whites and sugar), you can create something magical without any baking experience.
2. Save Money with Homemade Goodies
Why buy expensive, store-bought meringue cookies when you can produce an entire batch of festive trees at home for a fraction of the price? This recipe saves you money and gives you the pleasure of crafting something from scratch.
3. Customization is Key
One of the most enjoyable parts of making Meringue Christmas Trees is the endless possibilities for customization. You can switch up colors with food gel or add different flavored extracts to the meringue. Want peppermint? Go for it! More of a vanilla person? You can never go wrong with classic vanilla!
4. A Fun Holiday Baking Project
These trees are perfect for a family baking day. Kids love to help out, whether it’s mixing up the egg whites or decorating with sprinkles. It’s a wonderful recipe to bond over and instills the love of baking in little ones—just like my grandmother taught me!
5. Impressive Presentation
These snow-kissed, colorful trees are visually stunning. You’ll be amazed at how creating these playful meringues will elevate your holiday dessert spread. Your friends and family will be so impressed, they might think you’re a professional baker!
Ingredients
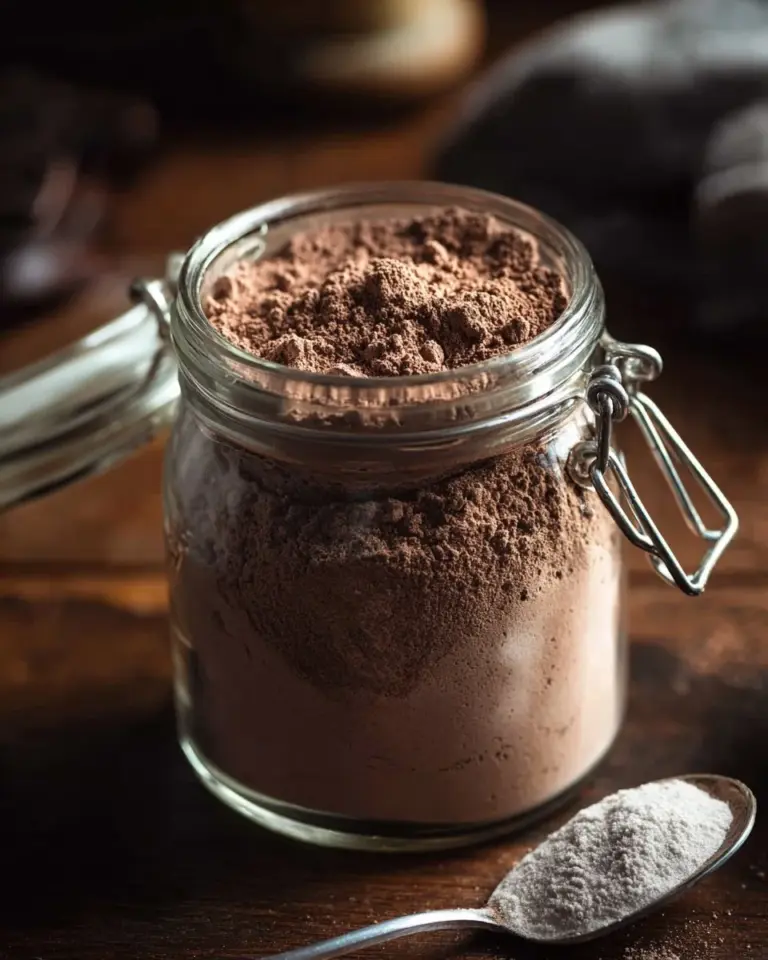
{image_template}
- 2 large egg whites, room temperature: Ensure they’re at room temperature for the best results. This allows for maximum volume.
- 1/4 teaspoon cream of tartar: This stabilizer helps create that perfect, stiff peak in your meringue.
- 100 g granulated sugar: Use fine sugar for smoother meringue. You can substitute with caster sugar if you have it on hand.
- Green gel food coloring: Feel free to get creative with other colors to match your holiday decor!
- Sprinkles: Use your favorite festive sprinkles to add that final touch of magic!
Ingredient Notes
- Egg Whites: A good brand of eggs can make a difference. I love using organic or pasture-raised eggs when possible—they seem to whip up lighter.
- Sugar: The quality of sugar matters! Don’t go for the cheapest option; try to use a good brand for a better texture.
- Food Coloring: Avoid liquid food coloring, as it may throw off the meringue’s consistency. Gel food coloring gives a vibrant color without affecting stability.
Step-by-Step Instructions
Preheat the oven to 200°F (95°C). Line a baking sheet with parchment paper and set aside.
In a large mixing bowl, use an electric hand mixer or a stand mixer fitted with a whisk attachment to beat the egg whites and cream of tartar on medium speed.
- Chef’s Tip: Make sure your bowl and beaters are grease-free to get the best volume!
Continue beating until the mixture becomes frothy, resembling cappuccino foam—this should take about 2-3 minutes.
Gradually sprinkle in one spoonful of sugar at a time, mixing well after each addition.
- Continue this process for about 5-7 minutes until the mixture holds stiff peaks. You’ll know it’s ready when you can flip the bowl upside down, and nothing moves.
Add a few drops of green gel food coloring and mix gently until just combined—don’t overmix!
Transfer the meringue to a piping bag fitted with a large star tip.
- Chef’s Tip: If you don’t have a piping bag, you can use a ziplock bag with the tip cut off.
Pipe 3 dollops of meringue on top of each other, with the largest dollop on the bottom and getting smaller at the top to create your tree shape. Be creative; some can be tall, and others short!
Top with sprinkles to give your trees that festive flair.
Bake for 45-50 minutes, or until the sides of the meringues are dry and they peel cleanly off the parchment paper.
Turn off the oven and leave the meringues inside to cool overnight for a wonderfully chewy inside, or you can crack the door open and let cool for about 1 hour.
Once they are completely cool, store them in an airtight container.

Expert Tips & Tricks
- Storage Recommendations: Store your Meringue Christmas Trees in an airtight container at room temperature. They can last for up to a week, but honestly, they might not last that long!
- Make-Ahead Instructions: You can prepare the meringue a day in advance and simply pipe and bake them the next day. Just make sure to keep them airtight!
- Troubleshooting Common Problems:
- Flat Meringues: If your meringues don’t rise, ensure no yolk is present in the egg whites and that your mixing equipment is completely clean.
- Sticky Meringue: If your meringues are sticky after baking, they need to bake a little longer.
Serving Suggestions
These festive Meringue Christmas Trees are not only a delightful treat but also a stunning centerpiece for your holiday table. Serve them alongside hot cocoa or a rich coffee to balance the sweetness. For an extra festive touch, place these trees on a platter sprinkled with powdered sugar to mimic a winter wonderland.
Perfect for holiday parties, they also make lovely gifts for friends and neighbors. Place a few in a festive box, and you’ll bring smiles and sweetness to everyone!
Variations & Substitutions
- Flavor Combinations: Try vanilla, almond, or even peppermint extract for a holiday twist in your meringue mixture.
- Dietary Adaptations: For a vegan version, you can use aquafaba (the liquid from canned chickpeas) instead of egg whites.
- Seasonal Variations: Embrace different holidays by adding cocoa powder for chocolate trees or using red and white for Valentine’s Day!
Nutrition & Storage Info
- Prep time: 20 minutes
- Cook time: 50 minutes
- Total time: 1 hour 10 minutes
- Yield: Approximately 12 Meringue Christmas Trees
- Estimated Calories per Serving: 50
- Storage Instructions: Keep at room temperature in an airtight container for up to a week. Meringues can be frozen for 1-2 months, but be sure to layer them carefully with parchment paper to avoid sticking.
FAQ Section
Can I use powdered sugar instead of granulated sugar?
- Yes, you can! However, granulated sugar is recommended for stability. If you use powdered sugar, it may slightly alter the texture.
What happens if my meringue doesn’t turn into stiff peaks?
- Ensure that your mixing bowl and beaters are completely grease-free and that no yolk is in the egg whites. Additionally, make sure you’re using fresh eggs for better results.
How can I tell when my meringues are done baking?
- They should be dry to the touch with a crisp outer shell. If they stick to the parchment paper, they need more time.
Can I pipe different shapes other than trees?
- Absolutely! Use your creativity! Try stars, wreaths, or any fun shape you can pipe.
What if my meringues are sticky after cooling?
- This usually means they need a longer bake time or that humidity affected them. Try baking them a little longer until they dry out.
Do I have to leave them in the oven overnight?
- Leaving them to cool in the oven overnight gives them a perfect chewy interior. However, if you’re short on time, an hour will also work.
Can I store these meringues in the fridge?
- It’s not recommended, as meringues absorb moisture and become sticky. Keep them in a room-temperature, airtight container.
How can I make my meringues colorful?
- Use gel food coloring mixed in after the sugar is fully incorporated to ensure even color distribution without affecting texture.
Can I convert this recipe into a different holiday theme?
- Yes! Adapt the colors and flavors for any holiday—like red and white for Valentine’s Day or pastel colors for Easter!
Is there a way to make these sugar-free?
- You can experiment with sugar substitutes such as erythritol, but results may vary. Stick to the basics for perfect meringues.
Conclusion
Creating these delightful Meringue Christmas Trees is not just about baking—it’s about savoring the magic of the holidays with those you love. With an airy texture, vibrant colors, and a touch of sweetness, they are guaranteed to spark joy at your holiday celebrations. So why not gather your family and friends to make these whimsical trees this season? I can’t wait to hear how they turn out for you! Leave a comment or share your best Meringue Christmas Trees creations; I’d love to see them! And if you enjoyed this recipe, be sure to check out my blog for more festive treats!
Succulent Chicken Salmoriglio: A Zesty Italian Delight You’ll Want to Savor
Happy baking!

Meringue Christmas Trees
Ingredients
Method
- Preheat the oven to 200°F (95°C). Line a baking sheet with parchment paper.
- In a large mixing bowl, beat the egg whites and cream of tartar on medium speed until frothy.
- Gradually sprinkle in sugar, mixing well after each addition until the mixture holds stiff peaks.
- Add a few drops of green gel food coloring and mix gently until just combined.
- Transfer the meringue to a piping bag fitted with a large star tip.
- Pipe 3 dollops of meringue on top of each other to create tree shapes.
- Top with sprinkles.
- Bake for 45-50 minutes, until the sides are dry and they peel cleanly off the parchment paper.
- Leave the meringues in the oven to cool overnight or cool for about 1 hour.
- Store Meringue Christmas Trees in an airtight container at room temperature.